While the touchpad on your laptop may suffice for everyday tasks, gaming or extended use often demands a more precise and comfortable pointing device. A wireless mouse offers the perfect solution, providing enhanced control and ergonomics. This guide outlines the simple steps to connect your wireless mouse to your laptop using either a USB receiver or Bluetooth.
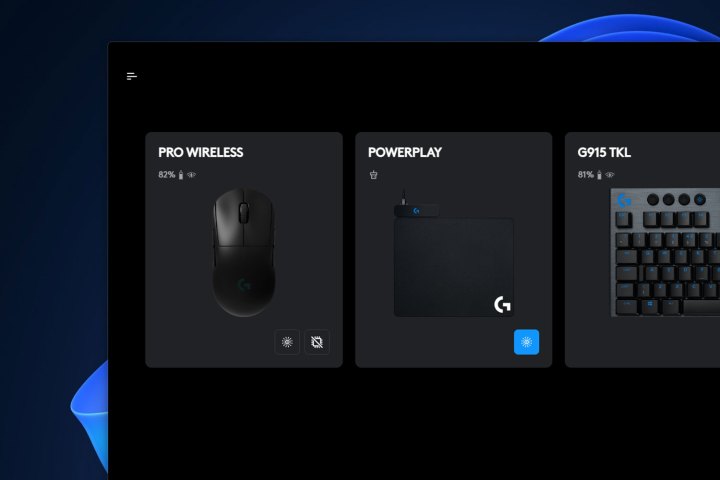 Wireless Logitech accessories connected over USB receiver.
Connecting via USB Receiver
Many high-performance wireless mice, particularly gaming mice, utilize a dedicated USB receiver for a more stable and responsive connection. This minimizes latency and interference, crucial for demanding applications.
Step-by-Step Instructions:
-
Insert the Receiver: Plug the USB receiver into an available USB port on your laptop. If your laptop lacks compatible ports, consider using a USB hub or adapter.
-
Install Drivers (Recommended): While your operating system might automatically detect the mouse, installing the latest drivers from the manufacturer’s website is recommended for optimal performance. Locate the support section on their website, download the appropriate drivers for your operating system, and install them.
-
Power On: Turn on your wireless mouse. It should connect automatically. In some cases, you may need to launch the manufacturer’s software first.
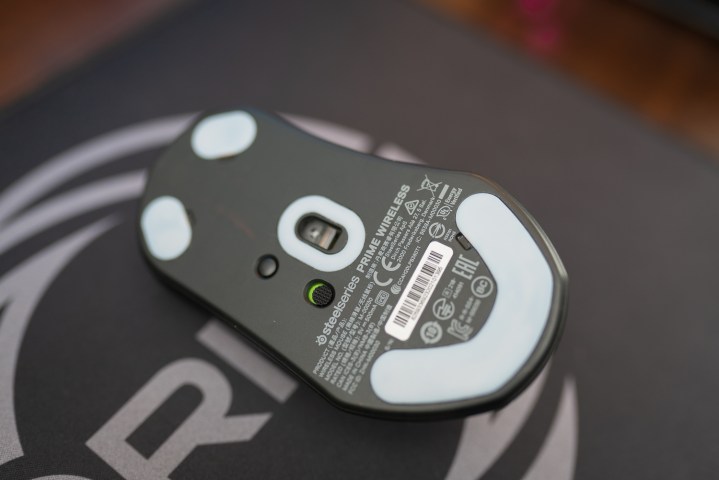 Steelseries Prime Wireless sensor.
Connecting via Bluetooth
Bluetooth offers a convenient wireless connection method, allowing you to connect your mouse without a separate receiver. Many mice support both USB receiver and Bluetooth connections, providing flexibility.
Step-by-Step Instructions:
-
Enable Bluetooth: On Windows, click the arrow in the system tray (bottom-right corner), then double-click the blue Bluetooth icon. Alternatively, go to Settings > Bluetooth & devices and toggle Bluetooth on. On macOS, click the Apple icon, then System Settings > Bluetooth.
-
Prepare Your Mouse: Power on your Bluetooth mouse. If it has a pairing button, press it. Consult your mouse’s manual for specific pairing instructions.
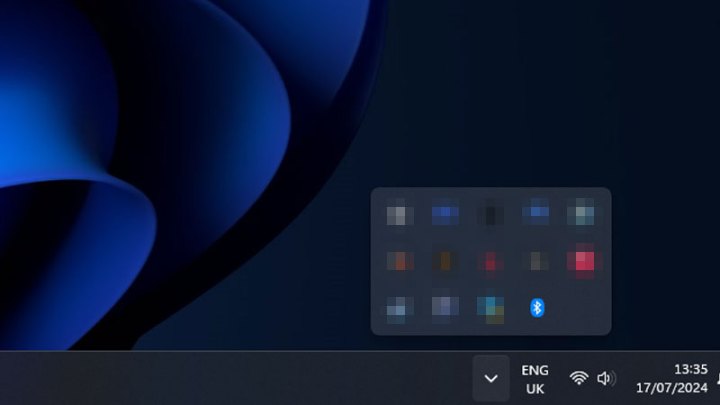 Bluetooth icon on Windows 11.
- Pair the Devices: On Windows, click “Add device” > “Bluetooth.” Select your mouse from the list and click “Connect.” On macOS, select your mouse and click “Connect.” If prompted, enter the displayed code and press Enter.
Conclusion
Connecting a wireless mouse to your laptop is a straightforward process, whether you choose a USB receiver or Bluetooth. Both methods offer a wireless experience, enhancing your productivity and gaming performance. Choosing the right method depends on your mouse’s capabilities and your preference for latency and convenience. Connecting your mouse via Bluetooth allows you to free up USB ports, potentially beneficial if you use many peripherals. While Bluetooth is convenient for general use, USB receivers often provide lower latency, making them ideal for gaming.


