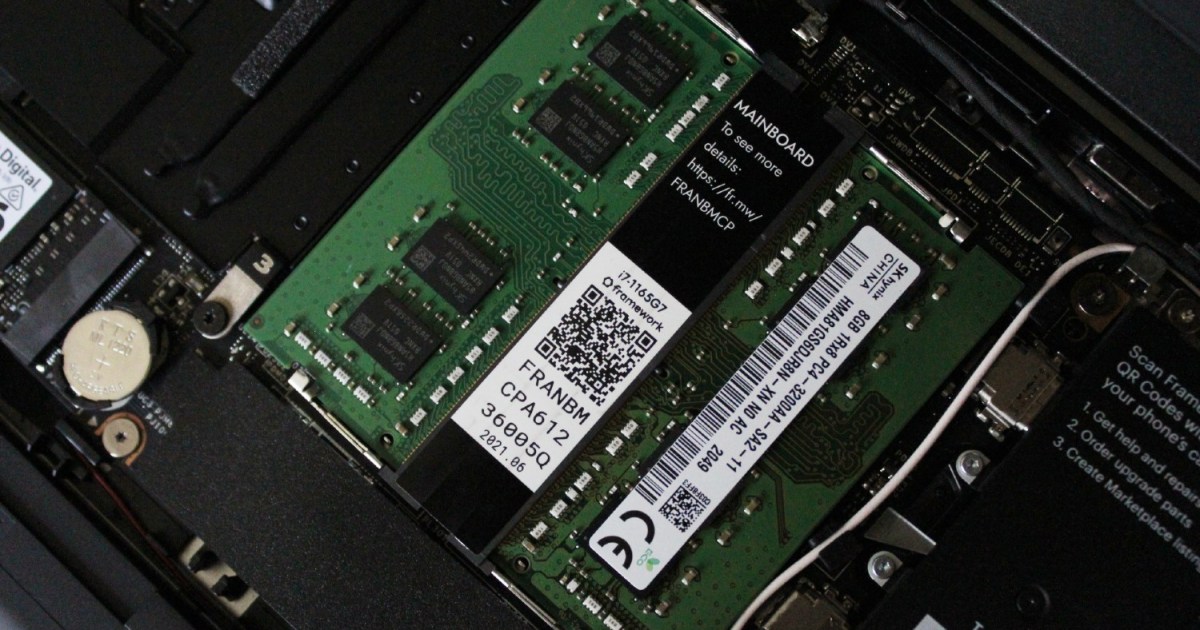
RAM, your computer’s short-term memory, plays a crucial role in its performance. Upgrading your laptop’s RAM can significantly boost its speed and responsiveness. This guide provides a step-by-step approach to upgrading your laptop’s memory, from checking compatibility to installation.
Determining Upgrade Compatibility
Before purchasing new RAM, verify if your laptop supports memory upgrades. Many modern laptops, especially ultrabooks and MacBooks, have soldered RAM, making upgrades impossible. Others might have sealed bottoms, preventing access to the memory slots.
To check compatibility, consult your laptop’s manual or the manufacturer’s website. Look for a small access panel on the underside of your laptop. If present, it likely indicates upgradable RAM.
Selecting the Right RAM
Choosing the correct RAM is essential for a successful upgrade. Several factors determine compatibility:
- Generation: DDR3, DDR4, and DDR5 are common RAM generations. Your laptop’s motherboard dictates the compatible generation.
- Capacity: RAM capacity is measured in gigabytes (GB). Higher capacity allows for more simultaneous applications and smoother multitasking.
- Speed: Measured in megahertz (MHz), RAM speed impacts data transfer rates. Choose the highest speed supported by your laptop’s motherboard.
For detailed guidance on selecting the appropriate RAM, refer to our comprehensive guide on how to buy RAM.
Upgrading Your Laptop’s RAM: Step-by-Step Instructions
Before starting the upgrade process, back up your important data as a precaution. Although unlikely, there’s always a slight risk of data loss during hardware modifications.
Step 1: Preparation
Power off your laptop completely and unplug it from the power source. Place it on a clean, flat surface.
Step 2: Accessing the RAM Slots
Locate the RAM access panel on the underside of your laptop. Using the appropriate screwdriver, carefully remove the panel screws.
Step 3: Removing Existing RAM (If Applicable)
If replacing existing RAM, gently unclip the retention tabs holding the memory sticks in place. Pull the sticks out at a slight angle.
Step 4: Installing the New RAM
Align the notch on the new RAM stick with the notch in the RAM slot. Gently but firmly press the stick into the slot until it clicks into place. Secure the stick by closing the retention clips. Repeat for each RAM stick.
Step 5: Reassembly and Testing
Replace the RAM access panel and secure it with the screws. Turn your laptop back on.
Step 6: Verification
Once the laptop boots, verify the new RAM is recognized. Navigate to Settings > System > About (or equivalent) to confirm the total installed RAM.
If the laptop fails to boot, double-check the RAM installation. Ensure the sticks are fully seated and the retention clips are closed.
Maintaining Optimal Performance
While your laptop is open, consider cleaning the fan to ensure efficient cooling and prevent overheating. This simple maintenance task can prolong your laptop’s lifespan.
Conclusion
Upgrading your laptop’s RAM can significantly improve its performance for a relatively small investment. By following these steps and choosing the correct RAM, you can enjoy a faster, more responsive computing experience. Remember to consult your laptop’s documentation or manufacturer’s website for specific instructions and compatibility information.


