Spilled water on your laptop? Don’t panic. Swift action can save your device. Immediately move your laptop away from the water source, power it off, and unplug the power cable. If your laptop has a removable battery, take it out as well. This guide provides a comprehensive walkthrough of steps to take if you’ve spilled water on your laptop or even dropped it in water.
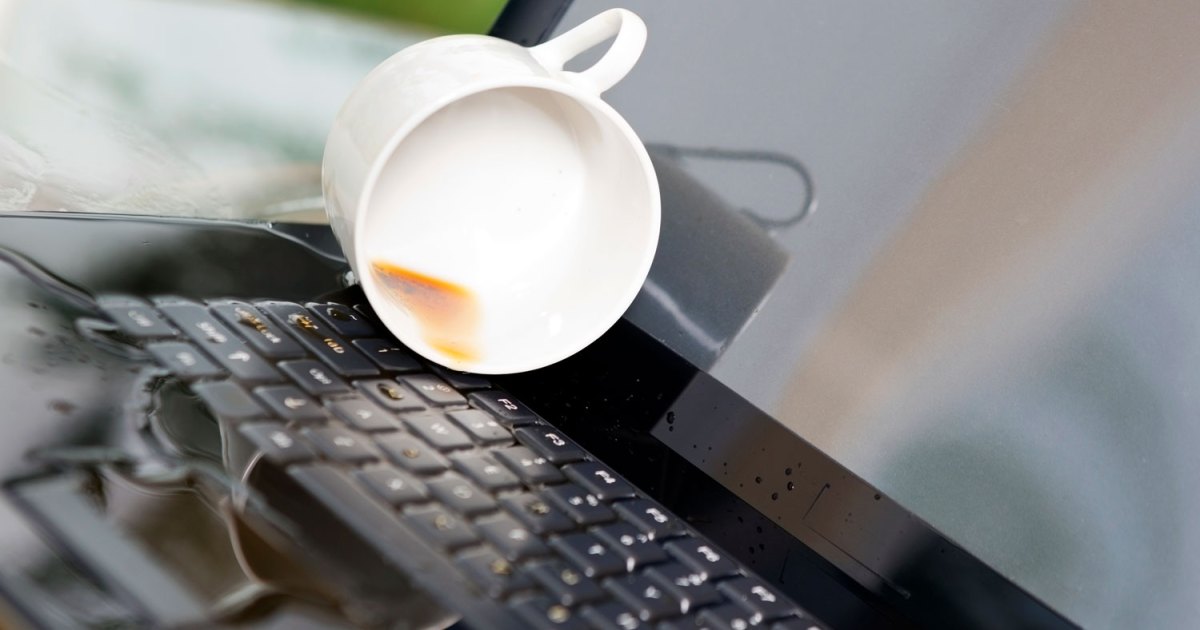
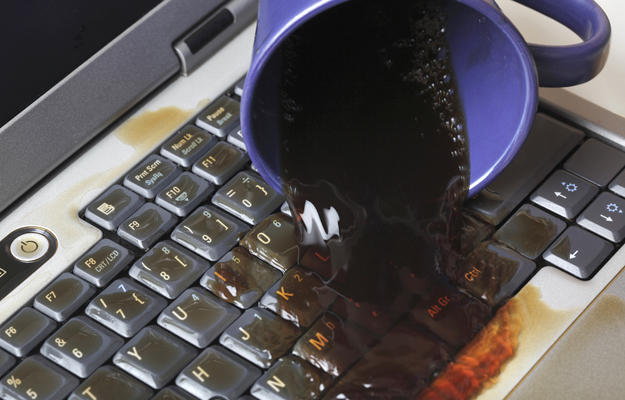 Spilled liquid on laptop keyboard.
Immediate Actions After a Spill
When liquid comes into contact with your laptop, every second counts. If you haven’t already, shut down your laptop, disconnect the power cable, and remove the battery if possible. Follow these steps to minimize potential damage:
Step 1: Disconnect Peripherals: Unplug all external devices, including your mouse, any connected cables, flash drives, and DVDs. The goal is to isolate the laptop.
Step 2: Dry the Exterior: Open your laptop as wide as possible and hold it upside down to allow any trapped liquid to drain. Use a highly absorbent towel or lint-free cloth to wipe all wet surfaces until they are completely dry. Avoid using hot air from a hair dryer or heat gun, as this can cause further damage.
Step 3: Assess the Liquid: The type of spilled liquid significantly impacts the potential damage. Water is the least harmful, while sugary and alcoholic beverages are more conductive and corrosive, potentially causing rapid and irreversible damage to internal components. If you’ve spilled something other than water, it’s highly recommended to take your laptop to a professional repair shop or, if covered, utilize your warranty for a replacement.
If the spill was water and you’re unable to get professional help, you can attempt to dry it further yourself. Place the laptop in a warm (not hot), dry location for 24-48 hours. Ideally, open the lid as much as possible and remove any non-essential panels to improve airflow. Contrary to popular belief, avoid using rice, as this can create more problems. Using a dehumidifier in the room can be beneficial.
Resist the urge to power on your laptop before it’s thoroughly dry. Doing so can cause a short circuit and permanently damage your system. Patience is key – wait at least a day.
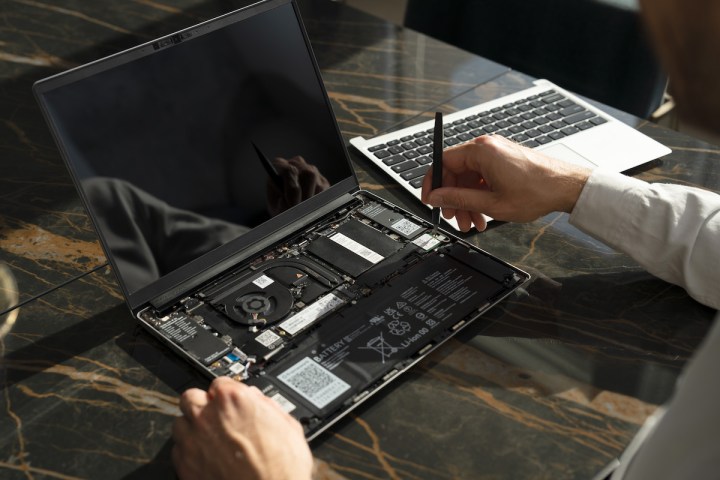 The Framework Laptop Chromebook Edition is a upgradeable, repairable, customizable laptop running ChromeOS.
Disassembling Your Laptop (Advanced Users Only)
While older laptops were relatively easy to disassemble, modern laptops are often glued together, making the process significantly more complex. Disassembling your laptop is only recommended for older models and those comfortable with electronics repair. If you choose to proceed, search for a teardown guide specific to your laptop model on YouTube. Proceed with caution: neither MaagX nor the author is responsible for any damage caused by disassembly.
Step 1: Remove the Battery: If you haven’t already, remove the battery if your laptop allows it. This is usually done by pressing a switch or button on the underside of the laptop.
Step 2: Remove Components: If you suspect liquid has reached internal components like memory and storage drives, you can attempt to remove them. Some laptops have access panels on the underside, while others require a Phillips or Torx screwdriver. For memory modules, gently press the side clips to eject them. Solid-state drives (SSDs) or hard disk drives (HDDs) usually require removing screws. Carefully disconnect them from power and data cables.
Step 3: Inspect and Clean: Examine each removed component for moisture or corrosion. Dry any wet parts. If the spilled liquid was anything other than water, clean affected areas with a clean toothbrush dipped in 99% isopropyl alcohol. This will dissolve residue and evaporate quickly without leaving a sticky film. While disassembled, consider cleaning the laptop fans to optimize performance upon reassembly.
Step 4: Air Dry: After cleaning and inspecting all components, let them air dry for two to three days in a warm, dry area. A fan can expedite the drying process, but avoid using a hair dryer due to the risk of static electricity. Once dry, reassemble your laptop by following the disassembly steps in reverse and test its functionality. If it still doesn’t work, consult a professional repair center.
Dealing with Spills on the Laptop Screen
A less severe but still potentially problematic issue is spilling liquid directly on the laptop screen. While this is less likely to damage internal components, replacing a damaged screen can be costly. Some manufacturers may void your warranty for unauthorized screen cleaning, so proceed with caution.
Step 1: Immediate Response: Quickly turn off the monitor and absorb the spilled liquid to prevent it from pooling or reaching the edges of the screen, where it could seep into internal components or speaker/microphone holes. Use a gentle dabbing motion; avoid rubbing or aggressive cleaning, which could damage the screen.
Step 2: Prepare a Cleaning Solution: Dampen a microfiber cloth with distilled or filtered water. For sticky spills like soda, add a small amount of white vinegar to the water. Refer to our monitor and laptop display cleaning guides for more detailed instructions. Apply cleaning solutions directly to the cloth, not the screen.
Step 3: Gently Clean: Gently wipe the screen with the damp (not soaked) microfiber cloth.
Step 4: Wait and Observe: Wait 24-48 hours before turning your laptop back on. Consider contacting your laptop’s customer support during this time.
While this guide focuses on emergency spill response, regular maintenance, such as keeping your keyboard clean, is essential for optimal laptop performance.


