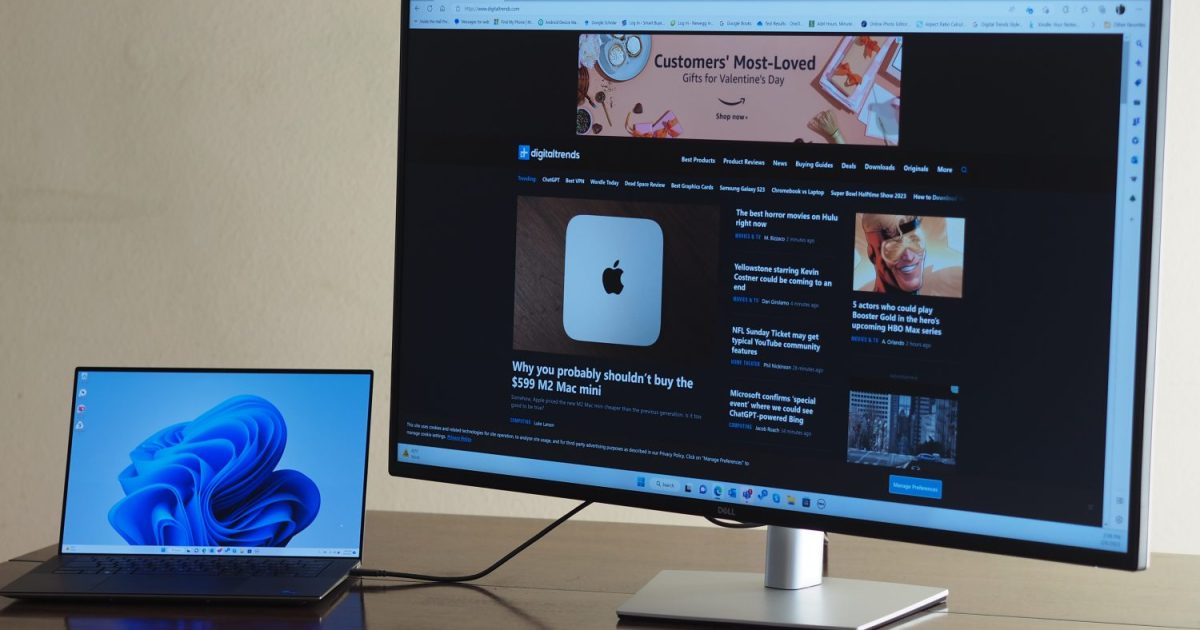
Using an external monitor with your laptop can significantly improve your computing experience, regardless of whether you own a basic or high-end model. While not portable, a larger screen boosts productivity, immerses you deeper into games, and expands multitasking capabilities. This guide explains how to connect a monitor to your laptop for a superior work and play environment.
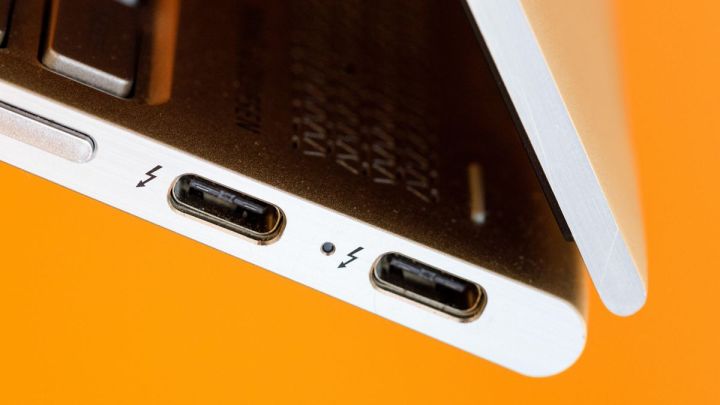 Picture of a Thunderbolt 4 port on a laptop.Image: A Thunderbolt 4 port on a laptop.
Identifying Your Connection Options
Before connecting, determine the available ports on your laptop and monitor.
Checking Your Laptop’s Ports
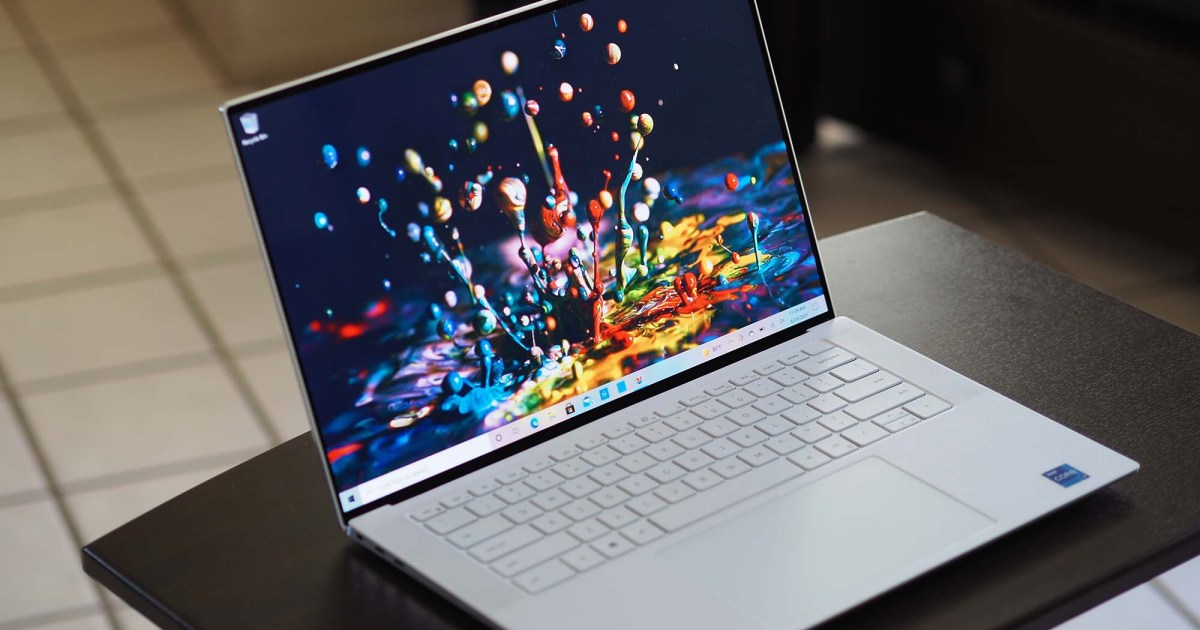
Examine your laptop’s sides and back. Many laptops feature HDMI outputs, readily compatible with most modern displays. Most contemporary laptops include a USB-C port. However, its capabilities vary significantly. Newer USB4 and Thunderbolt 3/4 ports share the same connector but support higher bandwidths, enabling greater resolutions and refresh rates. Older laptops may have VGA or mini-DisplayPort outputs. While finding compatible monitors for these older standards might be challenging, they remain viable options.
Checking Your Monitor’s Ports
Check your monitor’s connection options. Modern displays often support HDMI and DisplayPort, while older models may have DVI-D and VGA. Some monitors also offer USB-C input, simplifying connections with modern laptops. If purchasing a new monitor, choose one with a port compatible with your laptop’s output.
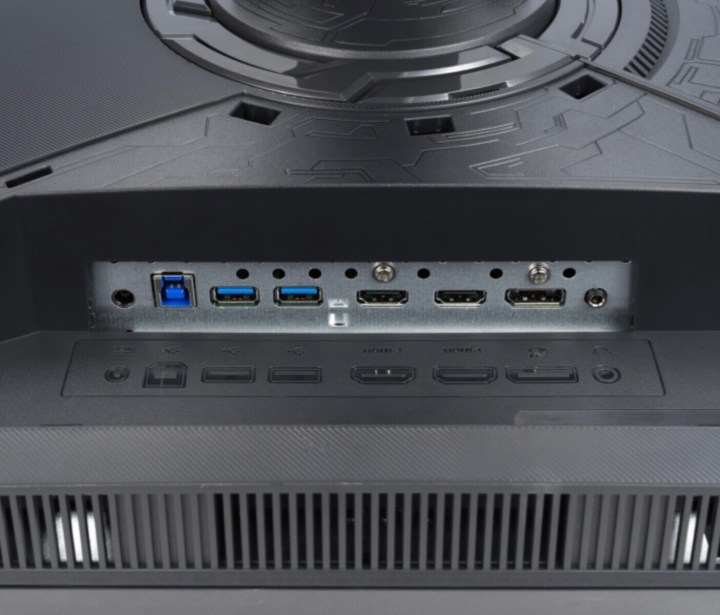 Asus XG32UQ gaming monitor ports.Image: Ports on the Asus XG32UQ gaming monitor.
Selecting the Right Cable
Once you’ve identified compatible ports, choose the appropriate cable. If your laptop and monitor share the same connection type (e.g., HDMI to HDMI, USB-C to USB-C), a direct connection is simplest. If the ports differ, you’ll need an adapter or converter (e.g., HDMI to DisplayPort, USB-C to HDMI). Docking stations or hubs offer multiple connection options but are often more expensive and may require external power.
When choosing from multiple connection options, prioritize convenience while ensuring support for your desired resolution and refresh rate. Cable specifications vary between generations, so consider your specific needs.
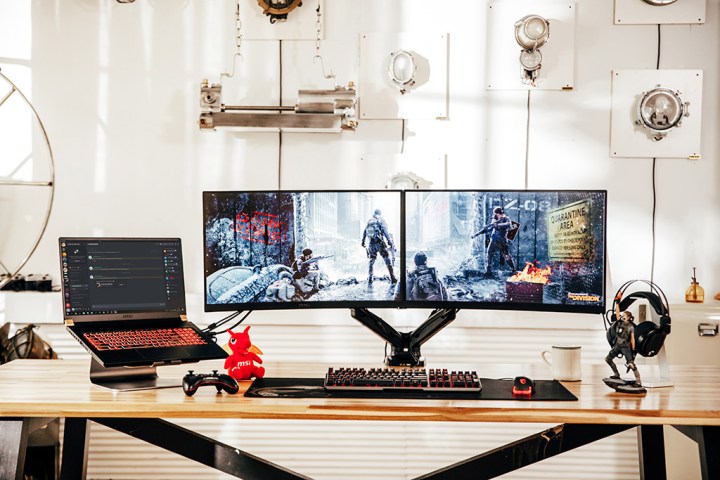 Multiple monitors and laptop on desk.Image: A multi-monitor setup with a laptop.
Connecting Your Laptop and Monitor
Finally, physically connect the devices.
- Connect the cable (or cable and adapter) to your laptop and monitor.
- Turn on your laptop. If the connection is successful, your laptop screen should be mirrored on the external monitor. This is the default setting in Windows.
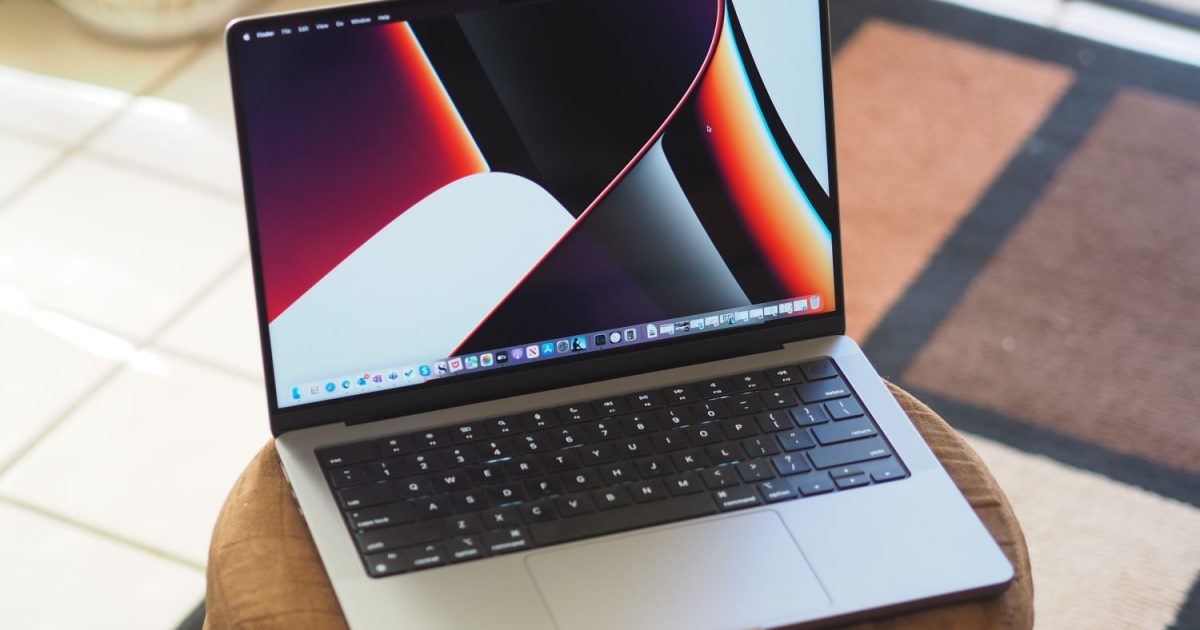
- To extend your display instead of mirroring, adjust your display settings. In Windows: Settings > System > Display > Multiple displays > Extend these displays. On macOS: System Preferences > Displays > Arrangement (uncheck Mirror Displays).
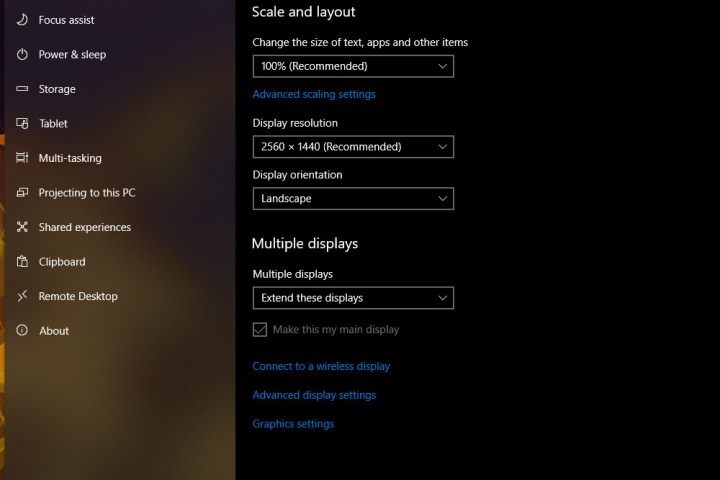 Choosing multiple display options on Windows 10.Image: Multiple display options in Windows 10.
Connecting an external monitor expands your laptop’s screen real estate, enhancing productivity and entertainment. By understanding the various connection options and following these simple steps, you can seamlessly integrate a larger display into your workflow.


