 Word document on a laptop on a table.
New to Microsoft Word? This comprehensive tutorial provides a beginner-friendly introduction to using Word, covering everything from creating and saving documents to navigating the interface and utilizing key features. This guide focuses on Microsoft Word for Microsoft 365 on Windows, but the core functionalities remain similar across most versions.
Creating a New Document
Upon opening Microsoft Word, you’re presented with options to start a new document or use a template. For this tutorial, select a Blank document to explore the fundamental features.
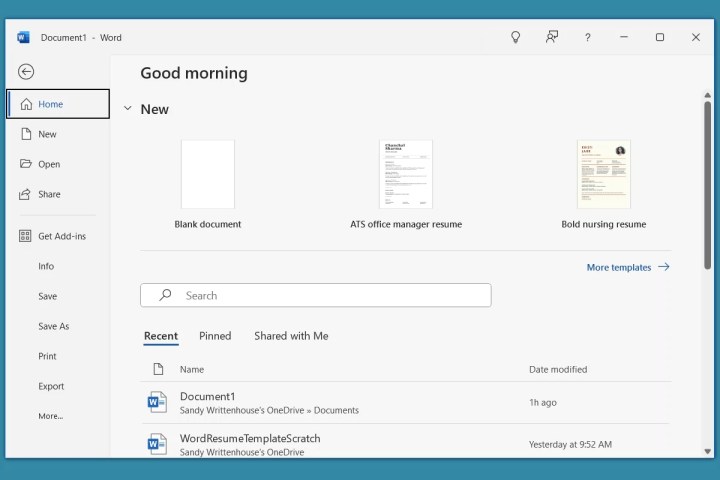 New document on the File tab in Word.
Saving Your Work: Naming and Saving Documents
Saving your work is crucial. Develop the habit of saving your document immediately after creating it. Here’s how:
- Navigate to the File tab and select Save.
- Choose a save location on your computer and enter a file name. Word typically saves files in the DOCX format, compatible with modern Word versions (older versions use the DOC format). You can select a different format if needed.
- Click Save.
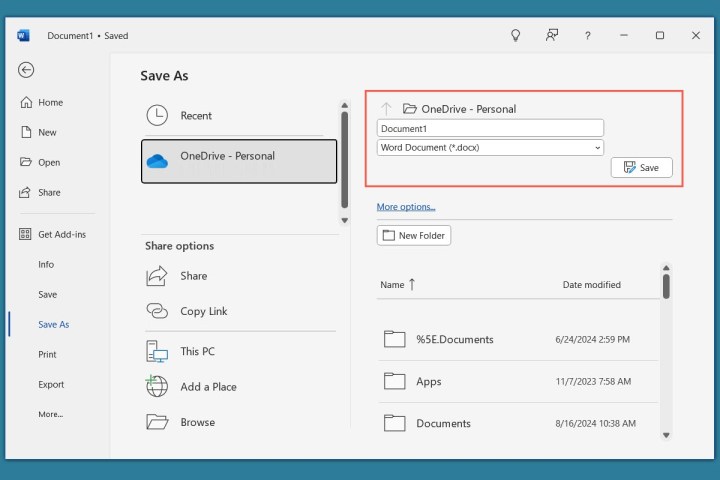 Save a document in Word.
Use the Save button in the Quick Access Toolbar or select File > Save regularly to prevent data loss. For added security, you can password-protect your Word documents.
Utilizing AutoSave
Microsoft 365 subscribers can leverage the AutoSave feature for automatic and periodic saving. Note that AutoSave requires saving the document to OneDrive, not locally on your computer.
- Enable AutoSave by toggling the AutoSave switch in the title bar.
- If you have multiple OneDrive accounts, select the appropriate one.
- Name your file and click OK.
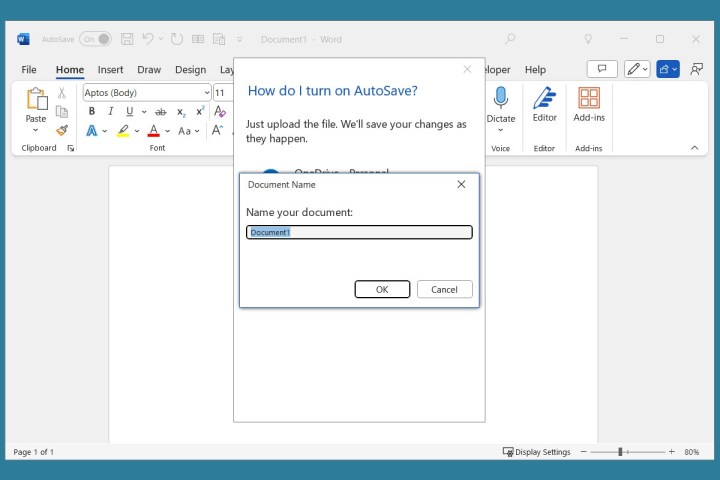 Name a file to AutoSave in Word.
The enabled AutoSave toggle will be visible while you work.
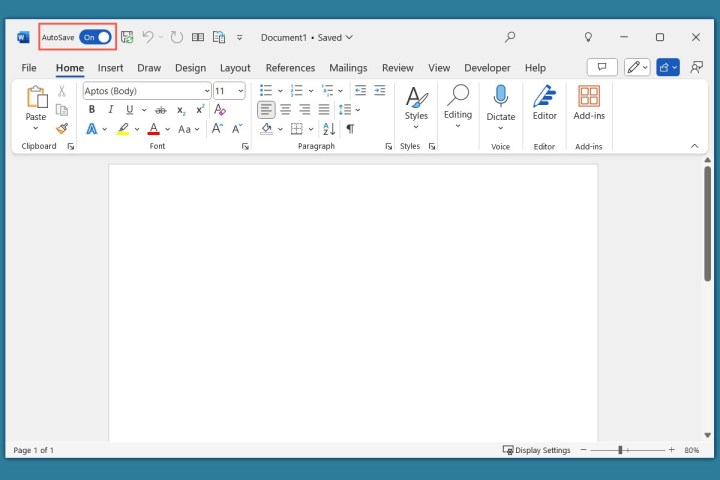 AutoSave toggle On in Word.
Understanding the Word Interface
Familiarizing yourself with the Word interface is essential for efficient document creation.
Title Bar: Located at the top, the title bar houses the Quick Access Toolbar (with buttons like Save and Undo), the document name, the search function, and window control buttons.
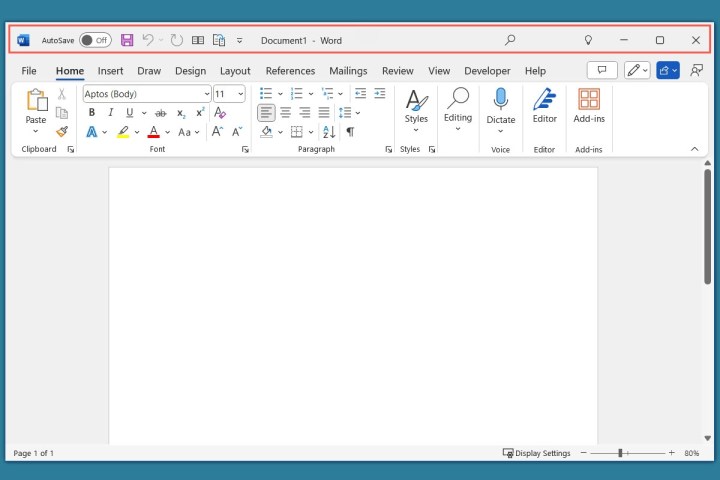 Title bar in Word.
Tabs: Below the title bar are tabs like Home, Insert, Draw, Design, Layout, and more. Clicking a tab reveals related tools on the ribbon. The File tab, located on the far left, provides options for saving, printing, exporting, closing, and accessing settings. It also allows creating new documents and opening recent ones.
Ribbon: Situated beneath the tabs, the ribbon displays context-specific tools based on the selected tab. For example, the Design tab offers tools for themes, formatting, colors, and page color.
Status Bar: Located at the bottom, the status bar displays information like page number, indicators (e.g., caps lock), and zoom options. Customize the status bar by right-clicking on it.
The central area of the Word window is the document workspace where you type your content.
Navigating Tabs and Ribbon
The ribbon contains various tools organized into groups. The available tools change depending on the selected tab. Here’s an overview of some commonly used tabs:
Home Tab: Essential Formatting Tools
The Home tab provides tools for basic formatting like clipboard actions (copy, cut, paste), font styling, paragraph formatting (alignment, lists, spacing, indents), and predefined styles (titles, headings, quotes).
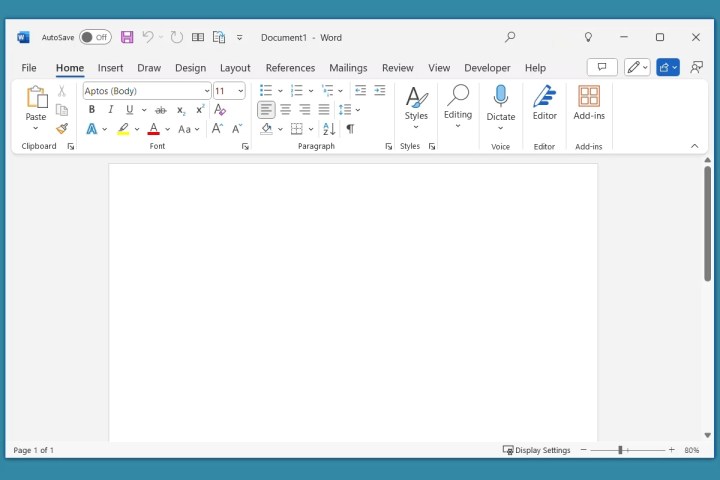 Home tab in Word.
Insert Tab: Adding Elements
Use the Insert tab to add non-text elements like pictures, shapes, icons, charts, media (video and audio), headers, footers, tables, hyperlinks, comments, WordArt, equations, symbols, and page numbers.
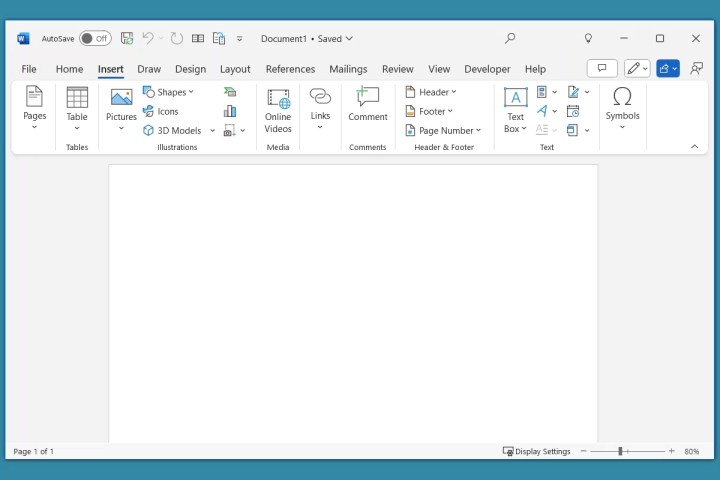 Insert tab in Word.
Draw Tab: Freehand Annotations
The Draw tab allows freehand drawing with pens, markers, and highlighters. It also offers options for background formatting, ink-to-shape conversion, and stencil use.
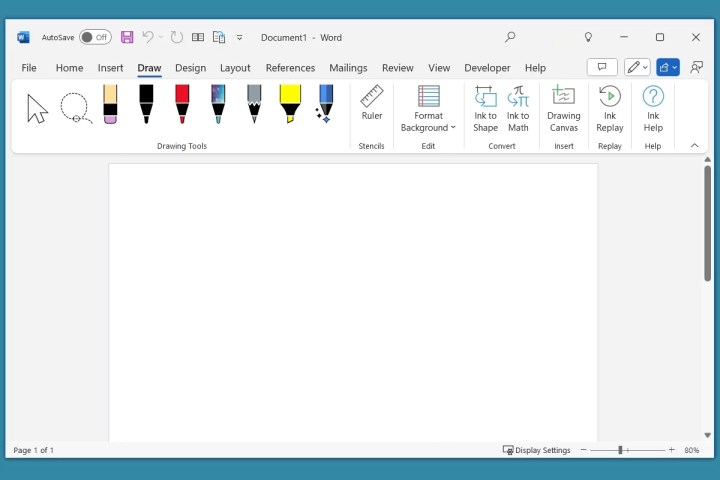 Draw tab in Word.
Design Tab: Document Styling
Change the overall appearance of your document using the Design tab. Choose from themes, apply document formatting, add watermarks, change background colors, and apply page borders.
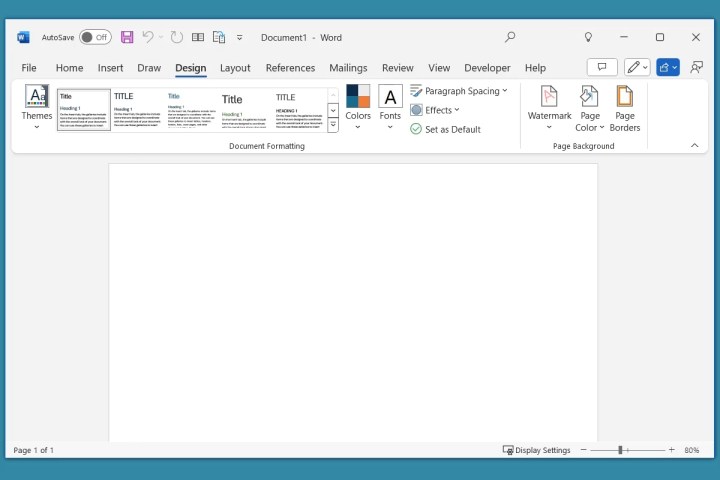 Design tab in Word.
Layout Tab: Page Structure
The Layout tab controls document structure, including page setup (margins, orientation, size, columns, breaks), paragraph settings (indents, spacing), and object arrangement (text wrapping, alignment).
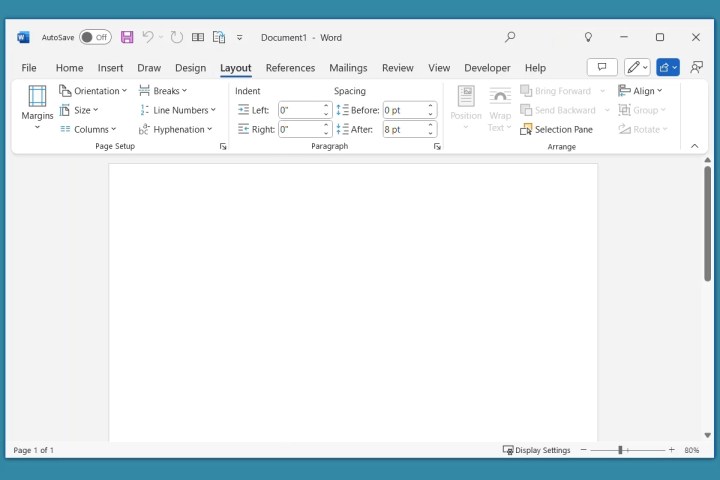 Layout tab in Word.
Conclusion: Mastering Microsoft Word
This tutorial covered the basics of Microsoft Word, from creating and saving documents to navigating the interface and using essential tabs and tools. Explore the various features and functionalities to create professional and impactful documents. For further learning, explore additional resources and tutorials available online.


