Upgrading your PC with a Solid State Drive (SSD) is one of the easiest and most effective ways to boost its performance. It’s a simple process, even for beginners. This guide provides a comprehensive walkthrough for installing both NVMe and SATA SSDs, empowering you to upgrade your PC’s storage with confidence.
Choosing the Right SSD
Before diving into the installation, ensure you’ve selected the correct SSD for your system. Our guide on how to buy an SSD will help you determine the right form factor (M.2 or 2.5-inch), compatibility with your motherboard, and the optimal speed and capacity for your needs. If you already have your SSD, proceed to the installation instructions below.
Installing an NVMe SSD
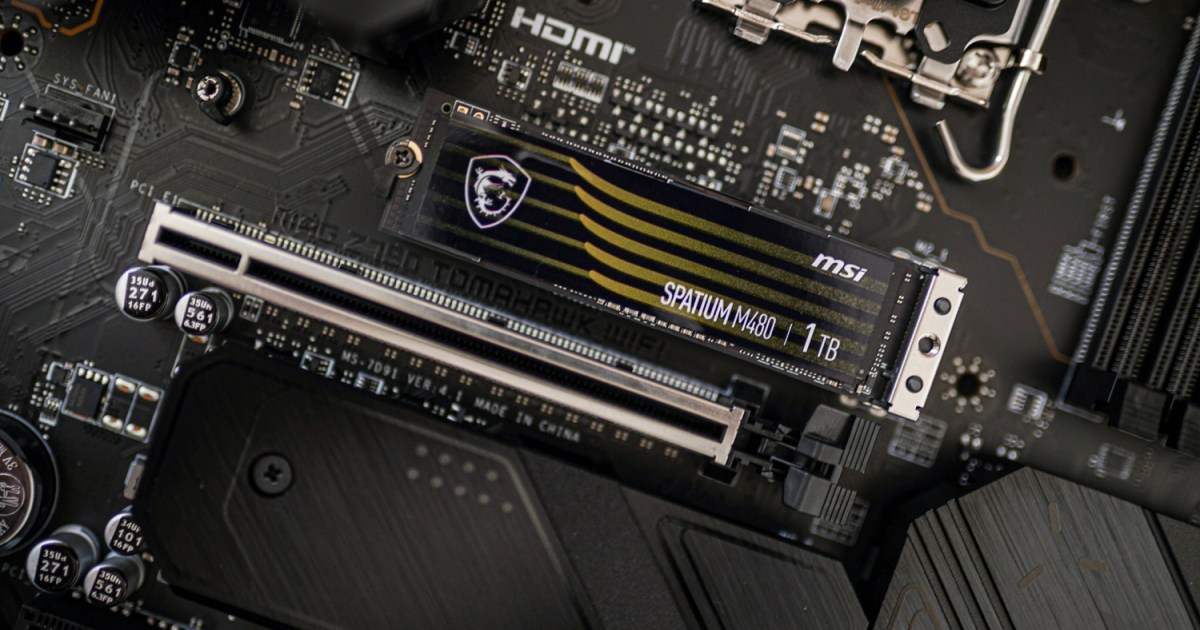
NVMe SSDs are the most common type in modern PCs, utilizing the M.2 form factor and offering blazing-fast speeds. Most motherboards include dedicated M.2 slots.
Step 1: Prepare Your Workspace: Power down your computer, unplug all cables, and place it on a well-lit, stable surface.
Step 2: Access the Motherboard: Remove the side panel of your PC case. The method varies depending on your case, but typically involves unscrewing the rear panel.
Step 3: Ground Yourself: Prevent electrostatic discharge by wearing an anti-static wrist strap or touching a metal part of the case. This is crucial to protect your components.
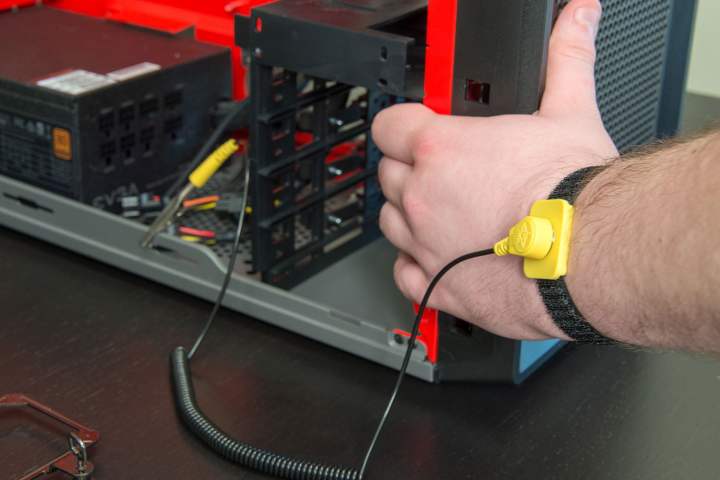 Anti-static wristband on a man
Step 4: Locate the M.2 Slot: M.2 slots are usually found near the center of the motherboard, sometimes closer to the PCIe slots. They might also be hidden beneath your graphics card, which you may need to temporarily remove for access.
Step 5: Prepare the M.2 Slot: Remove any retaining screws and pre-installed heatsinks covering the M.2 slot.
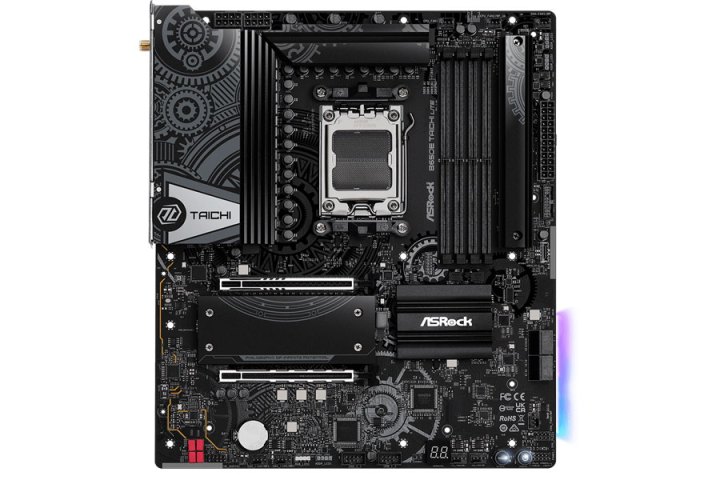 ASRock Taichi B650E motherboard
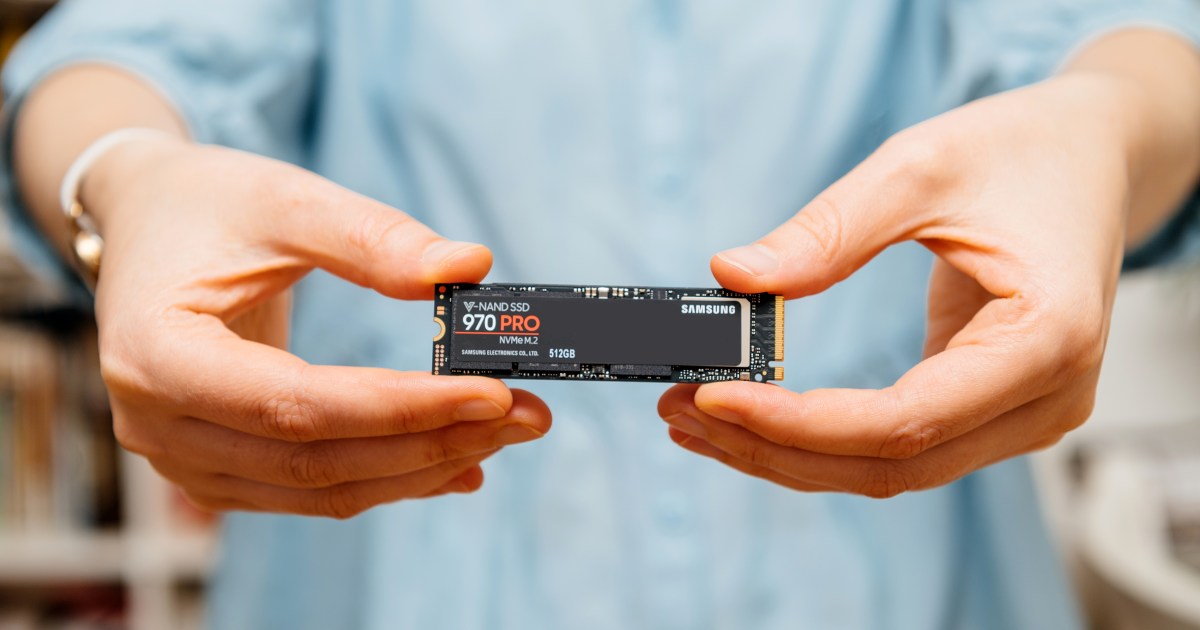
Step 6: Install the NVMe SSD: Insert the SSD into the slot at a 45-degree angle. Gently push it in until it clicks into place. Then, lower the SSD and secure it with the retaining screw. Re-attach any heatsinks you removed earlier.
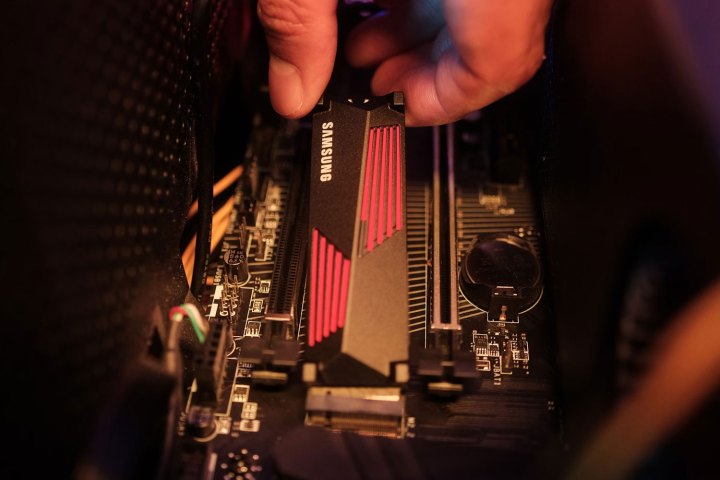 Installing a Samsung SSD.
Step 7: Verify Installation: Reconnect all cables, power on your PC, and check the BIOS and Windows Disk Management to ensure the new SSD is recognized. You may need to initialize the drive if it doesn’t appear automatically. If you encounter issues, refer to our troubleshooting guide for solutions.
Installing a SATA SSD
SATA SSDs remain a cost-effective way to enhance storage capacity and speed. While installation requires a few extra steps, it’s still manageable.
Step 1: Prepare Your System: Shut down your PC, unplug all cables, remove the side panel, and place it on a well-lit workspace.
Step 2: Find a Drive Bay: Locate an available 2.5-inch drive bay. If none are available, you may need to remove an existing drive or securely mount the SSD using tape or brackets.
Step 3: Connect Power and Data Cables: Connect the L-shaped SATA power connector to the SSD and then connect a SATA data cable to both the SSD and a free SATA port on your motherboard, typically located along the front edge.
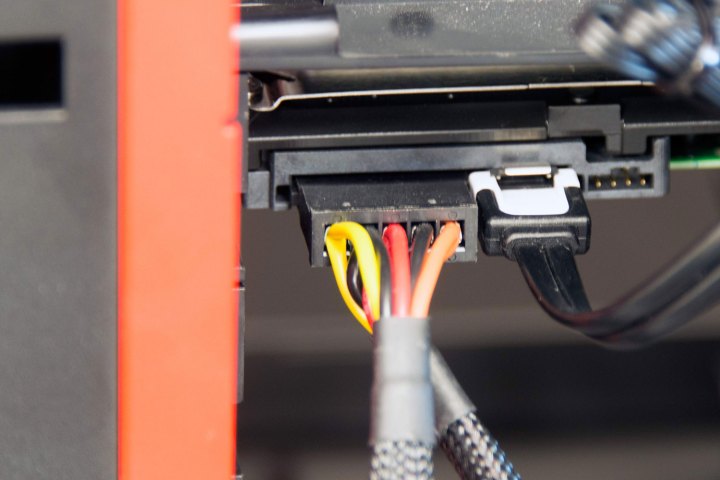 SATA power cable connected to hard drive.
Step 4: Confirm Installation: Reconnect all cables, boot your PC, and verify the SSD’s presence in the BIOS and Windows Disk Management. You may need to initialize the drive. If issues arise, consult our troubleshooting guide linked in the NVMe section.
Conclusion
Installing an SSD is a straightforward upgrade that significantly improves your PC’s performance. Whether you opt for an NVMe or SATA SSD, this guide provides the necessary steps to complete the installation process successfully. Enjoy the benefits of faster boot times, quicker application loading, and enhanced overall system responsiveness. For laptop users seeking a storage upgrade, refer to our guide on how to install an SSD in your laptop.
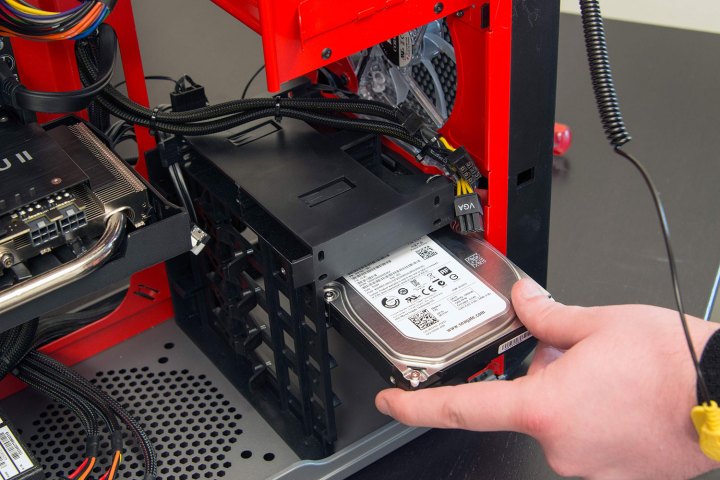 Hard drive slot in PC.


