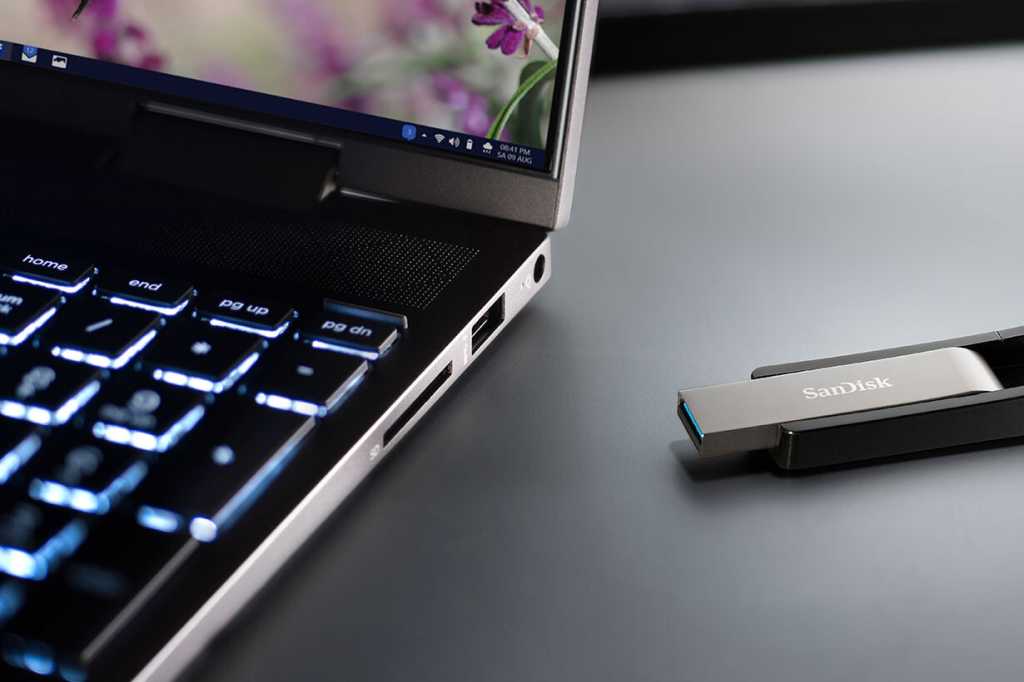
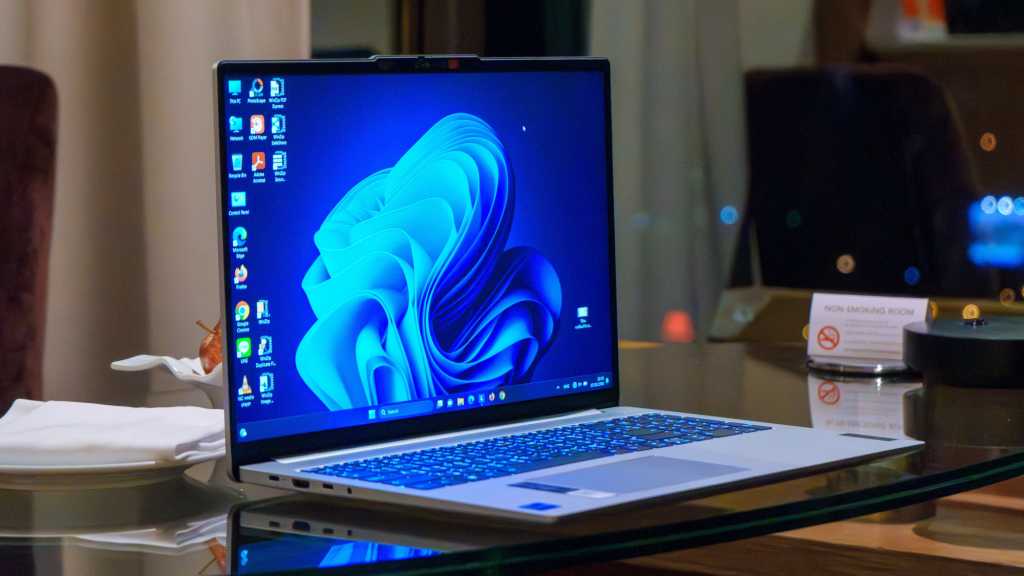
When you connect a USB drive or memory card to your Windows PC, you’re likely greeted by the AutoPlay notification, asking you to choose an action. This prompt can be helpful, but it can also be disruptive. This article explains how to disable AutoPlay completely or customize its behavior to your preferences.
Windows typically offers three default options for handling newly connected storage devices: “Configure storage settings,” “Open folder to view files,” and “Do nothing.” This applies to both USB drives and memory cards inserted via a card reader.
If you find this notification unnecessary, you can easily turn it off. Open the Windows Settings by searching for “Settings” in the Start Menu. Navigate to “Bluetooth & devices” and then select “AutoPlay.” Toggle the “Use AutoPlay for all media and devices” switch to the “Off” position.
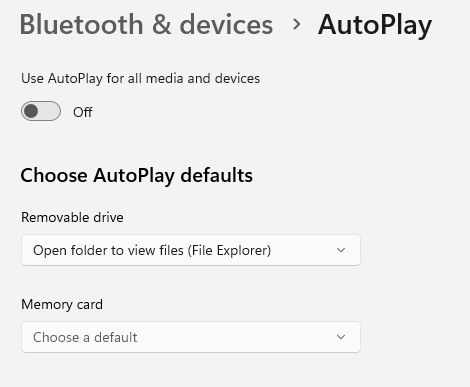 Windows autoplay
Beyond simply disabling AutoPlay, you can also tailor its actions for specific device types like removable drives (USB sticks, external hard drives), memory cards, and even your smartphone. Within the same “AutoPlay” settings window, locate the “Choose AutoPlay defaults” section. Here, you’ll find dropdown menus corresponding to different device types.
Selecting “Configure storage settings” will automatically open the “System > Storage” settings window upon connecting a device, allowing you to manage storage usage.
Choosing “Take no action” instructs Windows to ignore the newly connected device. “Open folder to view files” will immediately open File Explorer, displaying the contents of the USB drive or memory card. Finally, the “Ask me every time” option restores the original notification prompt, allowing you to choose an action on a case-by-case basis.
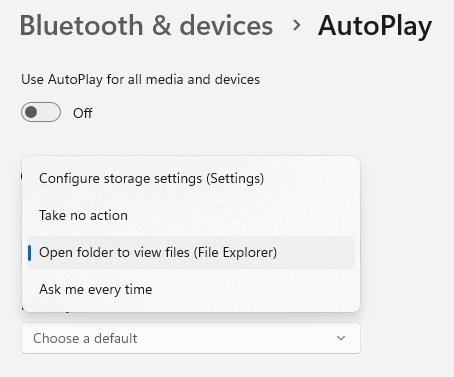 Windows autoplay settings
By customizing these settings, you can streamline your workflow and control how Windows interacts with your external storage devices. Choose the option that best suits your needs, whether it’s automatic file browsing, storage management, or simply maintaining silence.


