Installing a new CPU can seem daunting, but with the right preparation and a careful approach, it’s a straightforward process. This guide provides a comprehensive walkthrough for installing an Intel CPU, ensuring a smooth and successful upgrade.
Intel CPU installation shares similarities with AMD’s process, but with some key differences. Before diving in, gather the necessary tools and create a suitable workspace.
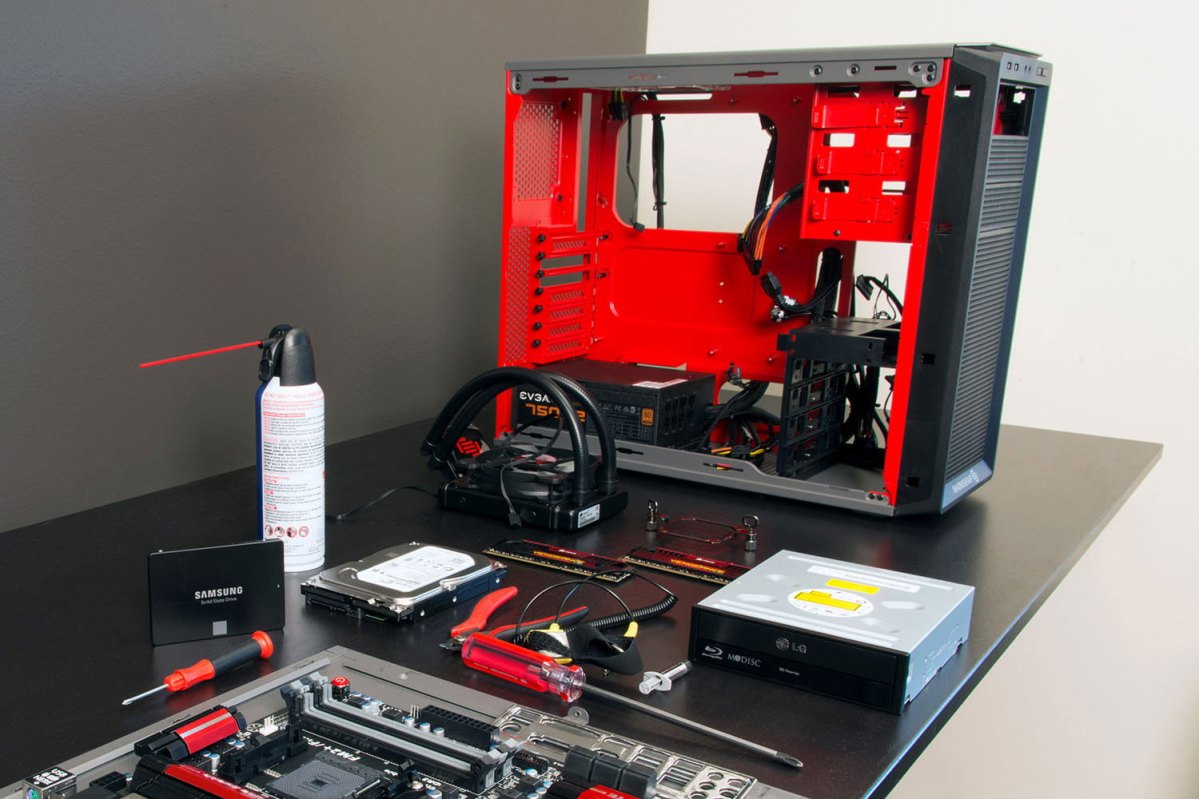
Step 1: Gather Your Tools and Prepare Your Workspace
 PC buildImage used with permission by copyright holder
Before starting, assemble the following tools:
- Anti-static wristband (recommended): This safeguards your CPU and motherboard from electrostatic discharge. If unavailable, ground yourself by touching the PC case or PSU chassis before and during installation.
- CPU: The Intel processor you’ll be installing.
- Motherboard: Compatible with your chosen CPU.
- CPU cooler: The stock cooler included with the CPU is usually sufficient.
- Thermal paste: Necessary if your cooler doesn’t have pre-applied paste.
- Phillips head screwdriver: Needed for certain cooler installations.
- Lint-free cloth and isopropyl alcohol (90% or higher): Useful for cleaning any excess thermal paste.
Choose a clean, non-conductive workspace like a desk. Clear the area of any clutter and ensure the surface is clean.
Step 2: Locate and Prepare the CPU Socket
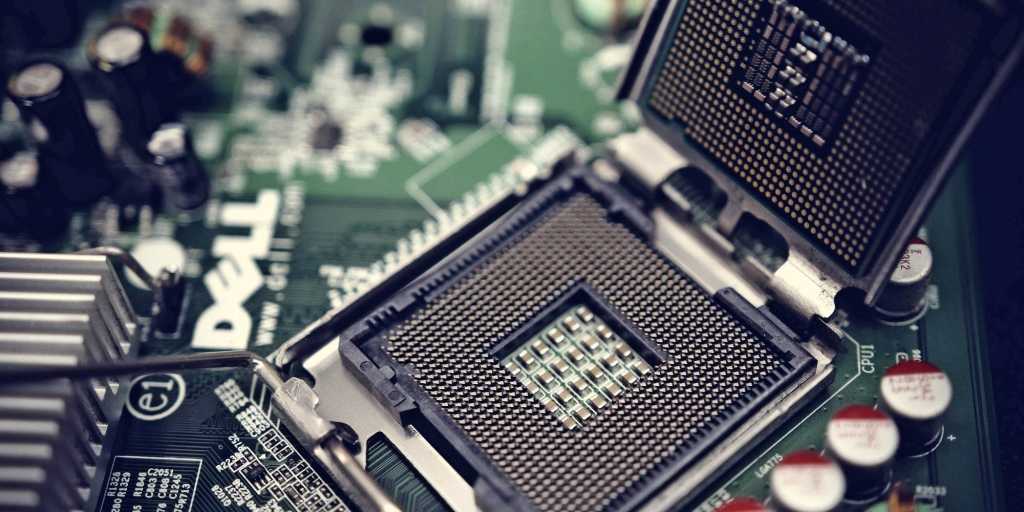
Identify the CPU socket on your motherboard. Refer to your motherboard manual if needed. The socket for Intel Core i5, i7, and i9 processors is typically a rectangular area with a metal retention arm.
Release the retention arm to lift the bracket. If the motherboard is new, remove the plastic protector. If an old CPU is present, carefully remove it and set it aside.
Step 3: Install the CPU
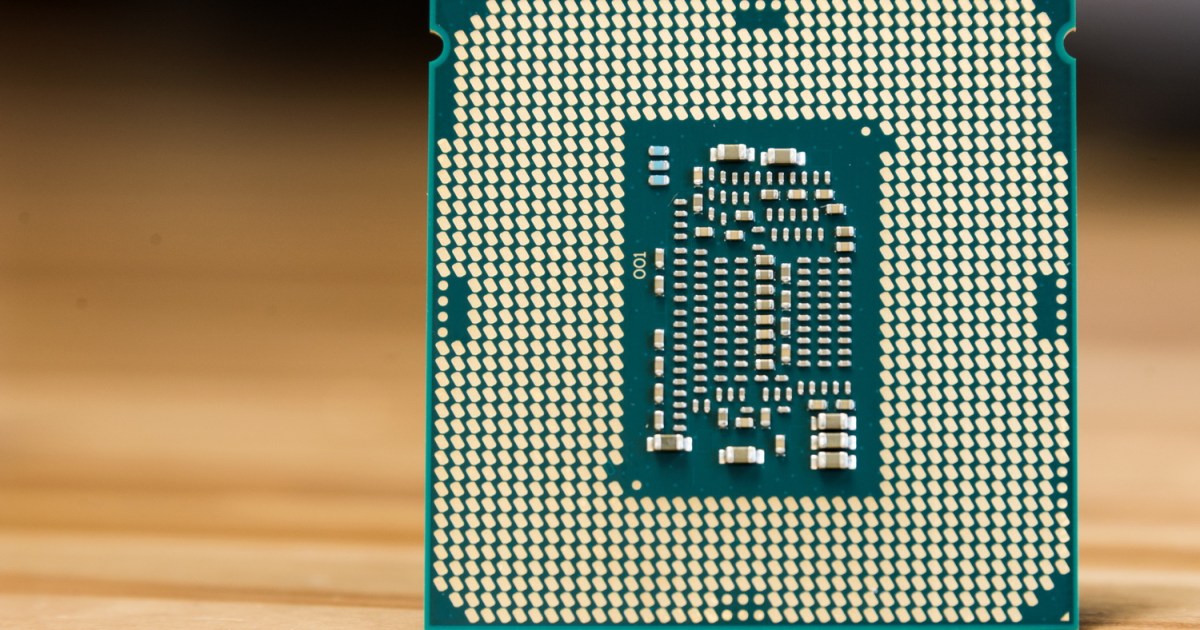
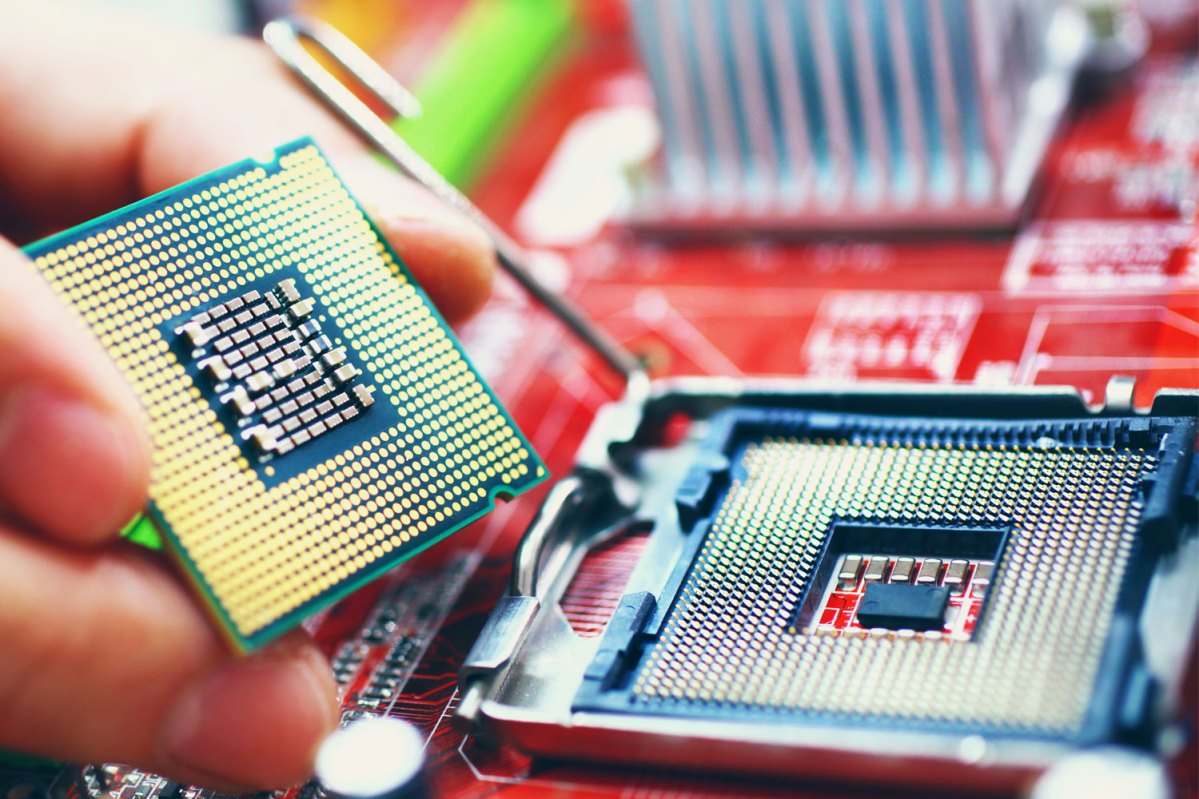
Unlike AMD CPUs with pins on the processor, Intel CPUs have contact points, and the pins are located in the socket. This requires careful handling during installation.
Locate the gold triangle on the corner of your Intel CPU. Align this triangle with the corresponding arrow or triangle marking on the CPU socket. Gently lower the CPU into the socket, ensuring it sits flush without any force.
Once the CPU is correctly positioned, secure it by pressing down the retention arm. This requires some pressure, but avoid excessive force.
Step 4: Apply Thermal Paste and Install the Cooler
Thermal paste is crucial for efficient heat transfer between the CPU and cooler. If your cooler has pre-applied thermal paste, skip this step.
Otherwise, apply a pea-sized amount of thermal paste (e.g., Thermal Grizzly Kryonaut) to the center of the CPU. Consult your cooler’s manual for specific instructions.
Caution: Some thermal pastes are electrically conductive. Avoid contact with the CPU’s underside or surrounding pins. Clean any spills with isopropyl alcohol and a lint-free cloth.
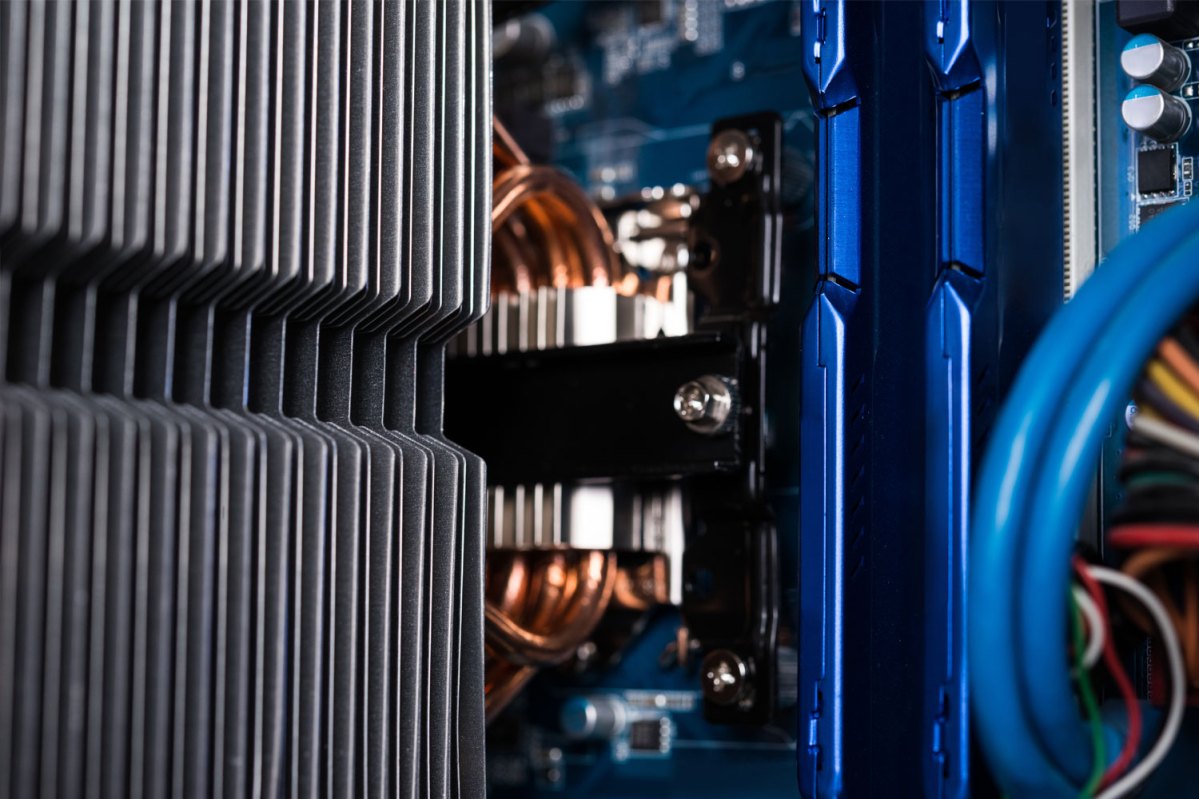
Install the cooler according to its manual. Tighten screws gradually in a cross-pattern to ensure even pressure distribution. Connect the cooler’s fan to the CPU_FAN header on your motherboard.
Step 5: Test and Monitor
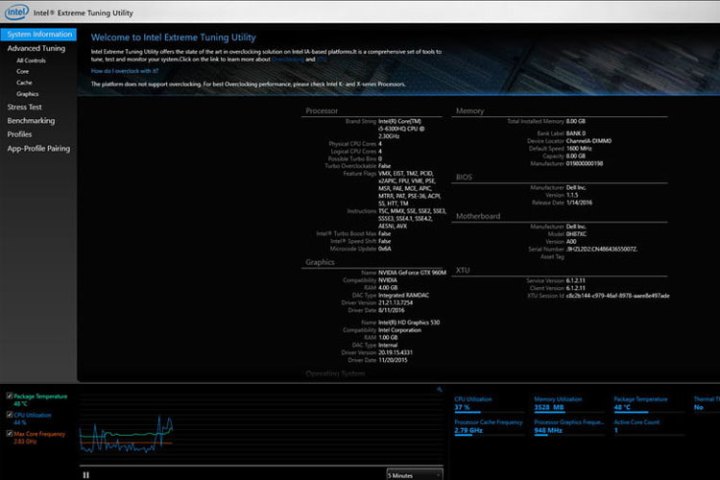 Image used with permission by copyright holder
After completing the installation, connect all components and power on your system. Ensure the system POSTs (Power-On Self-Test) by checking for a beep and display output (system logo or numbers on a black screen).
Boot into your operating system and monitor CPU temperatures using software like Intel Extreme Tuning Utility (Download) or HWInfo (Download). Idle temperatures should be slightly above ambient room temperature. Test under load (gaming or benchmarks) to verify stability.
If issues arise, such as boot failures or high temperatures, try reseating the CPU by carefully repeating the installation steps.
Further Resources
For more detailed information, refer to our guide on how to build a PC. We also have helpful guides on how to install a motherboard and how to install a graphics card.


