AMD CPUs are a popular choice for builders of all budgets, offering excellent performance. While slightly different from Intel processors, installing an AMD CPU is a straightforward process. This guide provides a detailed walkthrough, ensuring a smooth installation experience.
Preparing for Installation
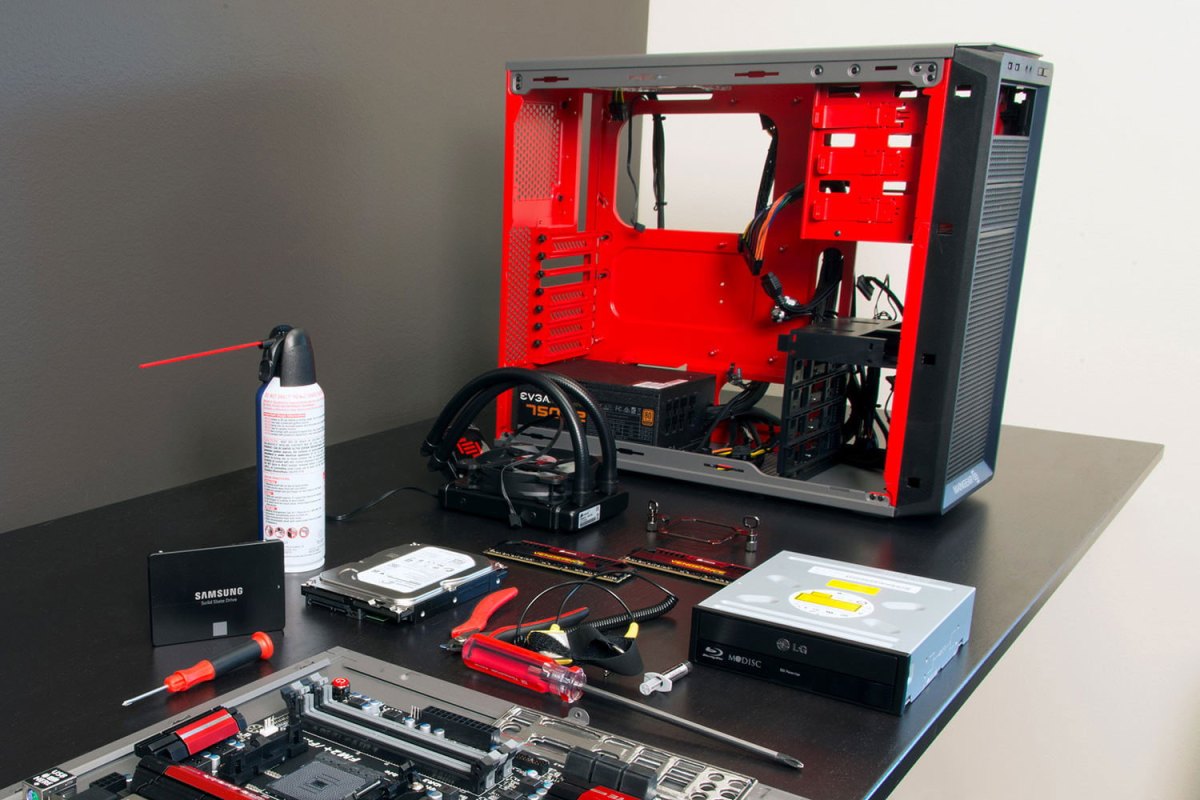
Before you begin, gather all the necessary components: your AMD CPU, compatible motherboard, and CPU cooler. If your cooler doesn’t have pre-applied thermal paste, you’ll need to purchase some separately. A lint-free cloth and 99% isopropyl alcohol are handy for cleaning up any excess thermal paste. An anti-static wrist strap or grounding yourself by touching a metal object is crucial to prevent electrostatic discharge from damaging components. Ensure your workspace is clean and well-lit to avoid introducing dust and debris into the CPU socket. Some coolers may require a Phillips head screwdriver for installation, so check your cooler’s instructions.
Locating the CPU Socket
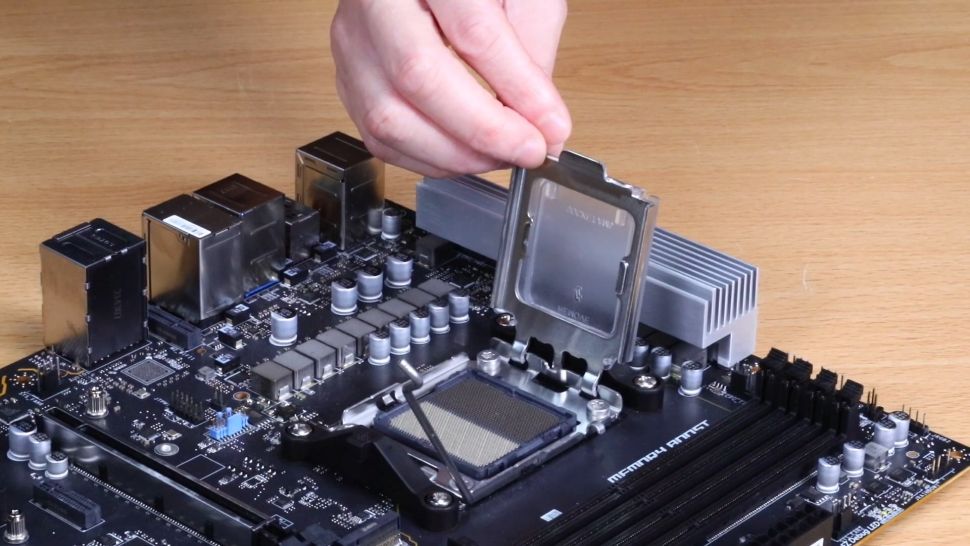
The CPU socket is a rectangular area on the motherboard with a metal lever, the retention arm. This arm secures the CPU in place. Consult your motherboard manual for the exact location. Lift the retention arm to the vertical position. If the motherboard is new, remove the protective plastic insert. If replacing an existing CPU, carefully remove the old CPU and its cooler, following the cooler’s removal instructions. Handle the old CPU with care if you plan to reuse it.
Installing the CPU
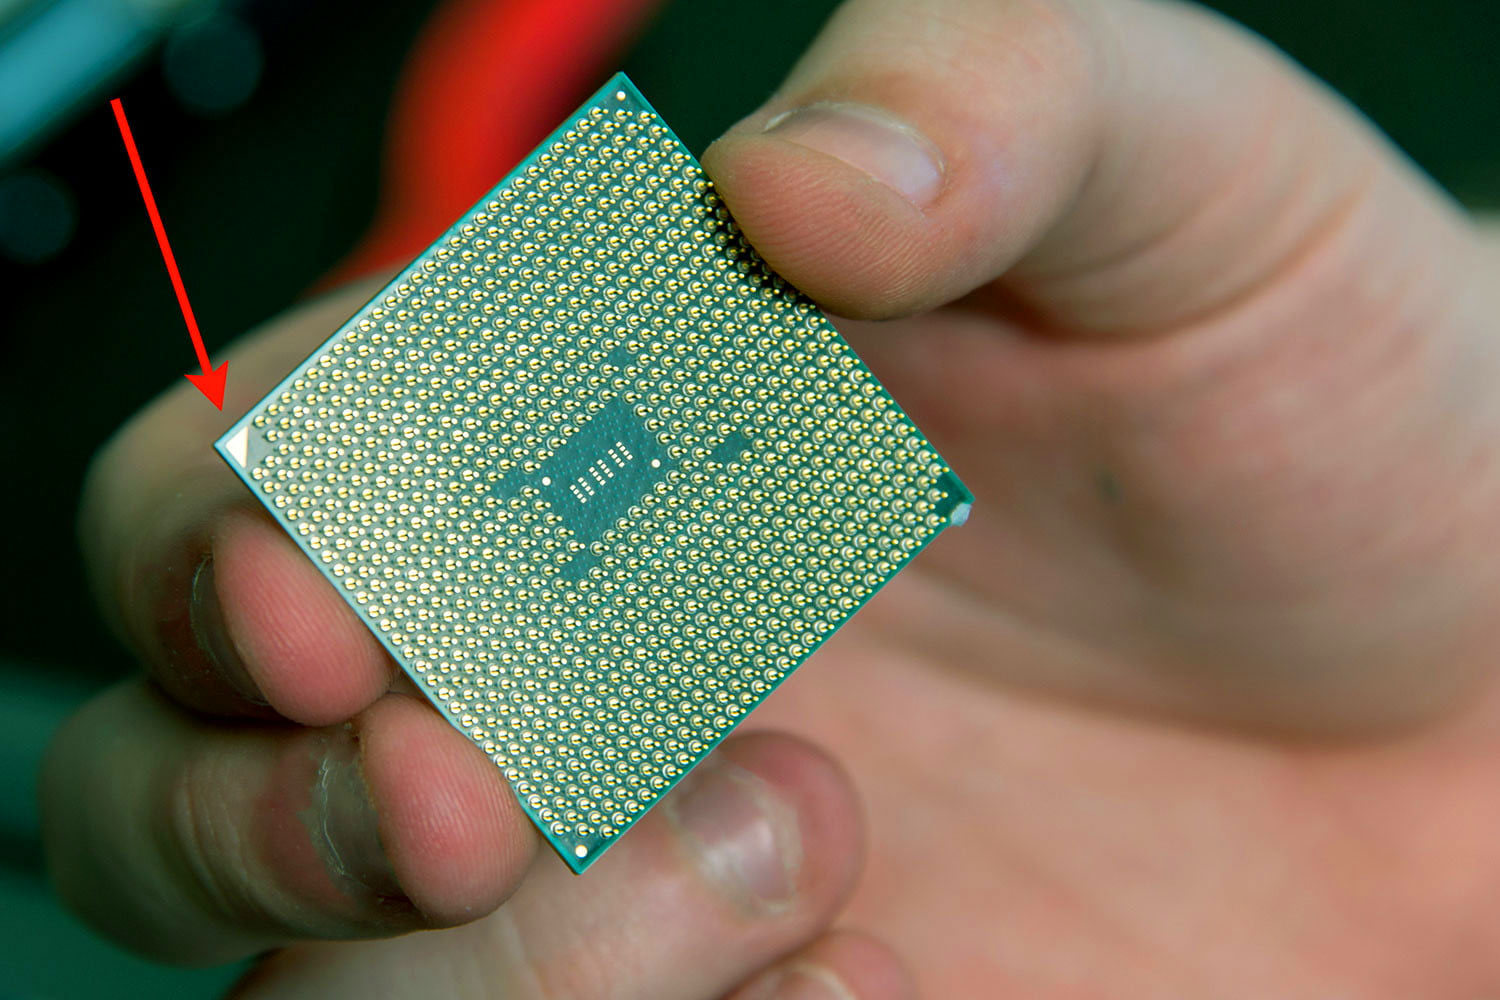
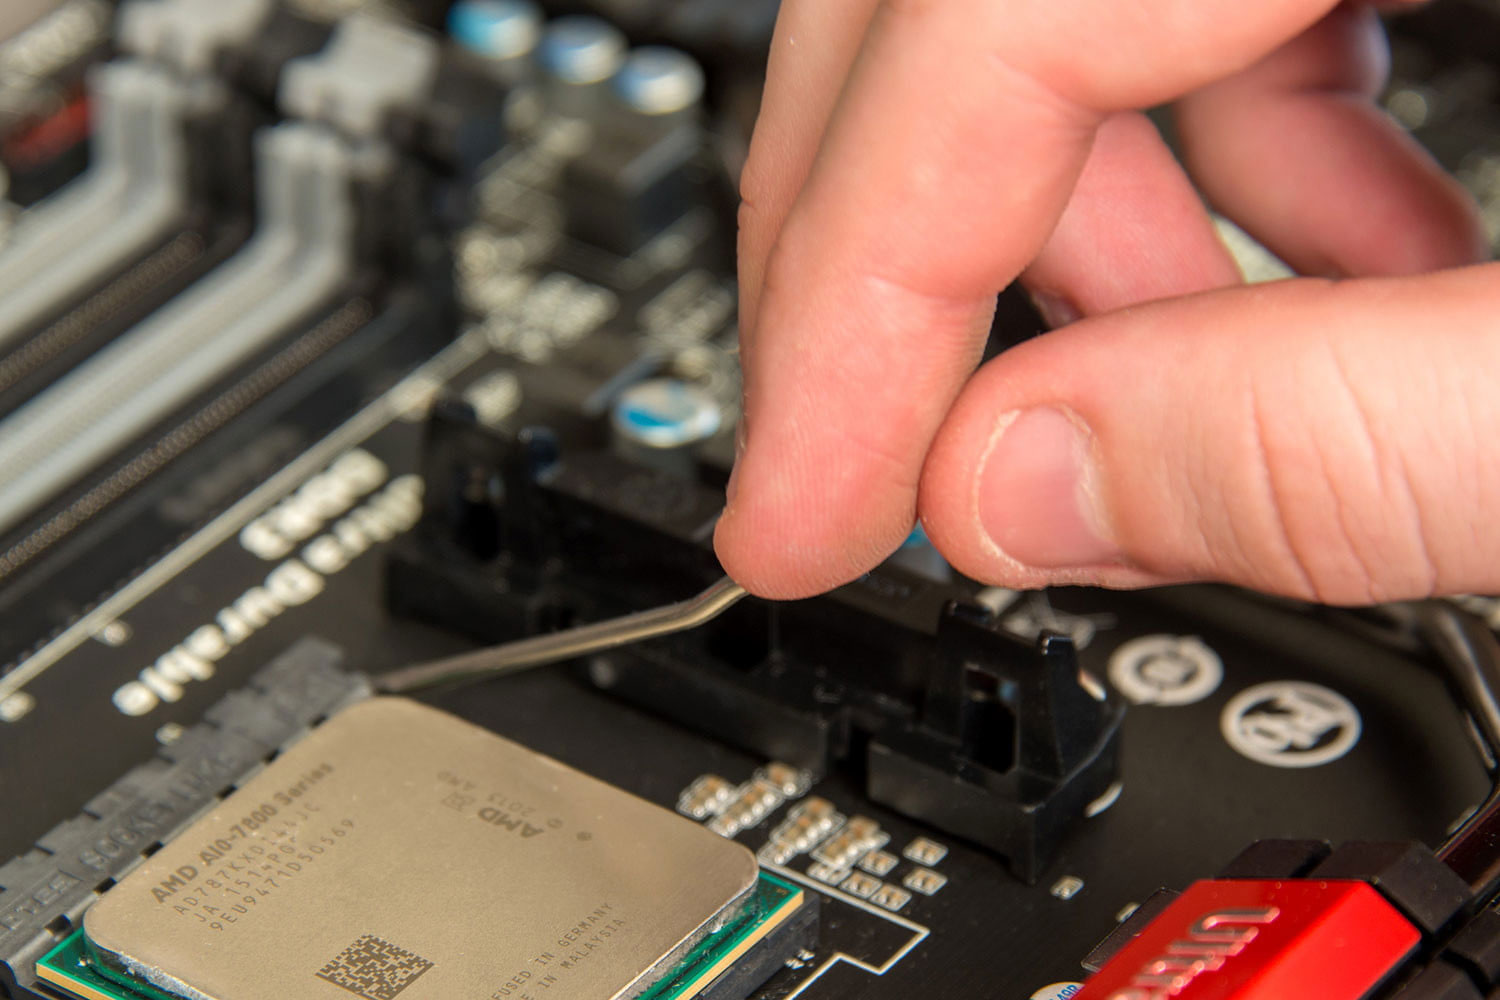
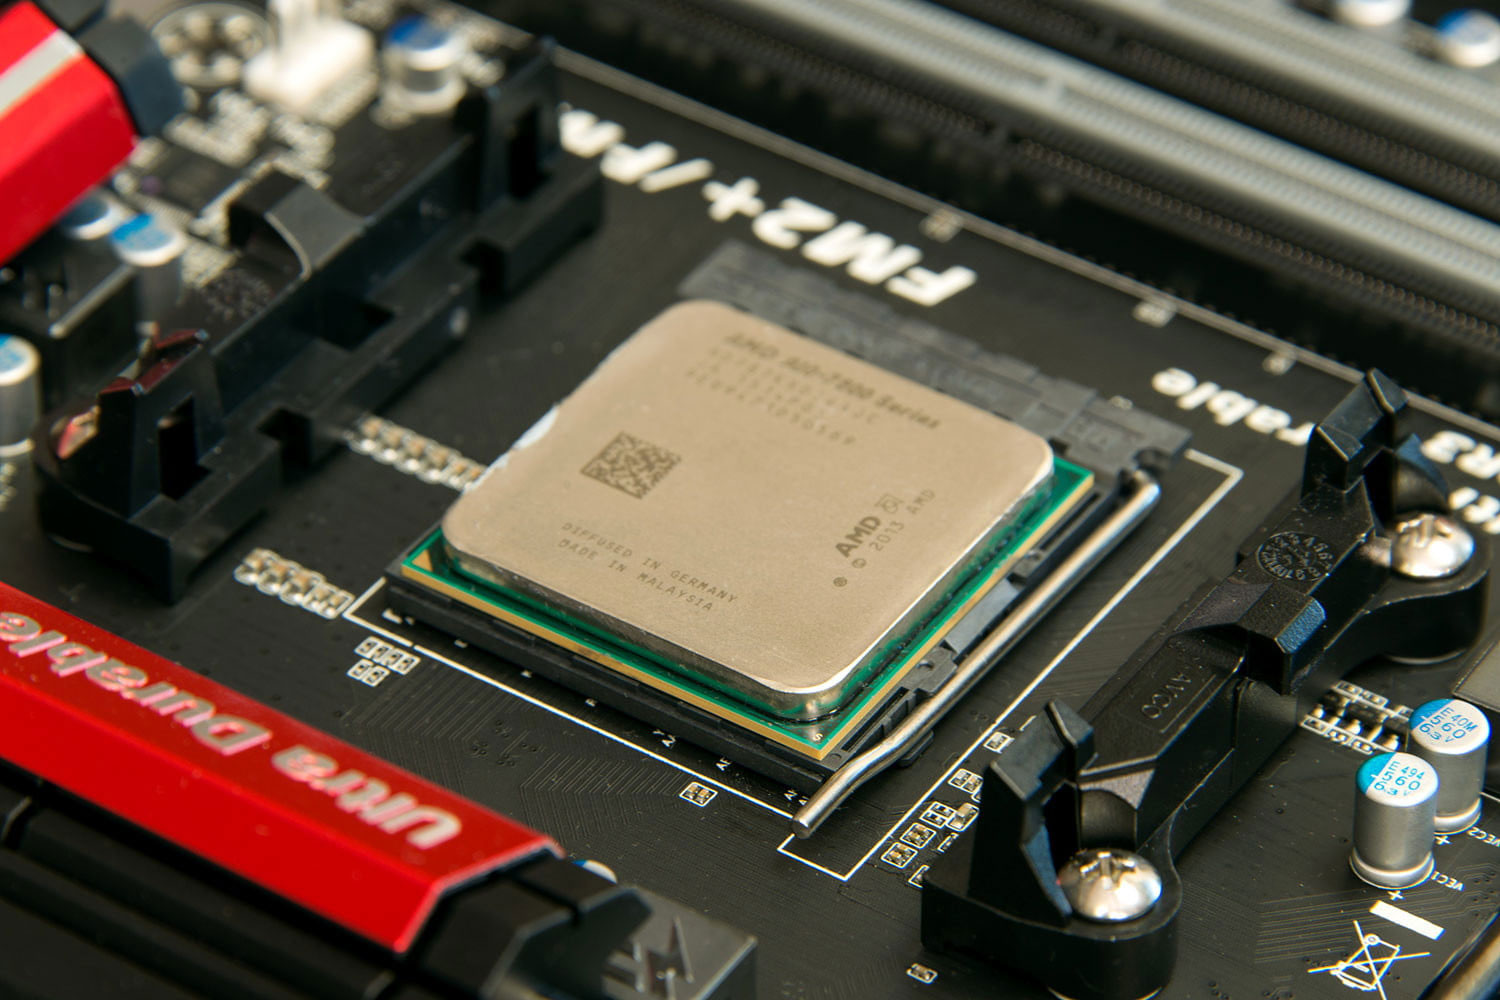
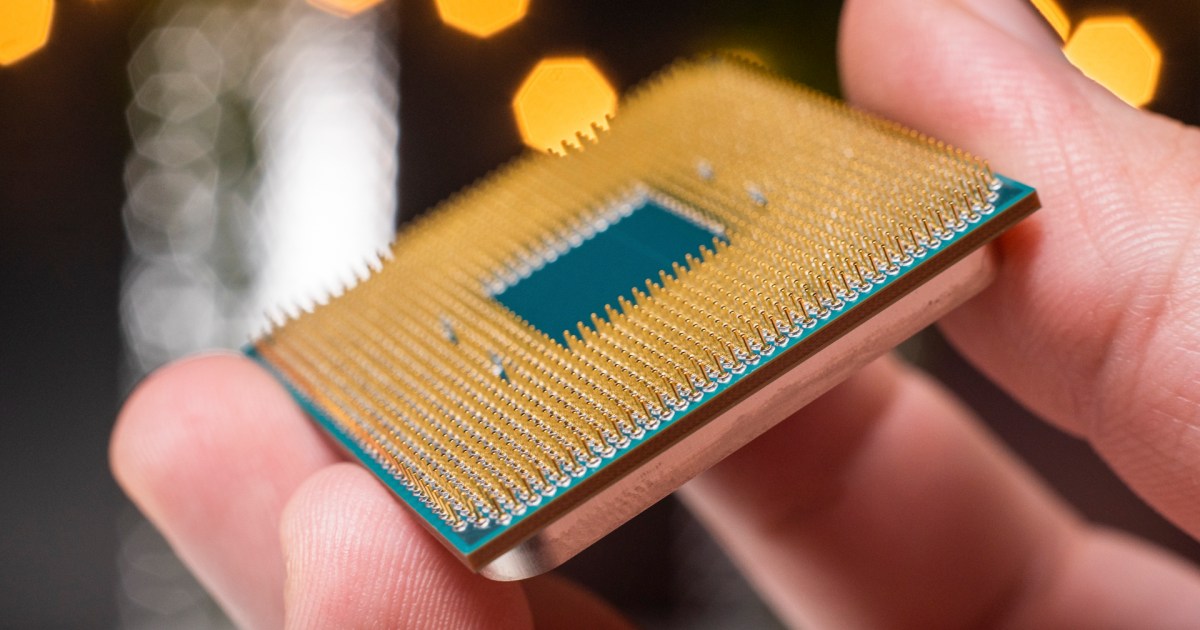
Carefully unpack your new CPU. Locate the golden triangle on one corner of the CPU. This triangle aligns with a matching mark on the CPU socket. Gently place the CPU into the socket, ensuring the pins (PGA) or contact pads (LGA) align correctly. It should fit smoothly without force. Once seated, lower the retention arm to secure the CPU. It will require a slight amount of pressure, but shouldn’t feel excessive.
Installing the CPU Cooler
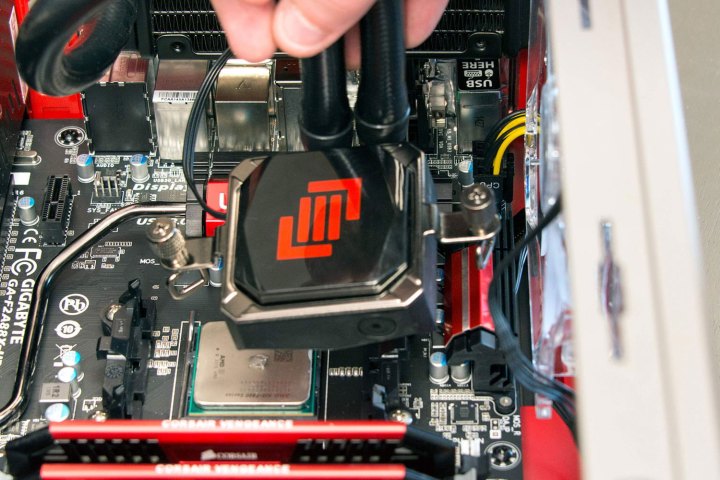
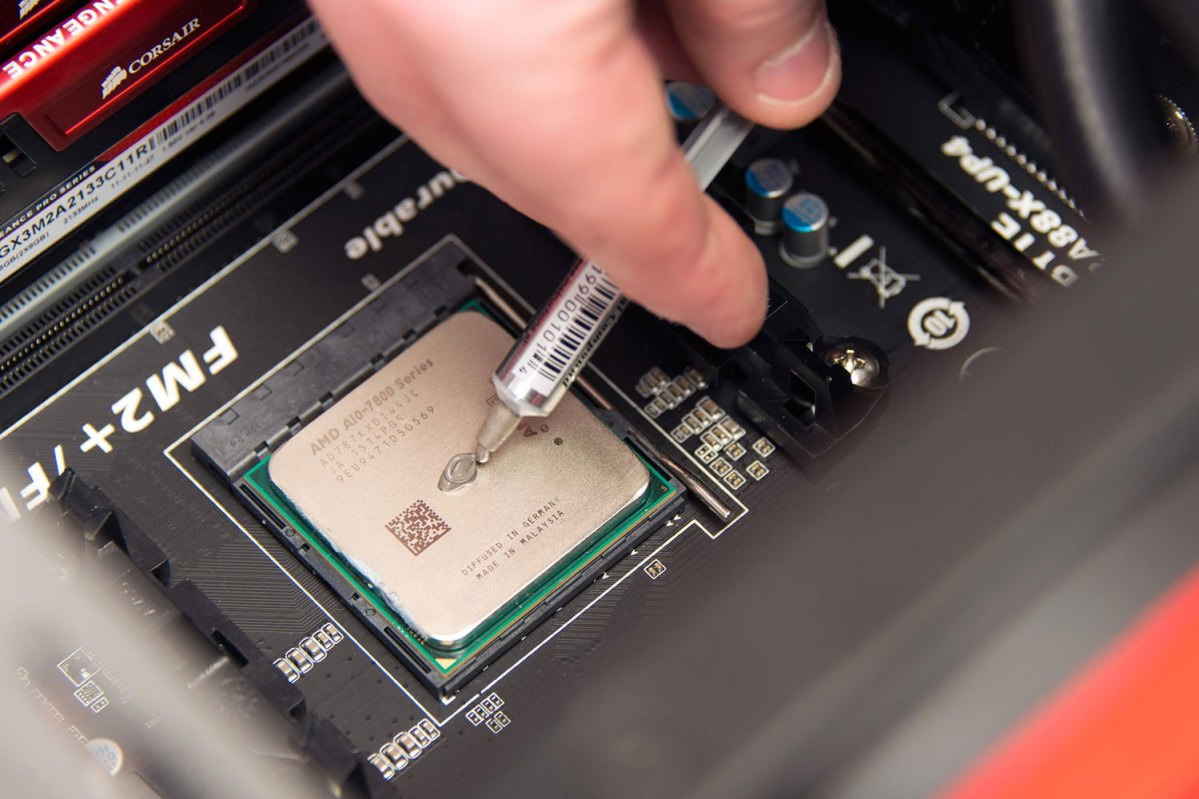
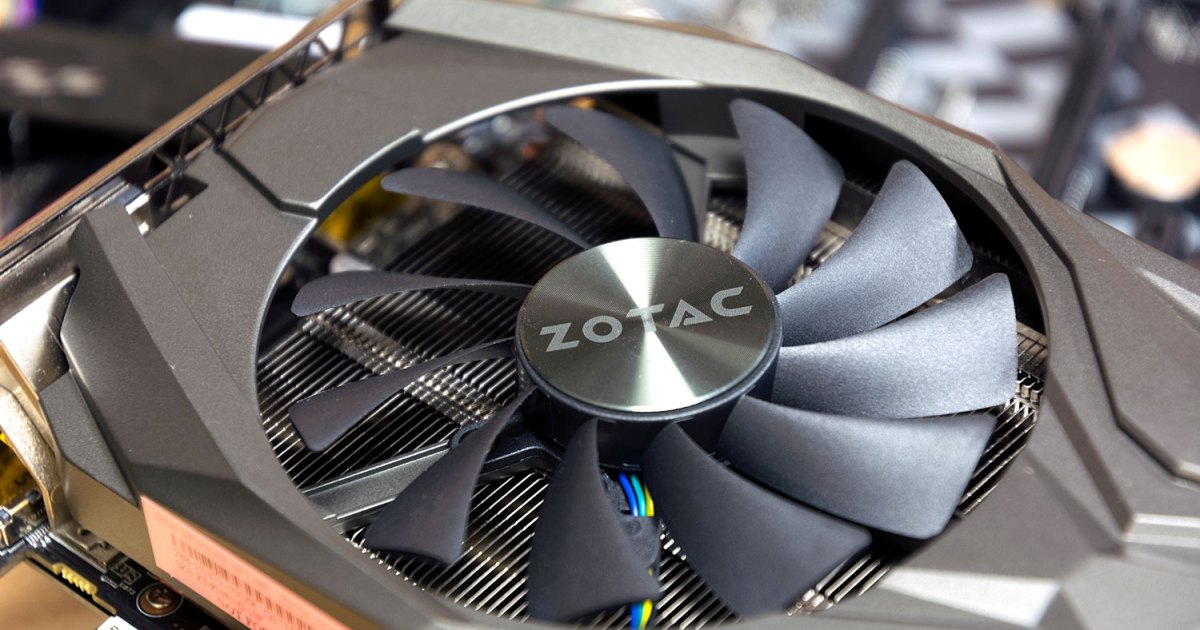
A CPU cooler is essential for dissipating heat. Consult your cooler’s manual for specific installation steps. You may need to access the rear of the motherboard. If your cooler doesn’t have pre-applied thermal paste, apply a pea-sized amount to the center of the CPU. If using a thermal pad, ensure it fits snugly over the CPU. Install the cooler according to its instructions. When tightening the screws, use a cross pattern, gradually tightening each screw a turn or two at a time to ensure even pressure. Connect the cooler’s fan header to the corresponding CPU fan header on the motherboard.
Testing the Installation
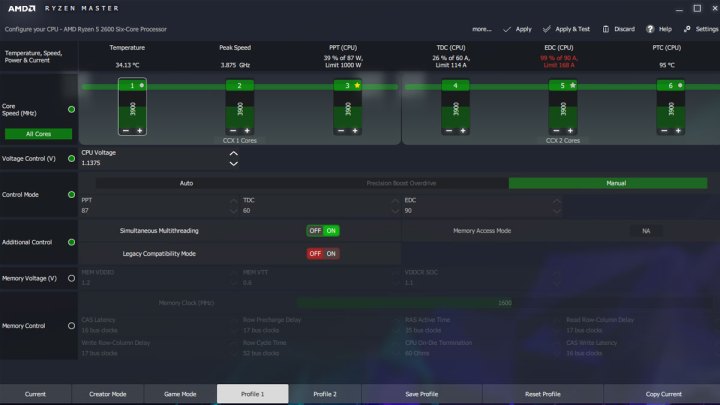
Once the installation is complete, power on your system. If it boots successfully, congratulations! Use a temperature monitoring tool like AMD Ryzen Master or HWInfo to check CPU temperatures. If the temperatures are too high, double-check the cooler installation. If the system doesn’t boot, consult your motherboard manual for troubleshooting tips and try reseating the CPU and cooler.


