Installing a new SSD should be simple, but sometimes your new drive might not appear as expected. This is especially frustrating if the SSD is intended as your Windows boot drive. This guide offers troubleshooting steps and answers common questions about this issue.
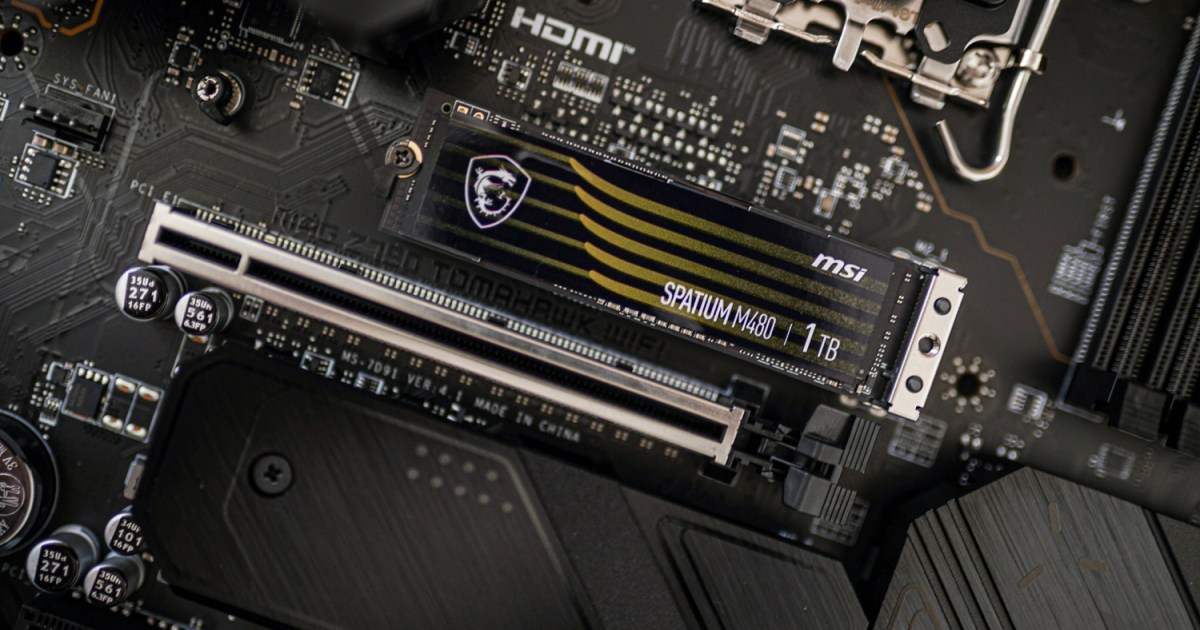
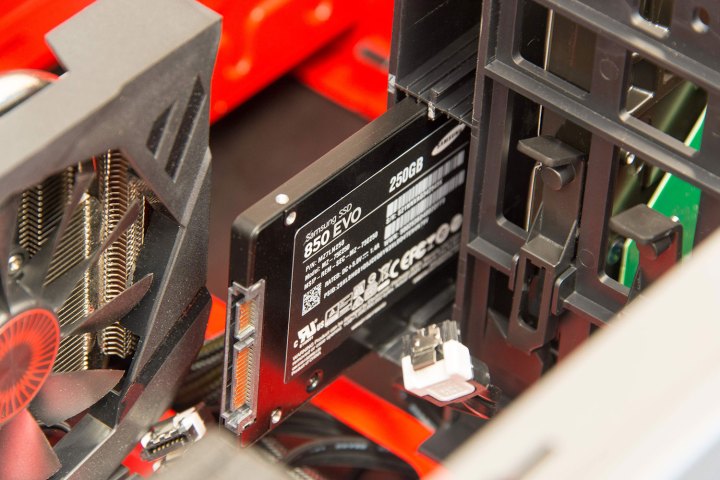 An SSD inside a PC. Bill Roberson / MaagX
Verify Proper SSD Installation
Double-checking the installation is crucial, even for experienced users. Overlooking a cable connection or improper mounting is easily done.
Step 1: For SATA SSDs, ensure both the SATA data cable and the SATA power cable are securely connected to the SSD and the motherboard/power supply, respectively. Try unplugging and reconnecting them to ensure a solid connection.
For NVMe SSDs, confirm the M.2 slot on your motherboard supports the SSD’s size and type (e.g., M.2 2280). While newer PCI Express generations generally support older NVMe drives, they may operate at reduced speeds.
Step 2: If the issue persists, try installing the drive in a different M.2 or SATA port on your motherboard and/or use a different SATA cable (if applicable).
Check BIOS/UEFI Settings
Your PC’s BIOS/UEFI settings might prevent it from recognizing the new SSD.
Step 1: Access the BIOS/UEFI by pressing the designated key during startup (often F2, Del, or another key specified by your motherboard manufacturer). Consult your motherboard manual or website if you’re unsure.
Step 2: Navigate to the storage or configuration section within the BIOS/UEFI. The layout varies significantly between systems, so refer to your documentation for specific instructions.
Step 3: For SATA SSDs, ensure the SATA Configuration is set to AHCI. If this doesn’t work, try switching to IDE or Compatibility mode.
Step 4: Some older motherboards require manual enabling of specific SATA ports within the BIOS. Check for this option and enable the appropriate ports if necessary.
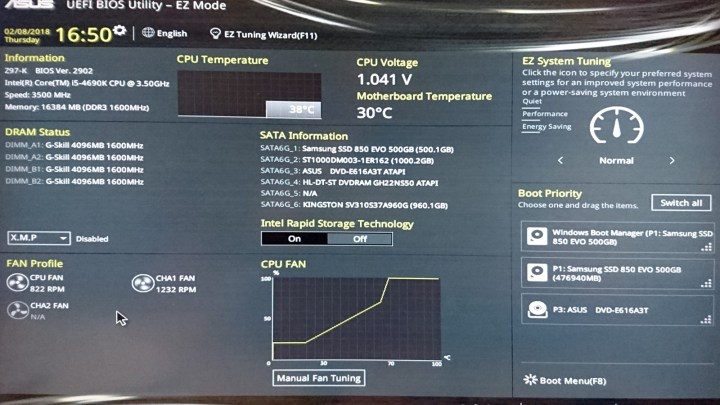 The UEFI BIOS. Jon Martindale / MaagX
Initialize the SSD in Windows
Windows might not recognize a new SSD until it’s initialized.
Step 1: Press Windows Key + X and select “Disk Management.”
Step 2: Identify the new SSD. Look for an unallocated drive with a black bar and a red circle icon.
Step 3: Right-click the drive and select “Initialize Disk.”
Step 4: Choose the partition style (GPT is recommended for modern systems), then click “OK.”
Step 5: After initialization, right-click the unallocated space, select “New Simple Volume,” and follow the prompts to create a volume.
Step 6: The SSD should now be ready for use.
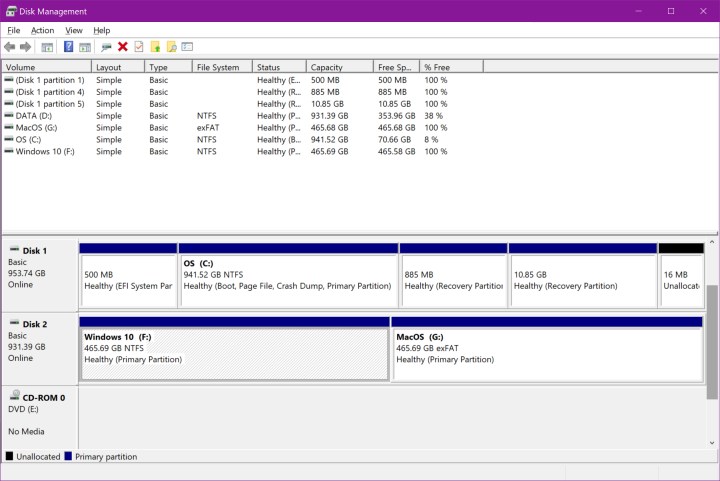 The Windows Disk Management window. MaagX
Assign or Change the Drive Letter
A drive letter conflict can prevent Windows from recognizing the new SSD.
Step 1: Open Disk Management (Windows Key + X).
Step 2: Right-click the SSD and select “Change Drive Letter and Paths.”
Step 3: Click “Add” (if no letter is assigned) or “Change” (to modify the existing letter).
Step 4: Choose an available drive letter from the dropdown menu. You can also remove an existing letter if needed, but be aware this might affect installed applications on that drive.
Step 5: Click “OK” and restart your PC.
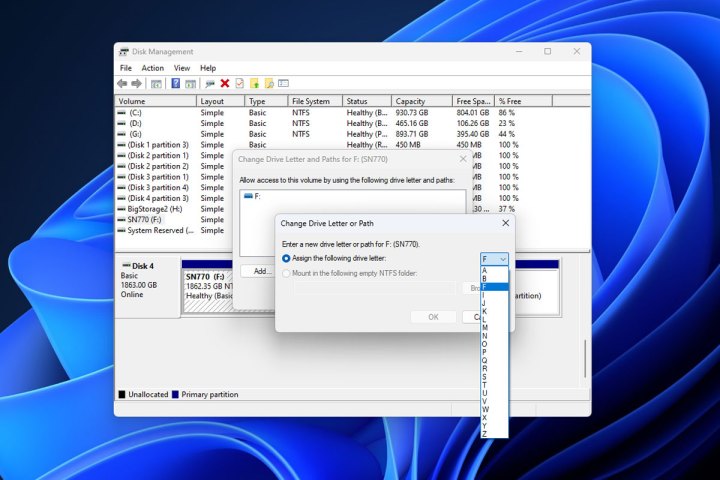 Changing a drive letter for an SSD in Windows 11. Jon Martindale / MaagX
Format the SSD
Formatting the drive can resolve underlying issues preventing detection.
Step 1: Open Disk Management.
Step 2: Right-click the problematic SSD and select “Format.”
Step 3: Choose NTFS as the file system and use the default allocation size.
Step 4: Enable “Quick Format” and click “OK.”
Step 5: Restart your PC after formatting.
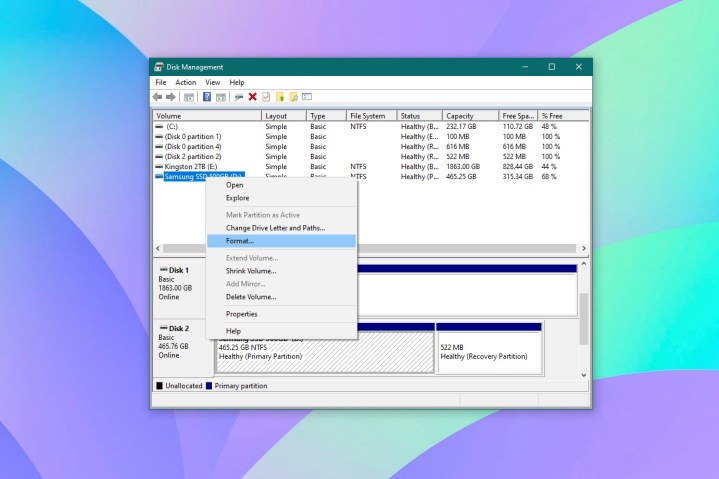 Screenshot of Disk Management utility to format SSD on Windows 10. MaagX
SSD Detected in BIOS but Not Windows?
If the SSD appears in BIOS but not Windows, verify correct configuration (AHCI/RAID settings). Use Disk Management to create a new volume or check the SATA controller’s connection to the motherboard.
Signs of a Failing SSD
Slow read/write speeds, sluggish application launches, and prolonged boot times can indicate a failing SSD.
Top SSD Manufacturers
Reputable SSD brands include Samsung, PNY, Western Digital, and Crucial. For a comprehensive guide, refer to our SSD buying guide.
If none of these solutions work, try a different SSD. If the alternative drive functions correctly, the original SSD might be faulty and require replacement.


