Maximizing your hardware’s performance is crucial for demanding tasks like gaming. One key component often overlooked is RAM. While you might understand RAM’s function, it might not be operating at its advertised speed. This is where XMP (Extreme Memory Profiles) comes in, allowing you to unlock superior performance.
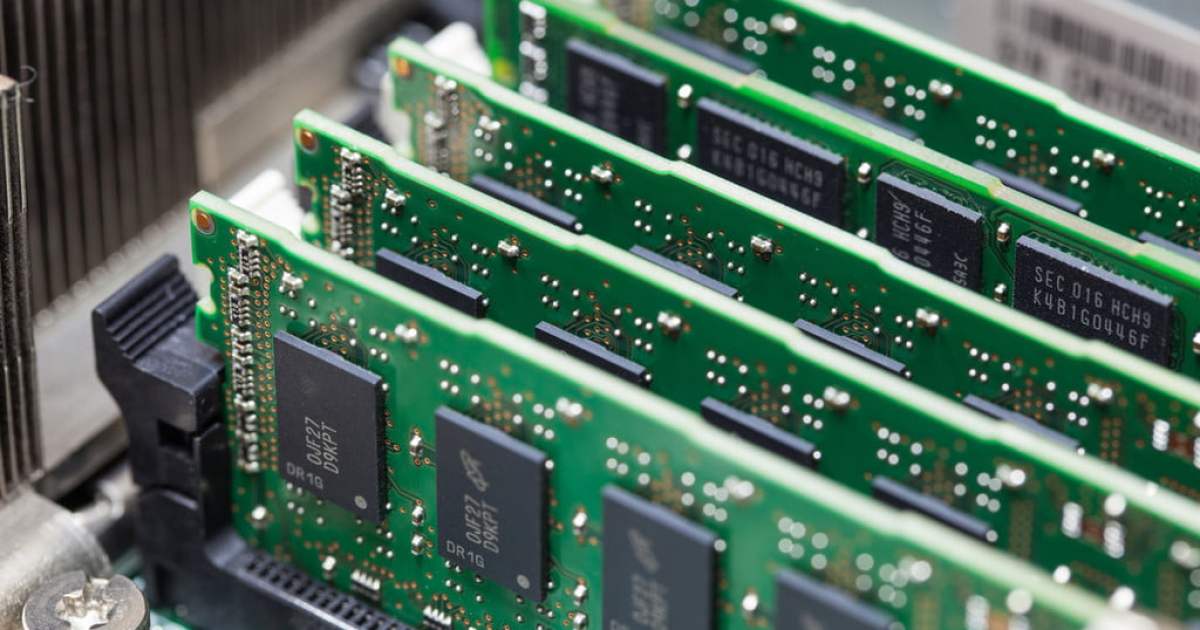
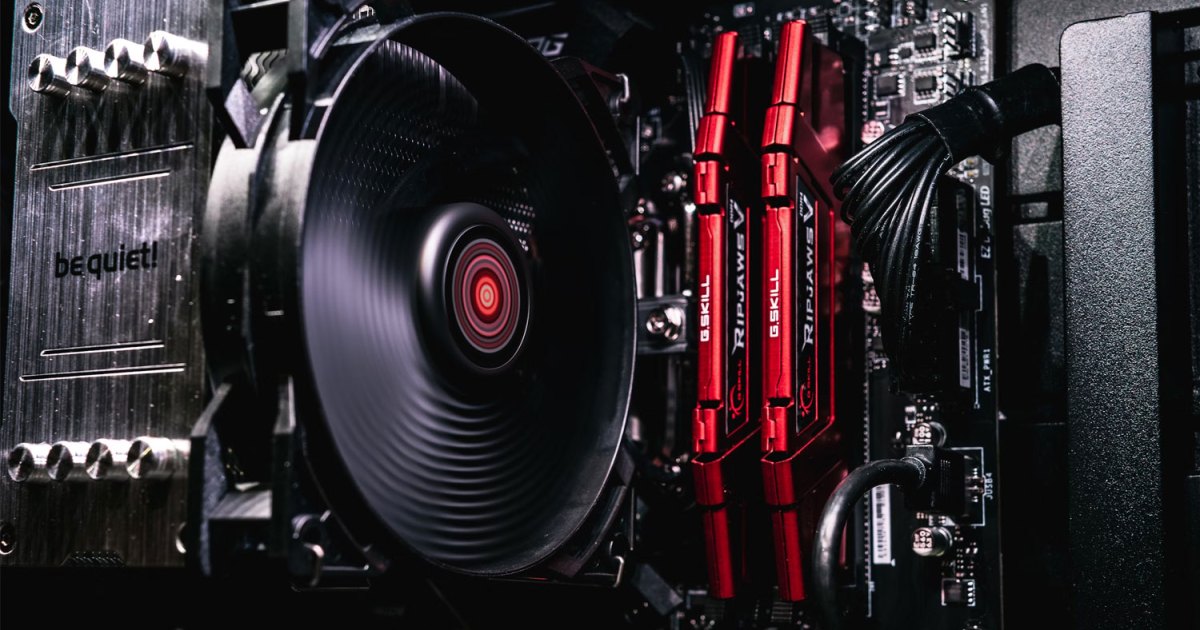
 Alt text: A close-up of RAM modules installed in a motherboard.
Before enabling XMP, check your current RAM speed. Open the Task Manager (search in Settings or right-click the taskbar). Click “More details,” select the “Performance” tab, and then “Memory.” Your RAM’s speed (in MHz) is displayed in the bottom right. If it’s lower than your RAM kit’s advertised speed, XMP is necessary. For example, a Geil 8GB DDR4 kit rated at 3200MHz might run at 2133MHz by default.
Enabling XMP through BIOS
Step 1: Accessing BIOS: Reboot your PC. During the splash screen (motherboard manufacturer’s logo), look for instructions to enter BIOS (usually Delete, Escape, or a function key).
 Alt text: A PC's BIOS splash screen showing the manufacturer's logo and instructions to enter BIOS setup.
Step 2: Locating XMP: Inside the BIOS, find the XMP setting. If in Easy Mode, switch to Advanced Mode for access.
 Alt text: A BIOS screen displaying various system settings, including the option to switch to Advanced Mode.
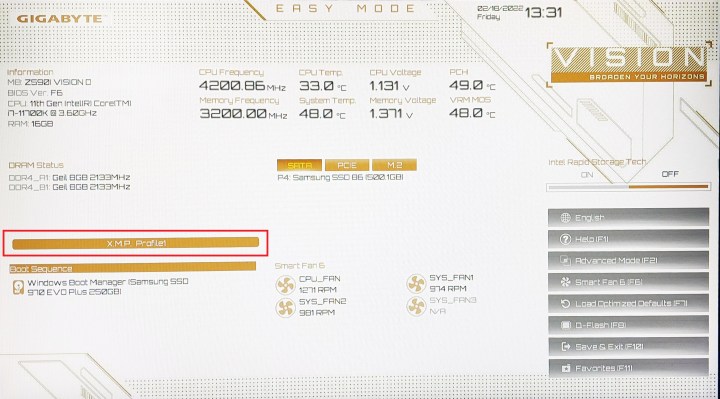
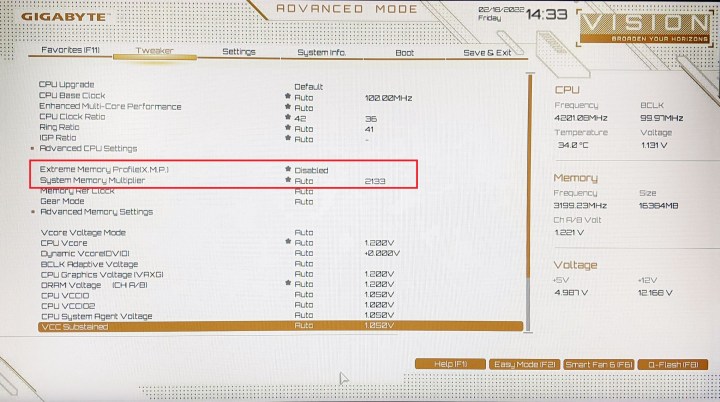
Step 3: Navigating to XMP: On Gigabyte and ASUS motherboards, XMP is often under “Tweaker” or “Extreme Tweaker.” Our Gigabyte Z590i Vision BIOS displays XMP on the main screen.
 Alt text: A BIOS screen with the XMP option highlighted, allowing the user to enable or disable it.
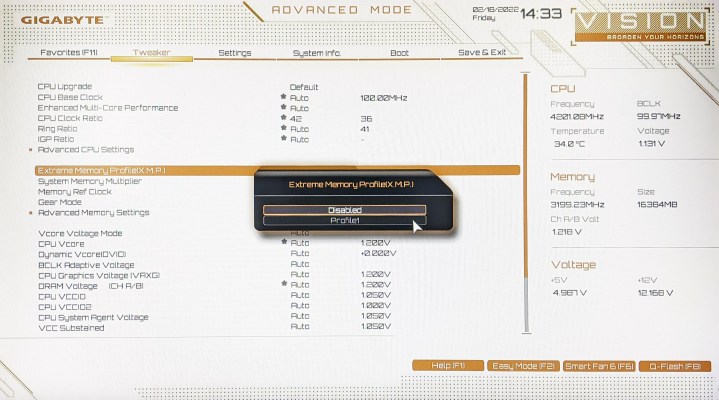
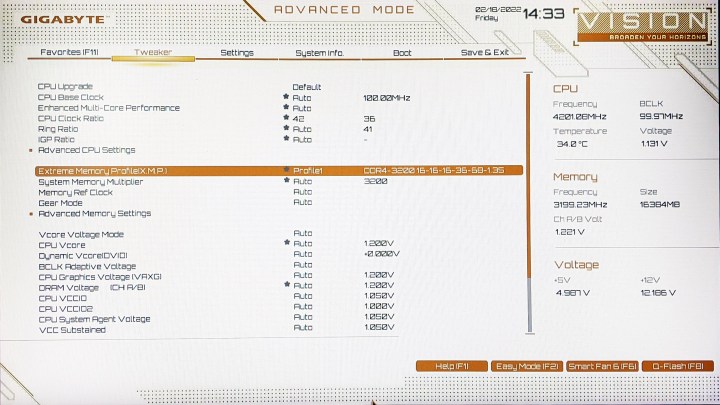
Step 4: Enabling XMP Profile: Select “XMP” and choose “Profile 1” (usually the highest speed). Some kits offer multiple profiles.
 Alt text: A BIOS screen showing the different XMP profiles available for selection.
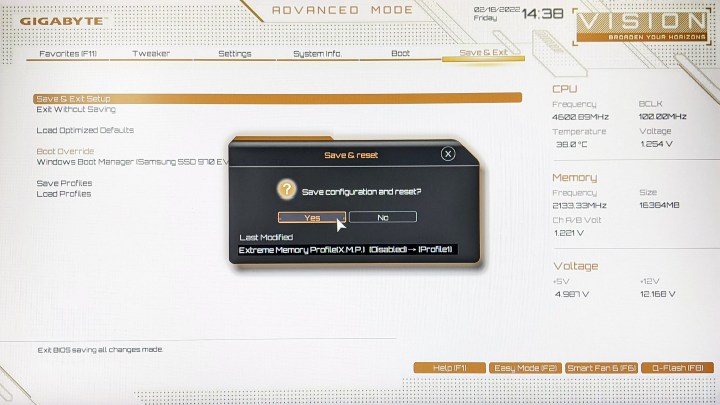
Step 5: Saving and Exiting: Save changes and exit BIOS. Check Task Manager to confirm the new RAM speed.
XMP FAQs
What is XMP?
XMP (Extreme Memory Profiles) are predefined, tested overclocking profiles, simplifying the process compared to manual adjustments. Developed by Intel, XMP extends JEDEC specifications for easier overclocking.
Does all RAM support XMP?
While high-end RAM typically supports XMP, not all memory does. Some modules rely solely on JEDEC profiles. Check your RAM and motherboard specifications before purchasing.
Should I enable XMP?
If supported, enabling XMP is recommended for optimal performance. It’s considered safe by Intel, but not mandatory. Running at factory settings is also acceptable.
Can XMP damage my CPU?
XMP involves increasing voltage, potentially impacting the CPU’s integrated memory controller. While instability can occur (easily fixed by reverting BIOS settings), CPU damage from overclocking isn’t covered by warranty. However, the risk is generally low when using XMP profiles.


