Do you have boxes of old photos, stacks of paper documents, or shelves full of vinyl records and cassettes gathering dust? Like many, you probably recognize the value of digitizing these analog treasures for preservation and easy access. This guide provides a step-by-step approach to converting your physical media into digital formats, allowing you to enjoy them on your modern devices.
Scanning and OCR for Documents
Digitizing important documents like insurance papers, contracts, and invoices not only preserves them but also allows for easy searching and editing. Optical Character Recognition (OCR) software further enhances this by converting scanned images into editable text.
Step 1: Scanning
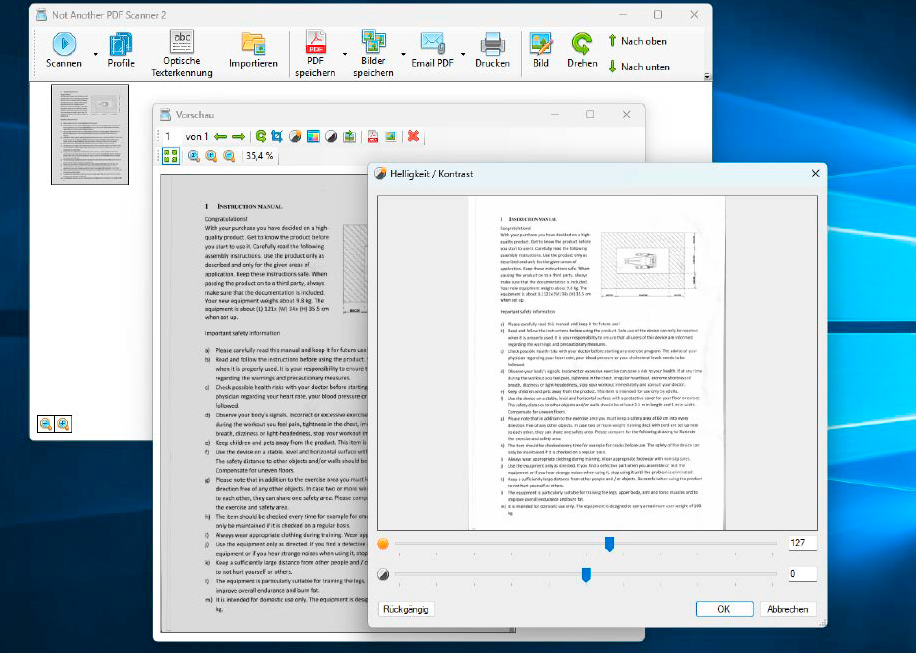 alt text: A screenshot of the Not Another PDF Scanner 2 (Naps2) software interface displaying options for editing and saving a scanned document. The software is user-friendly and compatible with various scanner models.
A scanner, whether a standalone device or part of a multifunction printer, is essential for this process. For high-volume scanning, dedicated document scanners like those from Ricoh’s Scansnap series offer speed and efficiency. For occasional use, portable scanners like the Brother DS-640 are a cost-effective alternative. The included scanner software or driver allows you to adjust settings such as resolution and output format.
For more advanced features, consider open-source software like Not Another PDF Scanner 2 (Naps2). It’s compatible with most scanners and offers built-in OCR functionality. After creating a profile for your scanner within Naps2, you can scan documents and then edit them by rotating, cropping, and adjusting brightness and contrast. Saving options include PDF and various image formats.
Step 2: Text Recognition
Naps2’s OCR feature recognizes text in scanned documents. Select the document language, OCR mode (Fast, Best, or Legacy), and whether the recognized text should be searchable. While Naps2 doesn’t directly output text files, you can copy the recognized text from a saved PDF and paste it into a word processor.
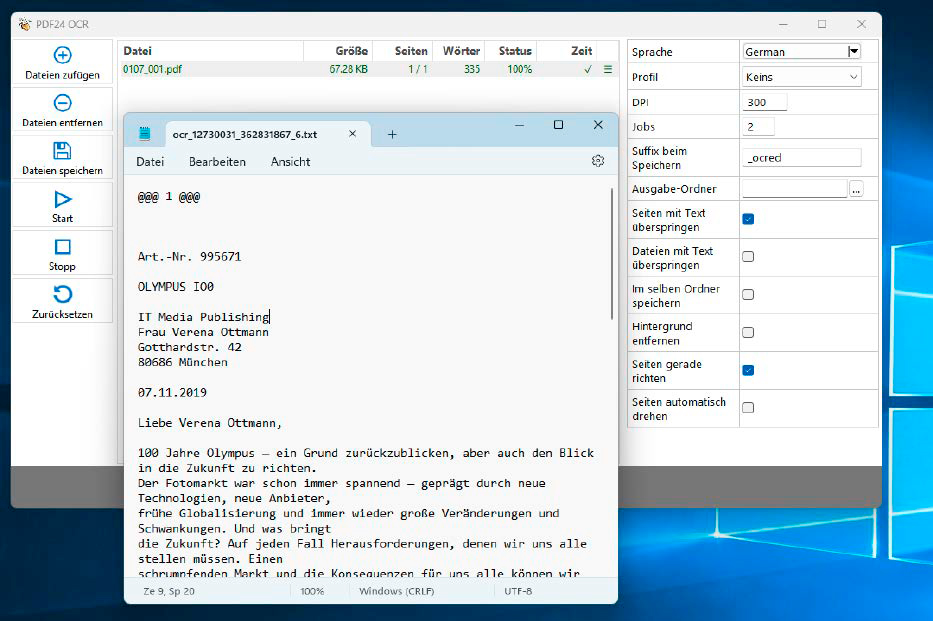 alt text: A screenshot of the PDF24 Creator software interface showing its OCR function which allows users to extract and search text within PDF files and optionally save the extracted text as a TXT file.
Alternatively, PDF24 Creator offers integrated OCR and can export recognized text as a TXT file for easy editing.
Digitizing and Enhancing Photos
Preserving precious memories captured in photos is simple with various digitization methods.
Step 1: Scanning
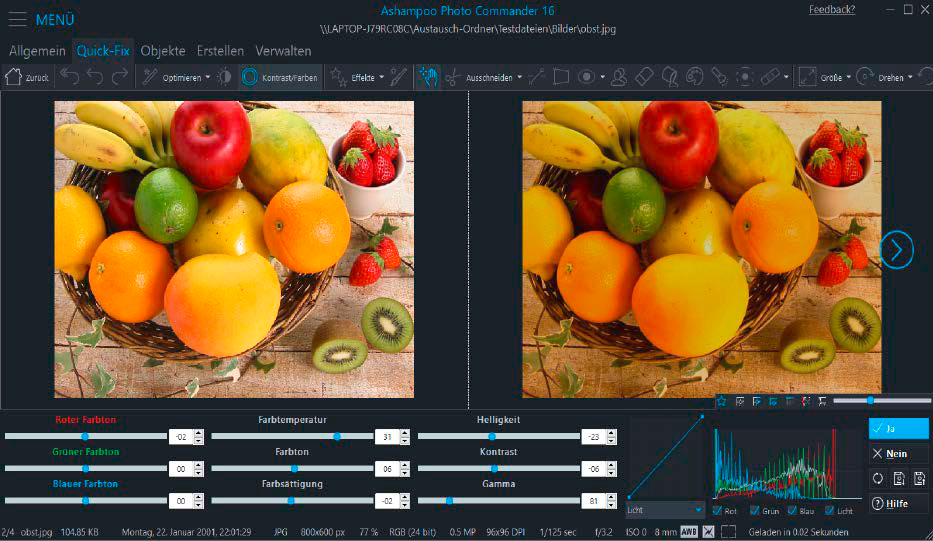 alt text: Ashampoo Photo Commander 16 software interface. The software is used in conjunction with a scanner to digitize printed photos. It also includes basic image editing tools.
Scanning photos with a multifunction printer or dedicated photo scanner provides high-quality digital copies. Software like Ashampoo Photo Commander 16 simplifies the process with integrated scanning and editing tools. Select your scanner, choose the output format (PNG, JPG, PDF), and the save location.
Step 2: Optimization
Photo Commander 16 offers a range of editing options, including quick fixes for contrast and color, noise reduction, red-eye removal, cropping, resizing, and more. You can also add text, shapes, and adjust color depth. The software’s customizable interface allows for a personalized workflow.
From Vinyl to Digital: Preserving Your Music Collection
Digitizing your vinyl records and cassettes allows you to enjoy your music collection on any device.
Step 1: Digitization
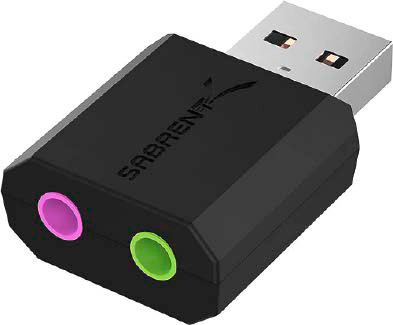 alt text: Image of a USB adapter commonly used for connecting headsets to laptops. This adapter offers additional audio input options and typically provides better sound quality than the built-in sound chips on the motherboard.
Connect your record player to your PC using a USB cable (if available) or via line-in or microphone input using appropriate audio cables. If your PC lacks these inputs, a USB adapter with microphone and headphone jacks is a viable solution.
Free software like Audacity facilitates recording. Configure Audacity by selecting your sound card and input source, choosing mono or stereo recording, and setting quality preferences. Start playing the record and simultaneously click the record button in Audacity. Adjust the volume within the software if needed. Export the digitized audio in your preferred format (MP3 support is included).
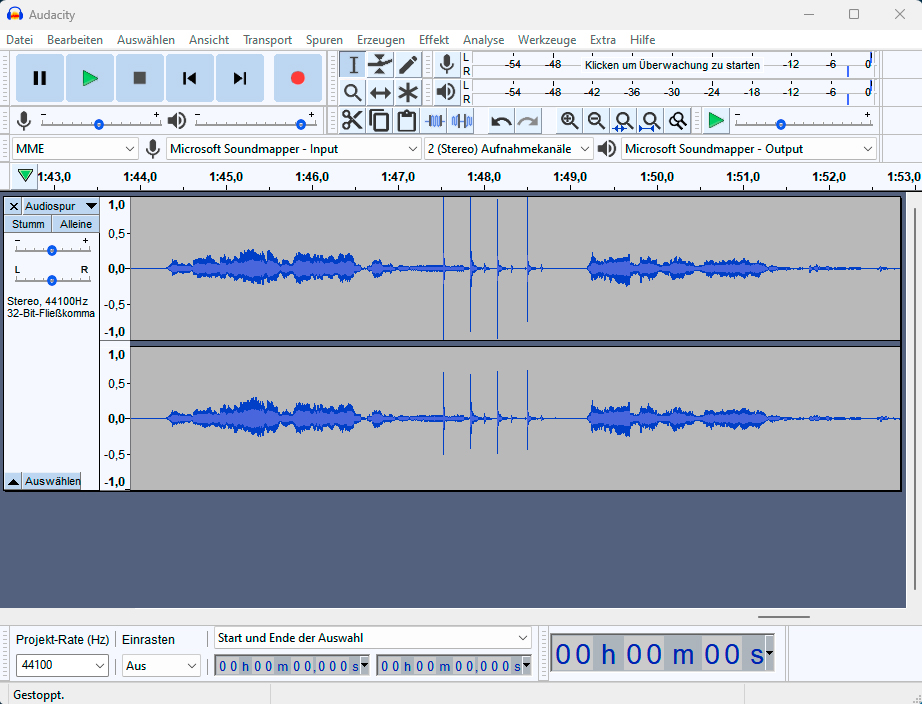 alt text: Audacity software interface. This freeware enables digitization of vinyl records, cassettes, and other analog media when used with a playback device and the necessary PC connections. Users can adjust the recording level using the volume controls within the program.
This process also works for digitizing cassettes using a cassette player with audio output.
Step 2: Music Management and Transfer
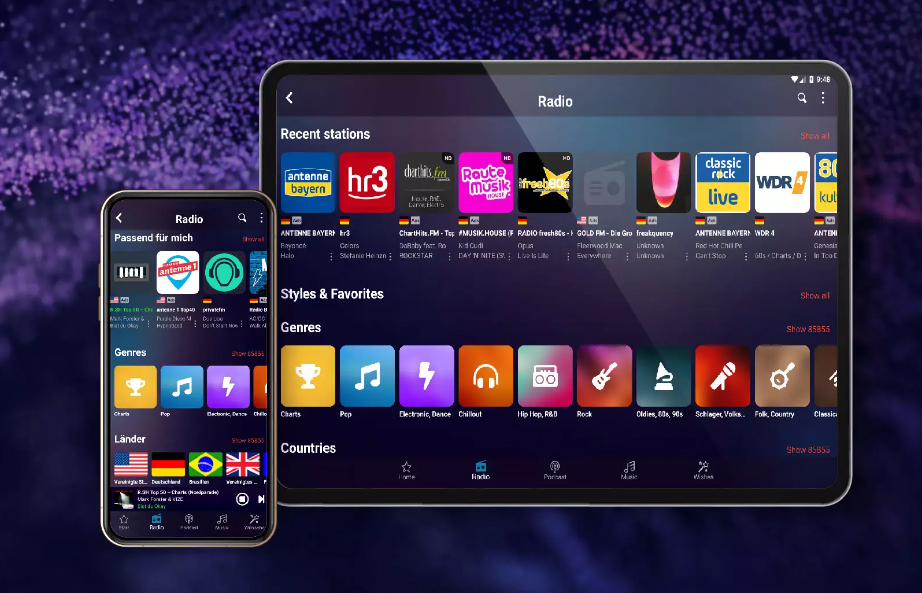 alt text: Audials Play app interface. This free app provides access to music stored on a PC and allows users to download it to their mobile phones. The PC's content appears as a separate tab within the app.
Software like Audials One 2024 Special Edition helps manage and transfer your digitized music. Add the folders containing your music files to Audials One. Install the free Audials Play Android app on your mobile device and log in with the same Audials account. You can then access and download your music from your PC to your mobile device.
This comprehensive guide provides a practical approach to digitizing your analog media, ensuring that your valuable documents, photos, and music are preserved and readily accessible for years to come.


