The Asus ROG Ally X stands out as a top-tier handheld gaming PC, partly due to its easy SSD upgrade process. Replacing the SSD takes mere minutes, and this comprehensive guide provides a step-by-step walkthrough.
Asus simplifies the upgrade by utilizing the standard M.2 2280 SSD form factor and offering a streamlined cloud reinstall process for Windows 11 and Armoury Crate SE. Let’s dive into the SSD replacement procedure.
Removing the ROG Ally X SSD
Removing the SSD in the ROG Ally X is simpler than in the original model. The process itself is quick, but patience is key due to the small screws and delicate ribbon cables involved.
The ROG Ally X accommodates an M.2 2280 SSD, the standard size found in most laptops and desktops. While Asus claims support for up to 8TB, verify SSD clearance before installation and avoid models with integrated heatsinks.
Before you begin, back up all essential data to cloud storage or a microSD card. After the SSD replacement, you’ll need to set up the ROG Ally X as a new device.
Step 1: Shut down the ROG Ally X completely through the Windows 11 interface, not just the power button. Remove any microSD cards and disconnect anything plugged into the USB-C ports or headphone jack.
Step 2: Turn the ROG Ally X over and remove the six visible screws. Place these screws on a piece of paper in a secure location, maintaining their original positions for easy reassembly.
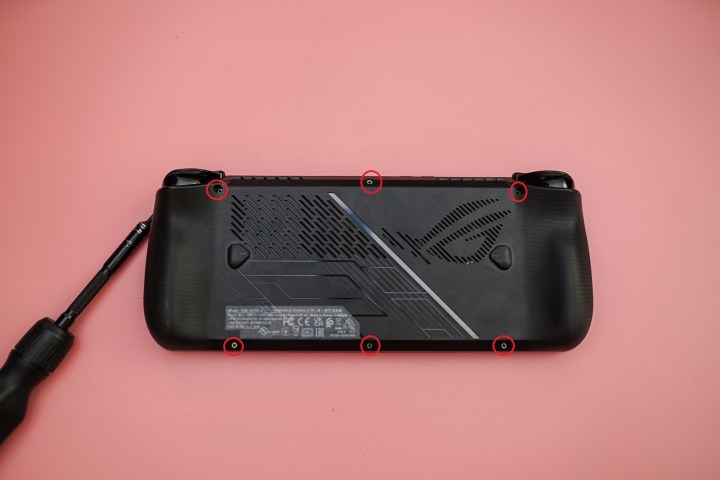 Back screws on the Asus ROG Ally X.Removing the back screws.
Step 3: The back shell will slightly lift away after removing the screws. Gently pry around the seam with a plastic pry tool or guitar pick, starting from the bottom. Avoid inserting the tool too deeply.
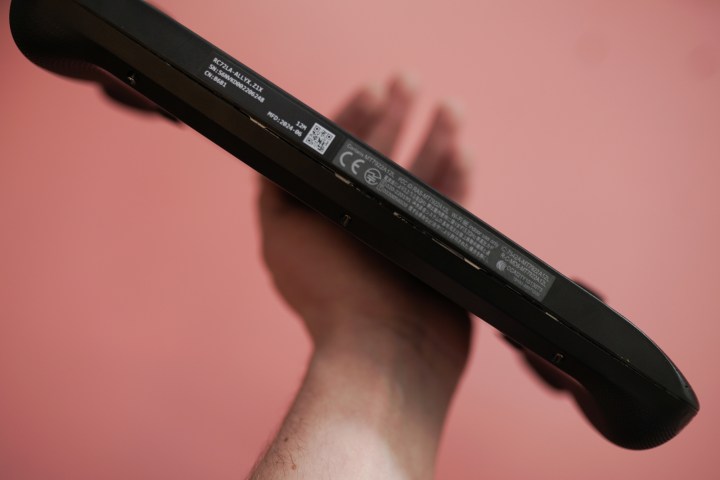 The back shell of the Asus ROG Ally X cracked.Carefully separating the back shell.
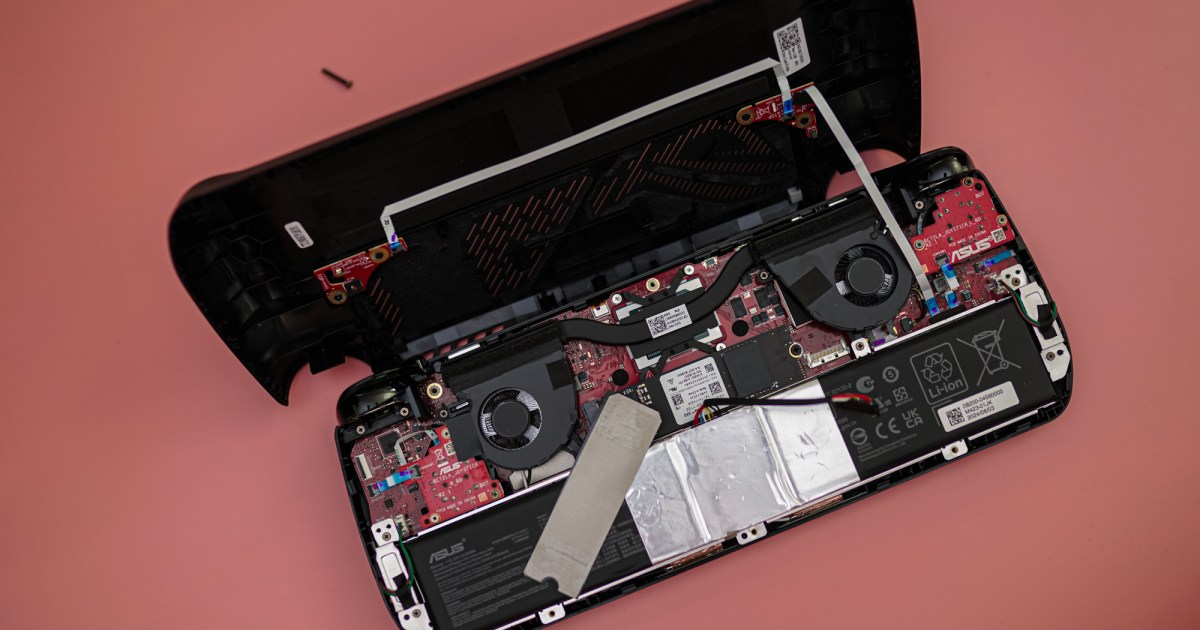
Step 4: Carefully flip the back shell over the top of the device. A delicate ribbon cable connects the two halves. Avoid pulling the shell abruptly to prevent damage.
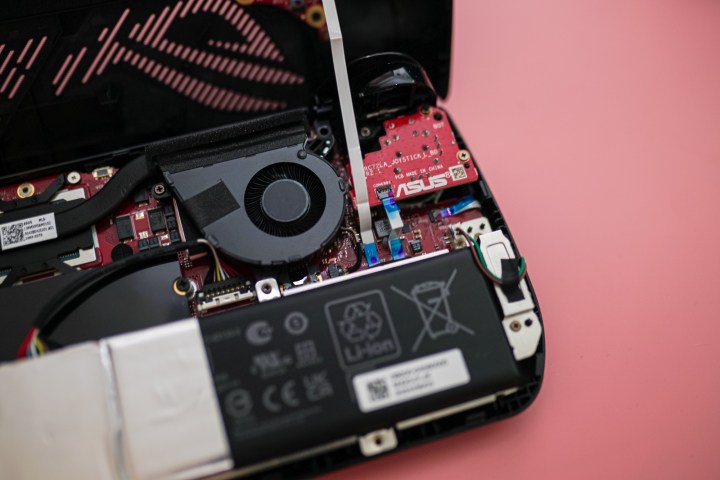 Ribbon cable on the Asus ROG Ally X.The ribbon cable connecting the back shell.
Step 5: Locate the battery connector and slide down the metal lock to unlock it. Gently lift the connector to disconnect the battery.
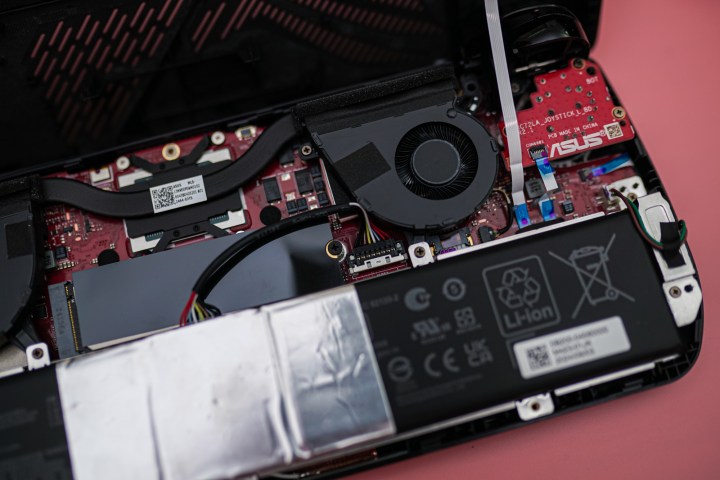 Battery connector on the Asus ROG Ally X.Disconnecting the battery.
Step 6: The SSD is located centrally, above the battery. Carefully peel back and set aside the thermal cover.
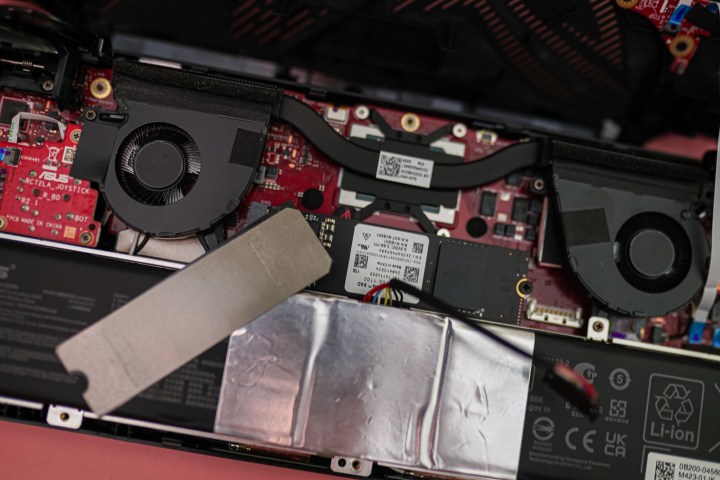 The SSD in the ROG Ally X with the thermal cover removed.The SSD exposed.
Step 7: Remove the screw securing the SSD and place it with the others. The SSD will be angled upwards. Gently pull it out of the slot.
Installing the New SSD
With the ROG Ally X open, you can now install the new SSD.
Step 1: Unpack the new SSD and safely store the included screw. Insert the SSD at an angle into the slot.
Step 2: Gently press down on the raised end until it aligns with the screw hole. Secure the SSD with the screw, avoiding overtightening.
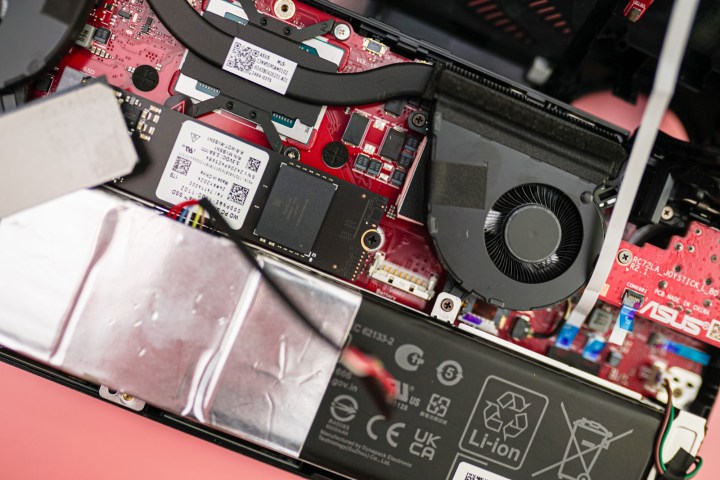 The screw securing an SSD to the ROG Ally X.Securing the new SSD.
Step 3: Place the thermal shield over the new SSD. It should adhere lightly.
Step 4: Reconnect the battery by inserting the connector and securing the metal lock.
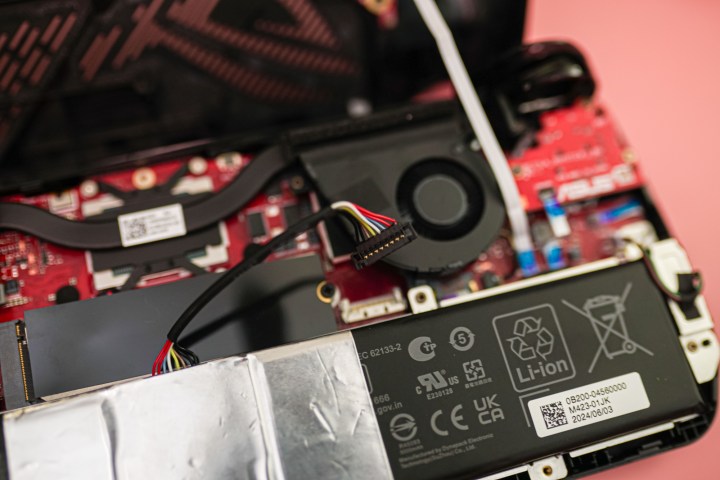 The power connector on the Asus ROG Ally X.Reconnecting the battery.
Step 5: Carefully snap the back shell back into place, ensuring no internal wires are trapped.
Step 6: Tighten the screws, avoiding overtightening.
Step 7: Proceed to the next section for software reinstallation.
Reinstalling Windows and Armoury Crate SE
A new SSD requires reinstalling Windows 11 and Armoury Crate SE. Asus provides a convenient cloud recovery solution.
Step 1: Connect the ROG Ally X to the charger. Boot into the BIOS menu by holding the volume down button and pressing the power button.
Step 2: Press Y to exit EZ mode and navigate to the Advanced tab.
Step 3: Select Asus Cloud Recovery by pressing A.
Step 4: The ROG Ally X will automatically reinstall Windows 11 and Armoury Crate SE. Once complete, you can set up the device as new.


