Upgrading your PC’s RAM is one of the easiest and most effective ways to boost performance and enhance support for demanding applications and games. Whether you’re a seasoned builder or a newcomer to the DIY PC world, this guide provides a clear and concise walkthrough of the RAM installation process.
Choosing the Right RAM
Before diving into installation, selecting the correct RAM is crucial. Memory kits vary in speed, size, and generation, and choosing the wrong type can lead to compatibility issues. Determine your PC’s RAM requirements and consult our comprehensive RAM buying guide to ensure you purchase compatible memory.
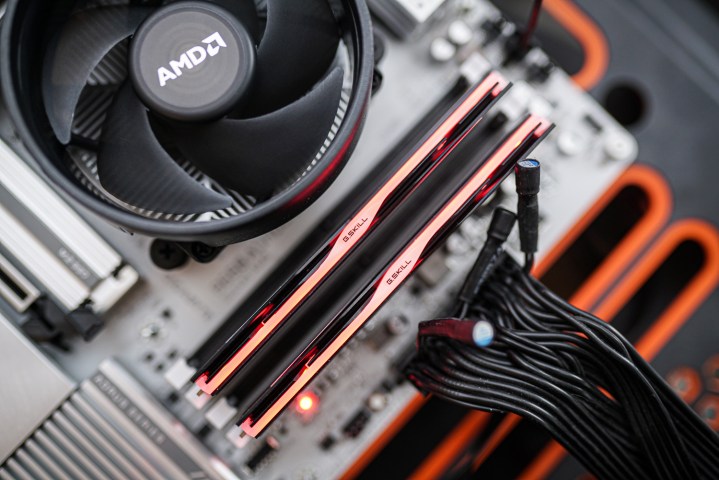 DDR5 memory installed into a motherboard.DDR5 RAM modules installed in a motherboard.
RAM Installation Guide
Static electricity can damage computer components. Before starting, wear an anti-static wristband or ground yourself by touching a metal part of your PC case. Wearing rubber-soled shoes is also recommended.
Step 1: Power Down and Disconnect
Disconnect the power cable from your system. For easier access, unplug other back-panel cables and lay your PC on its side.
Step 2: Access the Motherboard
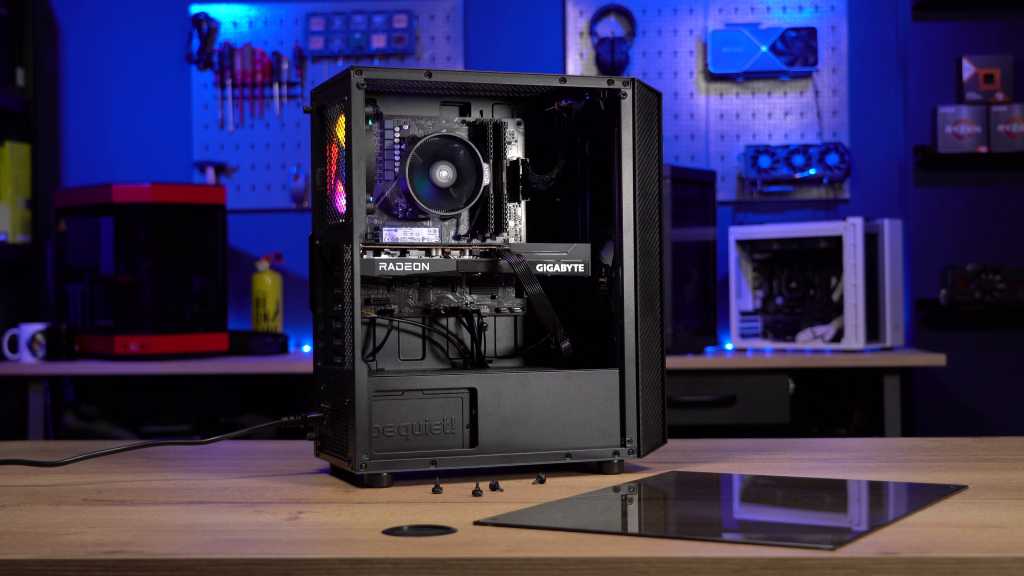
Remove the side panel of your PC case (typically the left side) to expose the motherboard. RAM slots are long and usually located to the right of the CPU and its cooler. Most motherboards have between two and eight slots, each with tabs (or wings) at both ends that secure the RAM sticks. Press these tabs down towards the motherboard to release and remove any existing RAM modules. Some motherboards have a single tab; in this case, press the tab down and carefully slide the RAM stick out, keeping it straight.
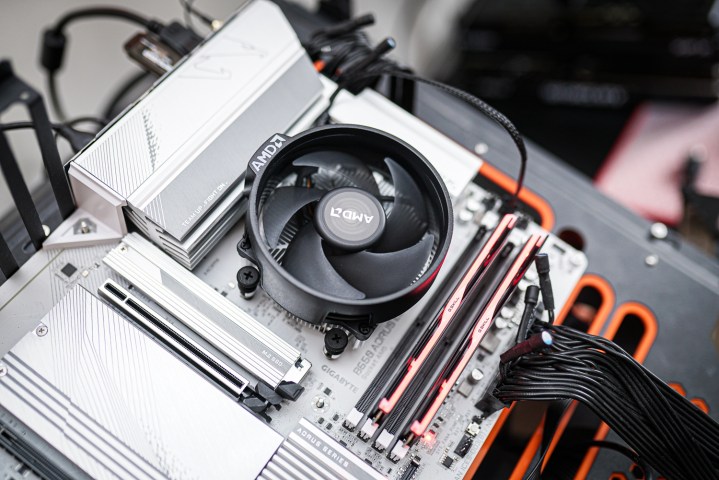 A CPU cooler installed on a motherboard.Identifying RAM slots on a motherboard.
Step 3: Identify Correct RAM Slots
Consult your motherboard manual to determine the correct slots for your new RAM. Some motherboards prioritize the second and fourth slots for one or two sticks, while others prefer the first and third. This slot configuration impacts RAM bandwidth, so referencing your manual is essential.
Step 4: Align the RAM Stick
RAM sticks have a notch on the side with the metal contacts. Align this notch with the corresponding notch in the motherboard’s memory slot. The notches are off-center, ensuring correct orientation. If they don’t align, the RAM won’t fit.
Step 5: Secure the RAM
Once aligned, firmly press down on both edges of the RAM stick with your thumbs until it clicks into place. The tabs will lock, securing the module. Avoid forcing the RAM, as this can damage the motherboard. If it doesn’t click in easily, double-check the alignment. A flashlight can be helpful. While installing RAM requires some pressure, don’t use excessive force. If the motherboard flexes during installation, support it with a finger to prevent cracking.
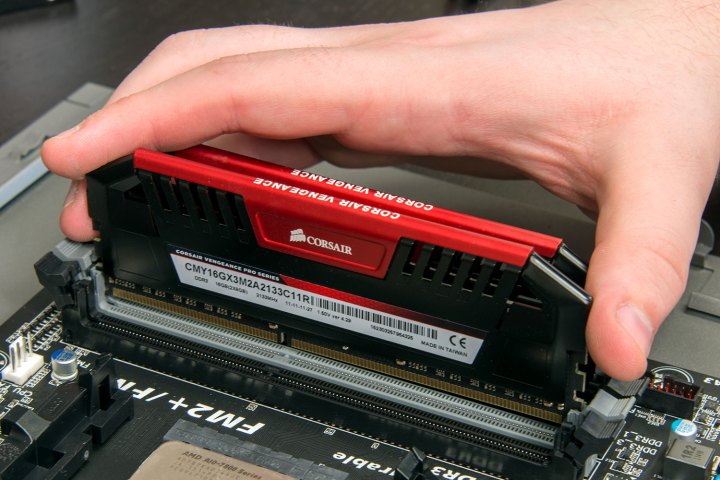 RAM in motherboard slots.RAM modules correctly installed in motherboard slots.
Step 6: Reassemble and Power On
After installing all RAM sticks, ensure the tabs are securely locked. Close the PC case, reconnect all cables, and power on the system.
Step 7: Verify Installation and Optimize
If your PC boots directly into Windows, the installation was successful. Reboot your PC, enter the BIOS, and enable the XMP profile for optimal RAM performance. If your PC doesn’t boot immediately, allow a few minutes for the system to configure the new memory. If booting issues persist, reset the CMOS by using the reset switch/jumper on your motherboard or removing the CMOS battery. Incompatible memory settings can sometimes cause boot problems. If problems continue, explore motherboard troubleshooting tips or test your RAM for faults.


