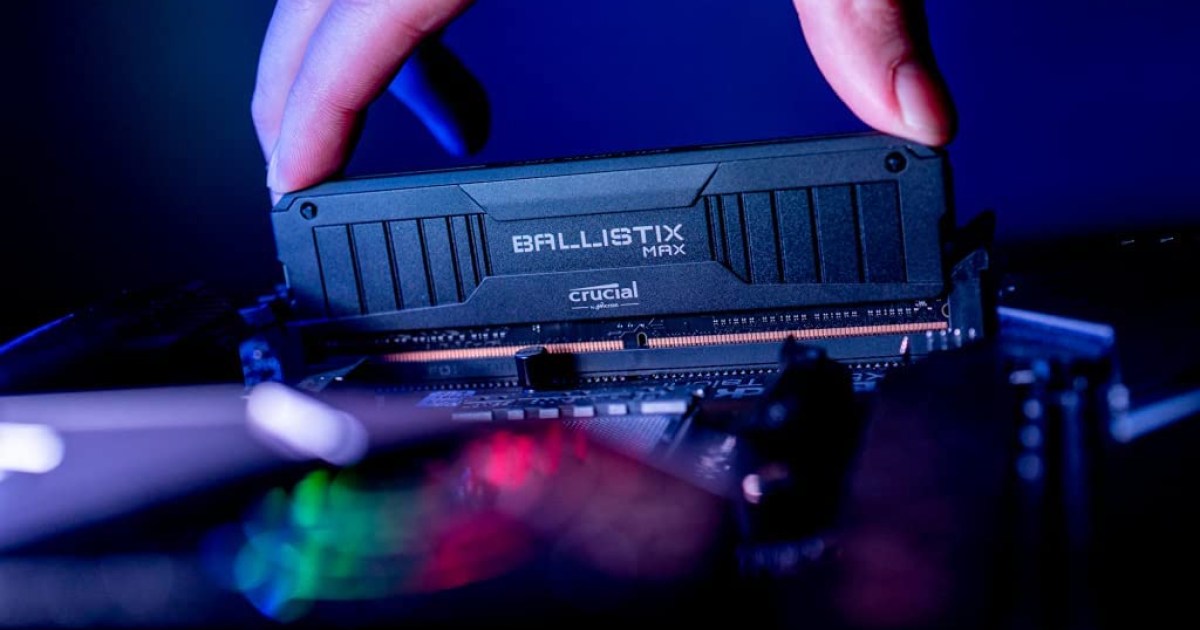
Overclocking RAM can significantly boost your system’s performance across various tasks, especially if you’ve also overclocked your CPU. Increased memory bandwidth allows your processor to operate at its full potential. This guide will walk you through the process of overclocking your RAM. If you’re considering upgrading your RAM instead, check out our guides on the best RAM kits of 2024 and our RAM buying guide.
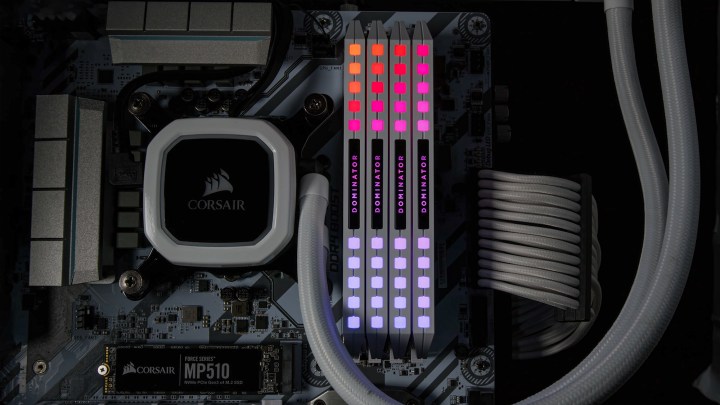 alt=Corsair DDR5 RAM modules installed in a desktop computer.
Benefits of RAM Overclocking
Overclocking RAM enhances data transfer rates, which dictates how quickly data is delivered to the CPU for processing. Slow RAM can bottleneck your CPU, preventing it from reaching its full performance capabilities. This is particularly relevant for high-end systems. While purchasing faster RAM is an option, manually increasing your current RAM’s speed can offer a cost-effective performance boost, provided you stay within safe voltage limits. In some cases, overclocking is essential to fully utilize high-speed memory kits.
Overclocking benefits everyday tasks but truly shines in gaming. Games that are CPU-bound (reliant on processor performance more than graphics card performance) benefit significantly from faster RAM. Higher memory speeds improve data transfer to the CPU, potentially leading to higher frames per second (fps).
Whether you’re a PC enthusiast, a gamer, or simply looking to maximize your hardware’s potential, RAM overclocking offers tangible benefits while remaining safe when done correctly.
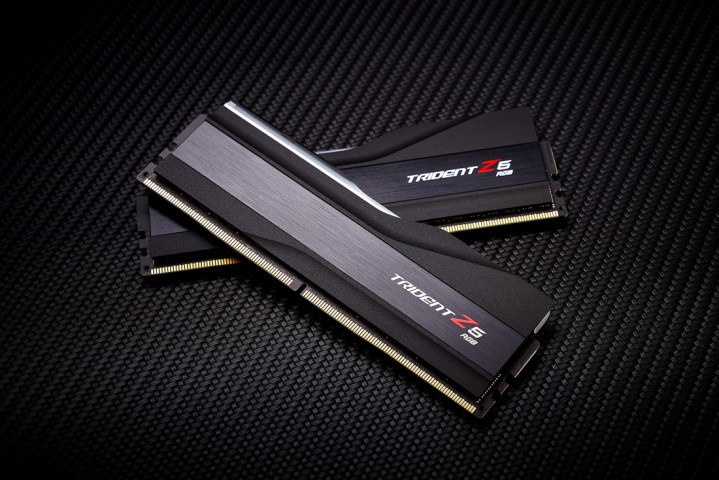 alt=Two G.Skill Trident Z5 DDR5 RAM modules.
Preparing for Overclocking
Establishing a baseline performance level is crucial before overclocking any component. This allows you to accurately measure the impact of your overclocking efforts.
Step 1: Determine Baseline Performance
Use a utility like CPU-Z to record your RAM’s default speed and timings. These values will serve as your reference point for comparison later. Additionally, run HWInfo in the background to monitor memory temperatures and track frequencies with greater precision. For AMD Ryzen users planning manual overclocking, the DRAM Calculator for Ryzen can assist in selecting appropriate frequencies.
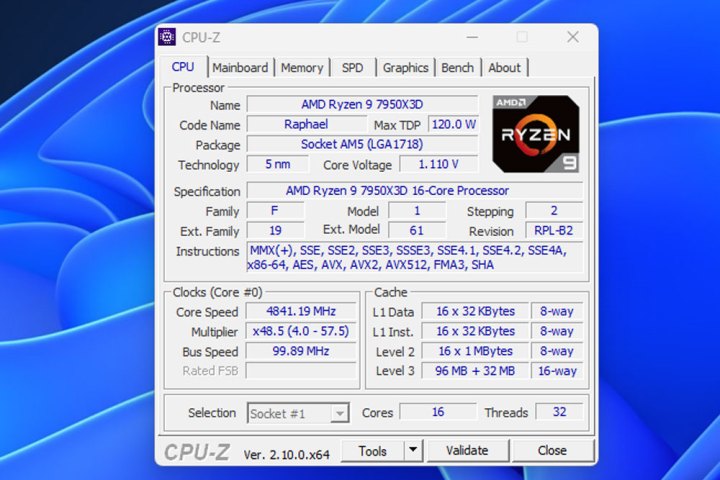 alt=Screenshot of the CPU-Z utility displaying system information.
Step 2: Benchmark Your System
Before overclocking, benchmark your system to quantify your current performance. Tools like PassMark and AIDA64 provide synthetic benchmark scores for raw bandwidth measurements. Cinebench tests CPU-intensive workloads, showcasing how RAM overclocking impacts CPU performance. Memtest is valuable for monitoring RAM stability throughout the overclocking process. Run these benchmarks before and after overclocking to compare results. Real-world game testing with CPU-intensive titles like Shadow of the Tomb Raider, Civilization VI, and GTA V can also provide valuable performance insights.
 alt=Screenshot of Cinebench 2024 running the multi-thread test.
Overclocking with XMP and Expo Profiles
Most modern RAM kits include XMP (Extreme Memory Profile) or Expo profiles, which are essentially factory-overclocked settings. Activating these profiles in the BIOS is the easiest way to increase your RAM speed and utilize its full potential.
Step 1: Access BIOS
Enter your UEFI/BIOS by pressing the designated key during startup (usually one of the F keys or Delete). Refer to your motherboard manual if unsure.
Step 2: Enable XMP/Expo
Navigate to the overclocking settings within the BIOS. This section may vary depending on your motherboard manufacturer. Locate the XMP or Expo settings for your RAM and select the desired profile. Save changes and restart your system.
For detailed instructions on enabling XMP, consult our dedicated XMP guide. Note that many RAM kits can be pushed beyond XMP/Expo speeds through manual overclocking.
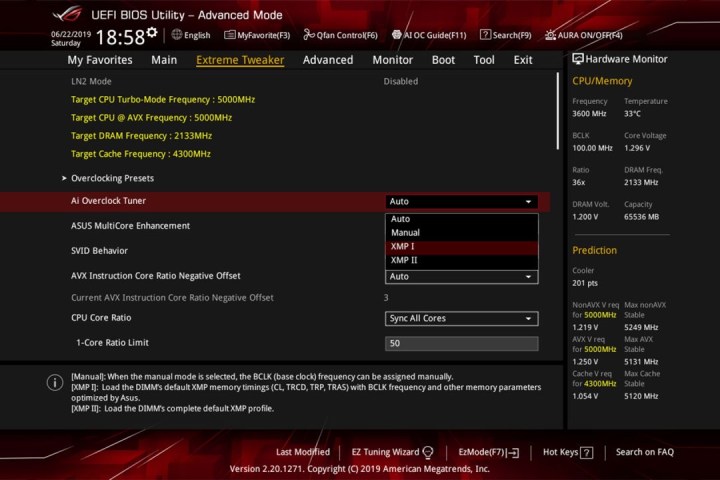 alt=Screenshot of BIOS settings showing XMP profile options.
Manual RAM Overclocking
Manual overclocking, while more time-consuming, offers the greatest potential for performance gains, often exceeding XMP/Expo limitations. It’s essential to proceed cautiously and avoid drastic changes.
Warning: Do not exceed 1.5V for DDR4 or 1.4V for DDR5 RAM voltage. Higher voltages can damage your RAM over time. Maintain memory temperatures below 50°C (122°F) to prevent instability. For AMD CPUs, consider the Infinity Fabric clock and its synchronization with your memory.
Step 1: Adjust Frequency
Access the memory tweaking menu in your BIOS and select manual settings. Incrementally increase the frequency in small steps.
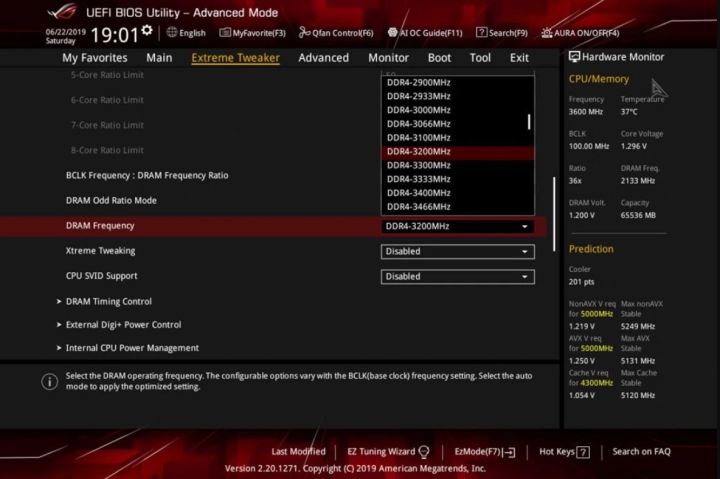 alt=Screenshot of RAM overclocking settings in the Asus BIOS.
Step 2: Benchmark and Test
After each frequency adjustment, restart your system and run benchmarks using the tools mentioned earlier. Test thoroughly with both synthetic benchmarks and real-world applications, including games.
Step 3: Iterate and Refine
If your system remains stable after benchmarking, increase the frequency again. If you encounter crashes, reduce the frequency or slightly increase the voltage to improve stability. Proceed gradually and test thoroughly at each step. Monitor benchmark results as increasing frequency can sometimes loosen RAM timings, affecting latency and performance.
Step 4: Stability Testing
Once you find a stable frequency, conduct prolonged stability testing under heavy load to ensure your system remains crash-free. Adjust frequency or voltage as needed and retest until you achieve stable performance.
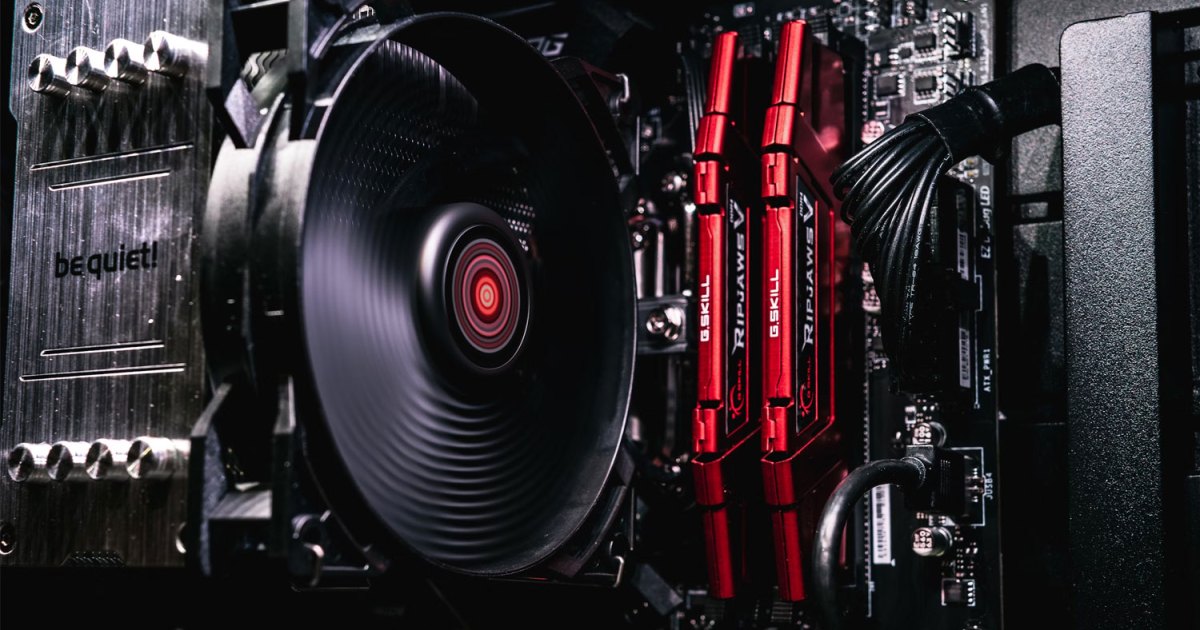
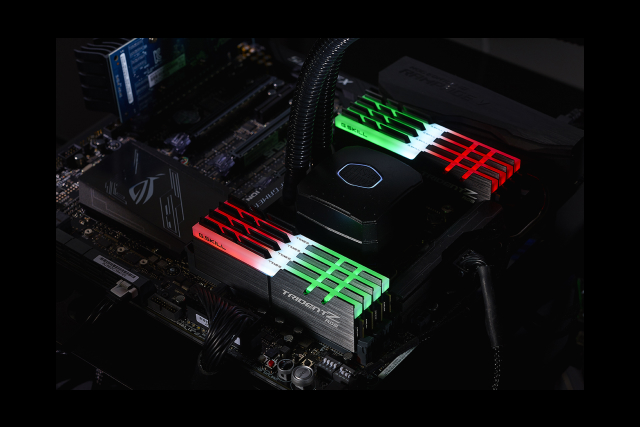 alt=G.Skill RAM modules installed in a computer motherboard.
Tightening RAM Timings
For further performance optimization, you can tighten RAM timings after adjusting frequency. Disable XMP/Expo and switch to manual mode in the BIOS. This involves tweaking timing values and restarting to test stability. It’s an iterative process best suited for advanced users. Make small adjustments and test thoroughly after each change. Not all frequency and timing combinations are compatible. Experiment until you find stable settings that deliver optimal performance.
AMD Infinity Fabric Considerations
Overclocking RAM on AMD Ryzen systems is similar to Intel but requires attention to the Infinity Fabric, AMD’s interconnect architecture. Its clock speed synchronizes with your memory, but the 1:1 ratio with DDR4 changes beyond 3600MHz, potentially impacting latency. With DDR5, maintain an Infinity Fabric clock within a suitable multiplier range of the memory clock (ideally divisible by 0.25:1). Advanced users can explore Infinity Fabric overclocking after desynchronizing it from the memory clock, but this requires further expertise.


