Formatting a USB drive or external hard drive in Windows is a straightforward process, requiring no third-party software. Before you begin, it’s crucial to choose the right file system. A file system dictates how data is organized on your storage device. Windows 10 and 11 support three primary file systems for USB drives: FAT32, NTFS, and exFAT, each with its own advantages and disadvantages.
Formatting Through File Explorer
The simplest method for formatting a drive in Windows is through File Explorer. This process works for both internal and external drives.
- Open File Explorer and locate your USB drive.
- Right-click on the drive and select “Format.”
- Choose your desired file system (FAT32, NTFS, or exFAT).
- Select the allocation unit size. While larger sizes can improve performance for large files, sticking with the default value (usually 4096 bytes) is generally recommended.
- Give your drive a name under “Volume label.”
- Check the “Quick format” option unless you have sensitive data on the drive or suspect storage issues. A quick format marks the drive as empty without fully erasing the data. A full format, while slower, thoroughly checks the drive for errors.
- Click “Start” to begin the formatting process.
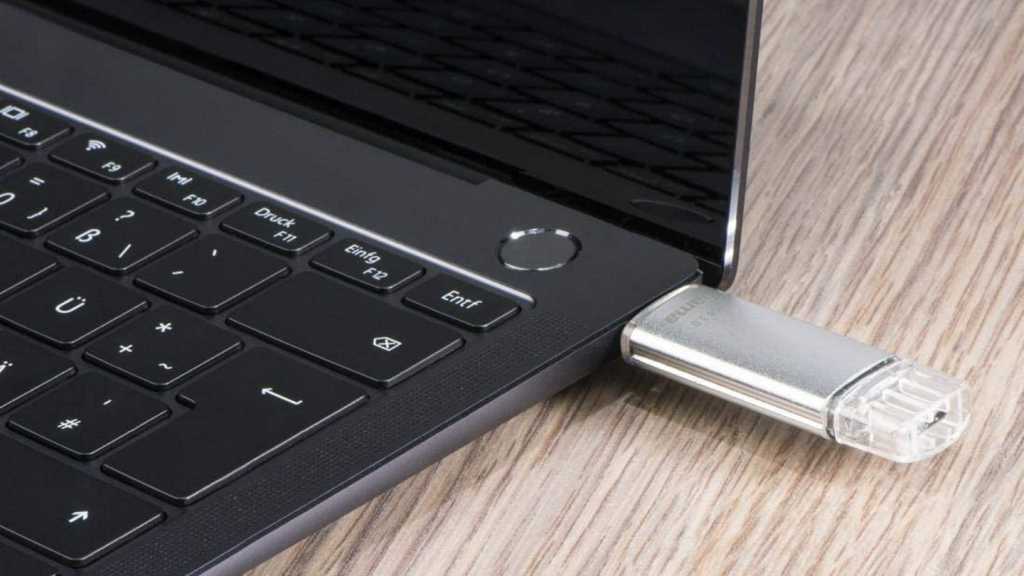
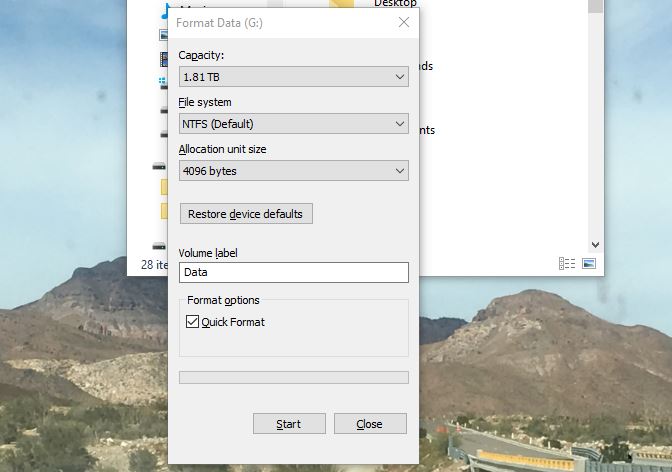 drive formatFormatting a USB drive through File Explorer allows for customization of file system and volume label.
Formatting Through Disk Management
If your USB drive doesn’t appear in File Explorer due to a missing drive letter or corrupted file system, you can format it through Disk Management.
- Press Windows Key + X and select “Disk Management.”
- Disk Management displays all connected storage devices and their partitions.
- To use the entire drive as a single partition, delete any existing partitions by right-clicking on them and selecting “Delete Volume.”
- If the drive space appears as “Unallocated,” right-click on it and select “New Simple Volume.” Follow the prompts to create and format a new partition.
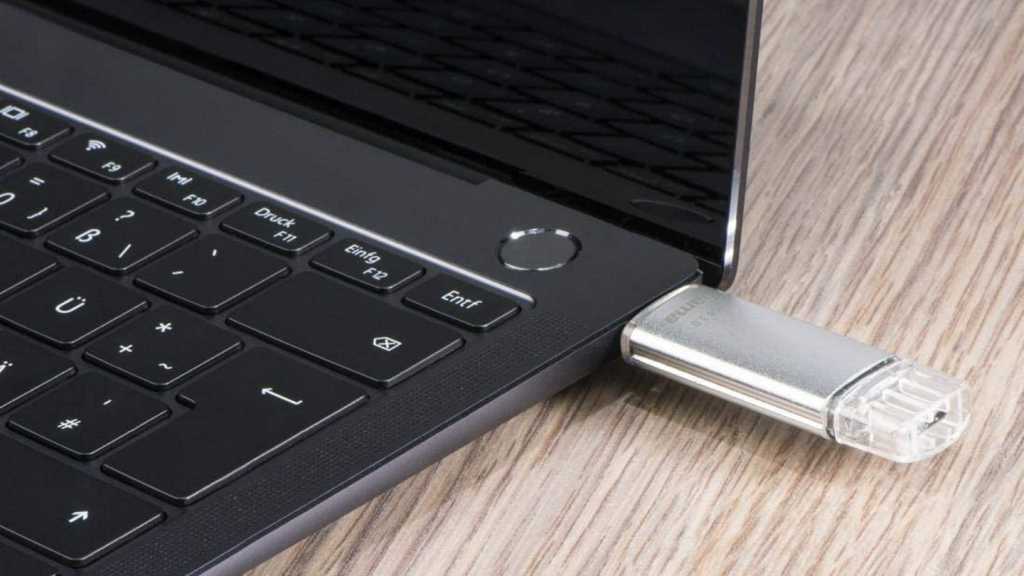
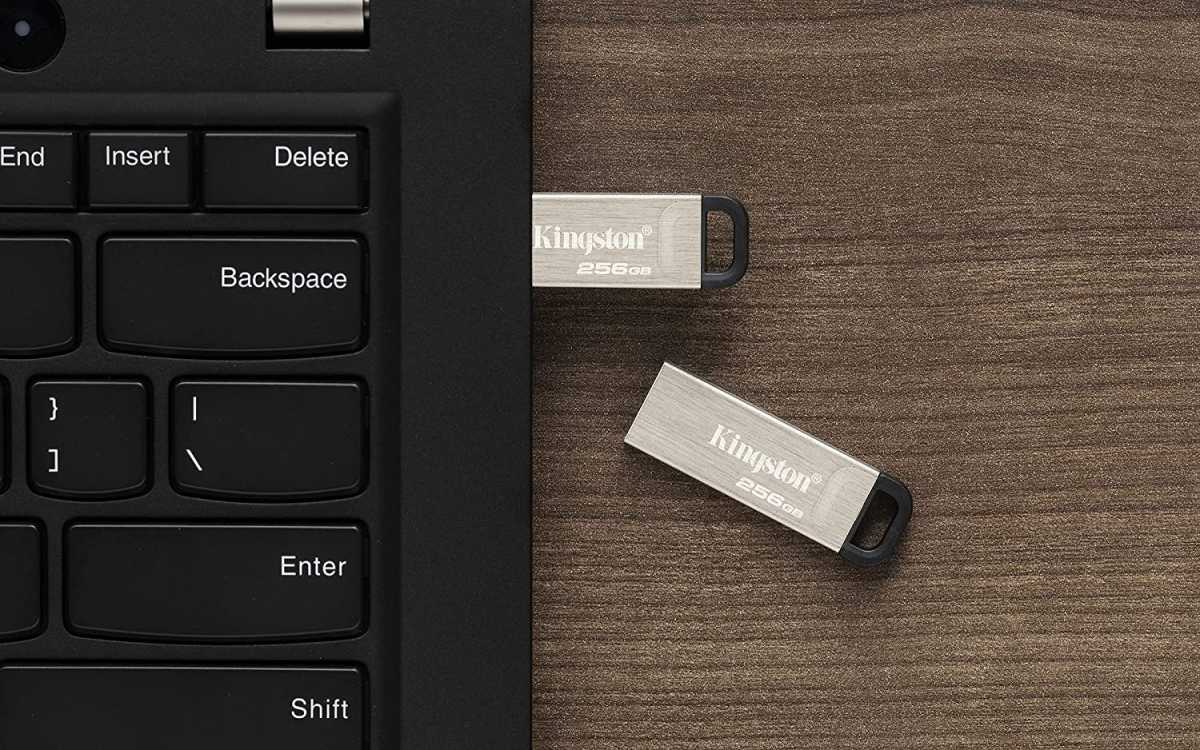 USB-SticksWindows Disk Management offers advanced options like partition management and drive letter assignment.
Managing Partitions and Drive Letters
Disk Management also allows for more advanced operations, such as creating multiple partitions on a single drive.
- When creating a new volume, specify a smaller size than the total drive capacity to leave space for additional partitions.
- To shrink an existing partition, right-click on it and select “Shrink Volume.”
- You can also assign or change drive letters within Disk Management.
Similar to formatting through File Explorer, Disk Management lets you choose the file system, allocation unit size, volume label, and whether to perform a quick or full format.
Conclusion
Formatting a USB drive in Windows is easily accomplished through either File Explorer or Disk Management. Choosing the correct file system and understanding the difference between quick and full formats are essential for optimal performance and data security. Utilizing Windows’ built-in tools empowers users to effectively manage their external storage devices without the need for external software.


