The recent podcasting boom has revitalized audio recording, making it accessible to everyone. Sophisticated recording studio tasks are now achievable at home, thanks to readily available tools and software. Smartphones, computers, and tablets boast surprisingly good built-in microphones, and affordable external microphones offer even higher quality, often with integrated sound cards for direct USB connection.
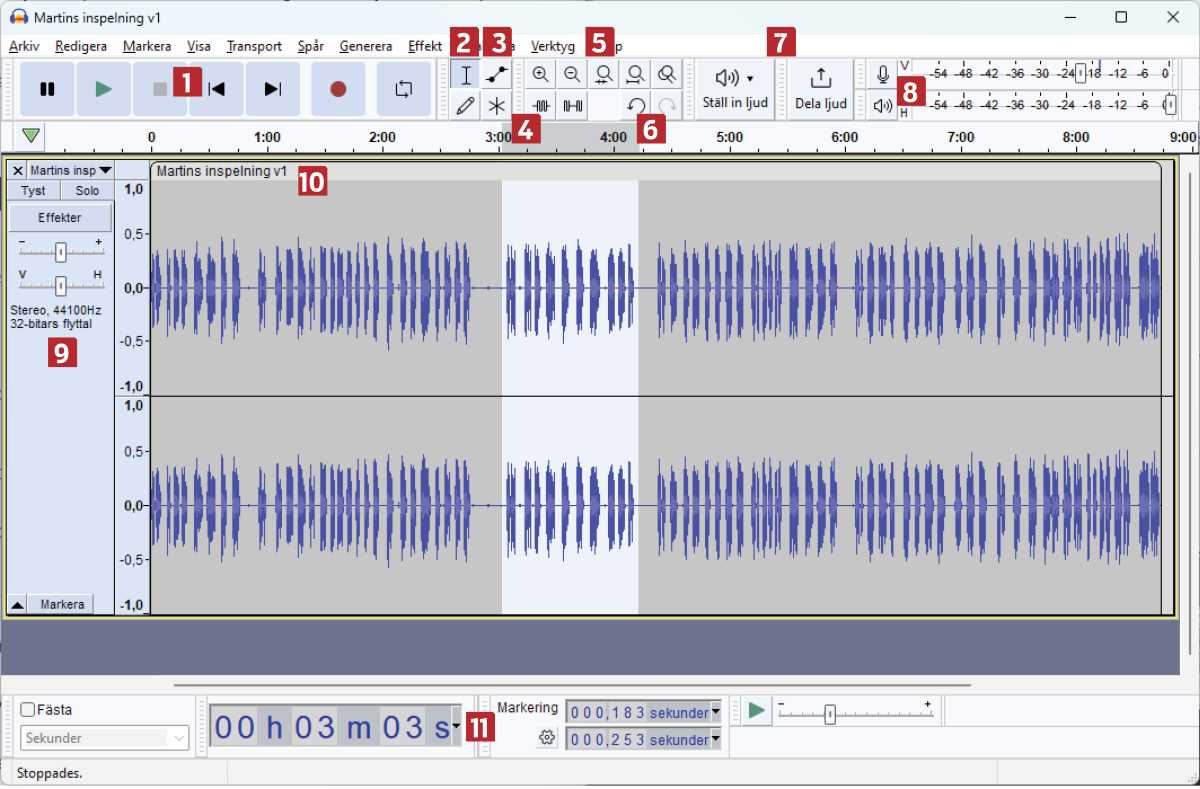 alt text: Audacity interface screenshot showing waveforms, tools, and menus.
Audacity: A Free Yet Professional Audio Editor
While recording is simplified, audio editing remains crucial for polishing recordings. Audacity, a free and open-source software, stands out as a powerful tool used by both amateurs and professionals. It offers a comprehensive suite of features in a user-friendly interface. Audacity’s editing process resembles word processing, allowing you to visualize audio as waveforms and manipulate them through cutting, pasting, and deleting sections.
You can rearrange audio segments, incorporate multiple tracks for mixing background music and sound effects, adjust fade-in and fade-out effects, manipulate playback speed, and apply various filters. While mastering all its features takes time, the latest version boasts improved usability and installation. A comprehensive English manual is available at manual.audacityteam.org for guidance.
Navigating the Audacity Interface
Below is a breakdown of Audacity’s key features and functionalities:
1. Playback Controls
Like a traditional tape recorder, Audacity provides standard playback controls: pause, stop, rewind, and record.
2. Highlighting Audio
Select specific audio portions by clicking and dragging the mouse cursor over the desired waveform section.
3. Volume Adjustment
The volume control tool (a blue line) allows precise volume adjustments. Clicking on the line creates points for granular control.
4. Advanced Editing Tools
Four specialized buttons enable drawing within the waveform, multi-track editing, and deleting sound within or outside selected areas.
5. Zoom Functionality
Five zoom buttons facilitate closer inspection or a broader view of the audio waveform.
6. Undo/Redo Function
Standard undo and redo buttons allow for quick correction of mistakes.
7. Hardware and Sharing Options
Configure microphone, headphone, and speaker settings. A dedicated button simplifies sharing audio.
8. Level Controls
Adjust recording and playback levels using buttons and dials for optimal input and output.
9. Track Control
Modify entire tracks, such as adjusting overall volume or muting them completely.
10. Waveform Display
Audio is visualized as waveforms. Move the top bar left or right to navigate the entire audio track.
11. Time Display
This section displays all relevant time information during audio editing.
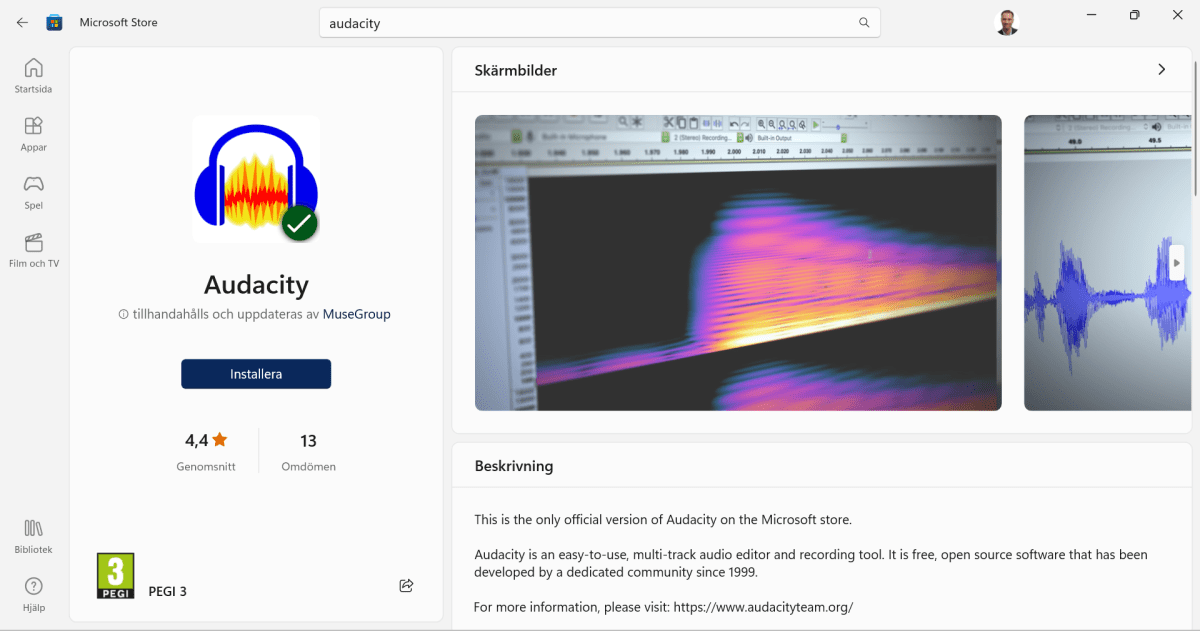 alt text: Audacity interface showing installation options from the Microsoft Store.
Audacity FAQs
1. Audacity Installation
Install Audacity via the Microsoft Store by searching for “Audacity” and clicking “Install.” Alternatively, download it from www.audacityteam.org for Windows, Mac, and Linux.
2. Audacity Updates
Update older versions by clicking Help > Check for updates. Select Install update if available, accept warnings, and follow the update wizard. Keeping Audacity updated ensures access to the latest features.
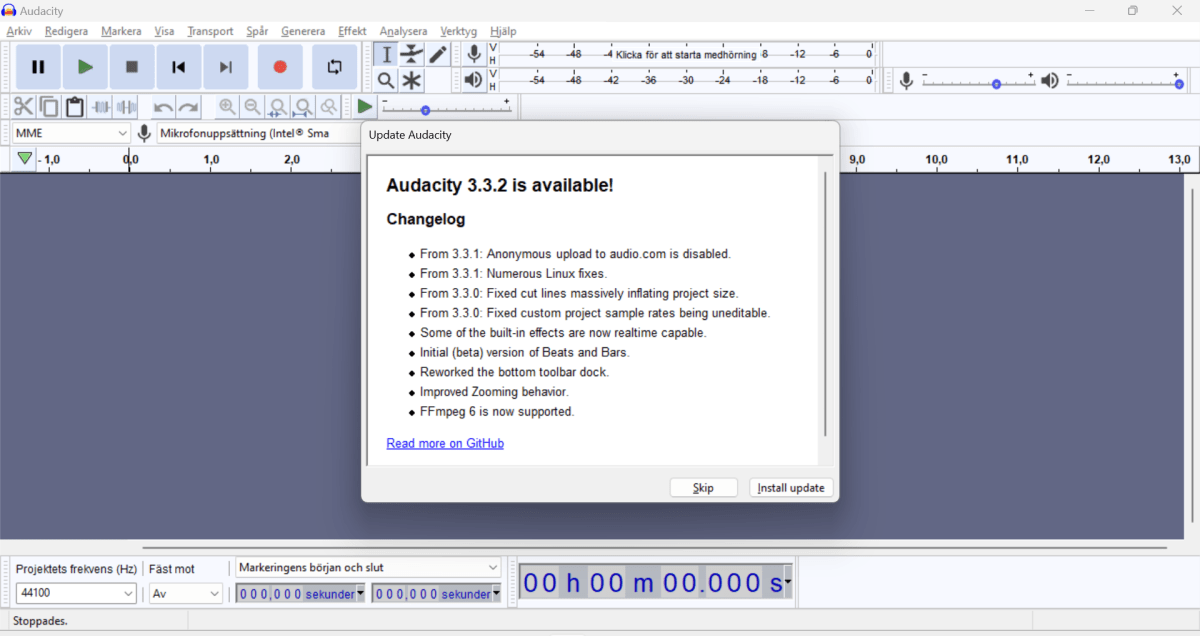 alt text: Audacity's "Check for Updates" menu option within the Help menu.
3. Recording Audio
Record audio using your computer’s microphone and the red record button. Import existing audio files via File > Import > Audio or by dragging files from Windows File Explorer.
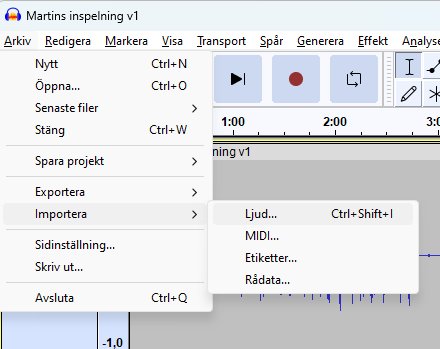 alt text: Audacity interface highlighting the file import option for adding audio.
4. Editing Audio
Edit audio displayed as waveforms on a timeline. Select sections with the mouse to cut, copy, paste, or delete. Work with multiple tracks simultaneously for background music, sound effects, and mixing. Move tracks laterally by clicking and dragging the top bar.
5. Saving Audio
Audacity’s native file format is exclusive to the software. Export edited audio to compatible formats like MP3 or WAV via File > Export, adjusting sound quality and other settings as needed.
6. Audio.com Integration
The latest Audacity version integrates with Audio.com, a free cloud service for audio storage and sharing. Create an Audio.com account at www.audio.com and link it in Audacity via Help > Link Audio.com account.
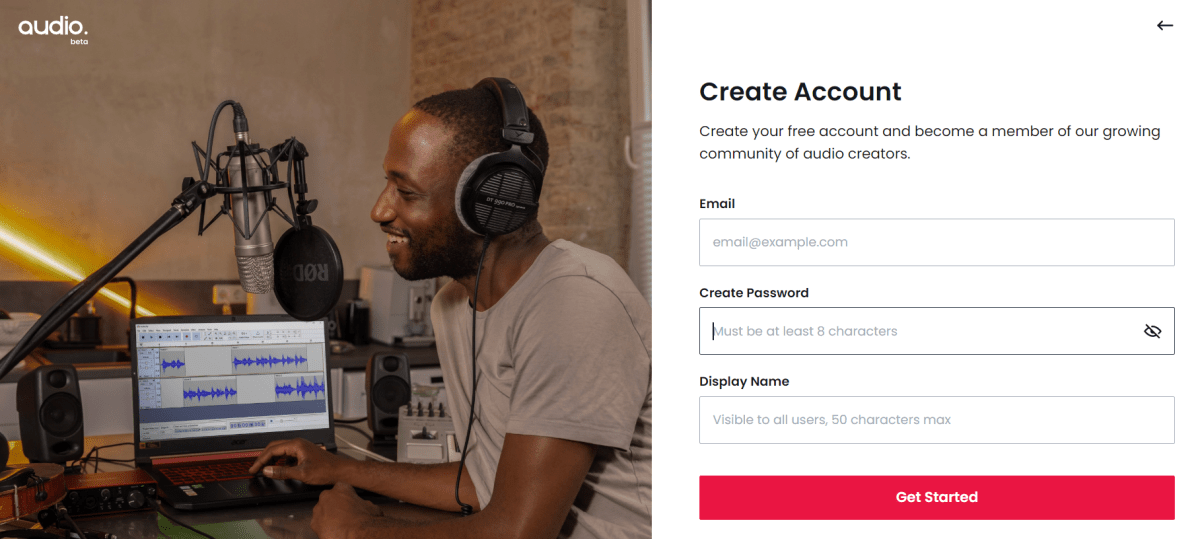 alt text: Audacity's Help menu highlighting the option to link an Audio.com account.


