Super Mario, Zelda (Link), Purple Tentacle, Sonic—iconic gaming heroes who’ve captivated players for decades. While original gaming hardware from Atari, Commodore, Nintendo, and Sega has become collectible, modern technology allows us to relive these classics. Many original games have been remastered, breathing new life into beloved titles and showcasing their enduring appeal. This guide explores three ways to experience these retro gems and newer console titles on your Windows PC. Whether you’re rescuing Princess Peach, battling LeChuck, or guiding Giana through treacherous dungeons, your gaming journey awaits.
 alt=A person playing a retro game on their PC using a gamepad. The screen displays the game and the keyboard controls.
Browser Emulation: The Easy Path to Retro Gaming
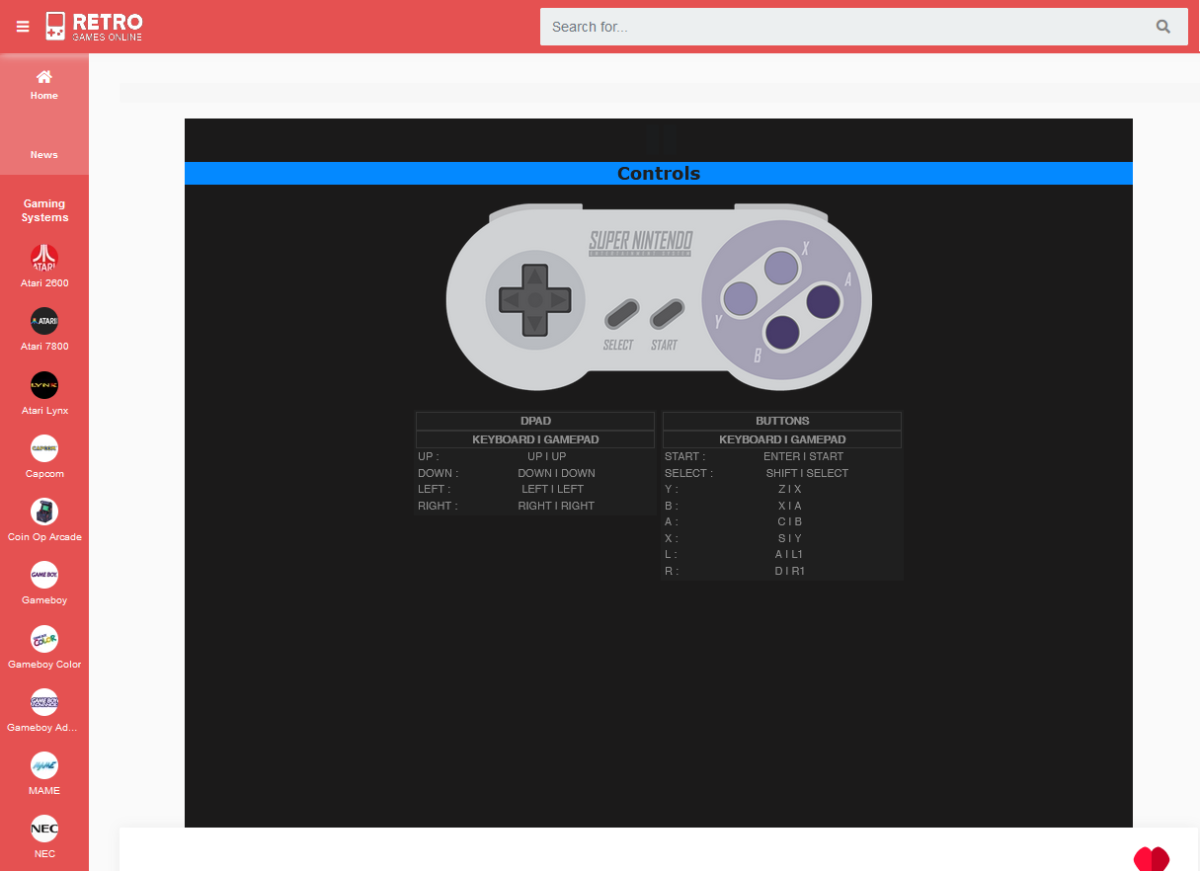
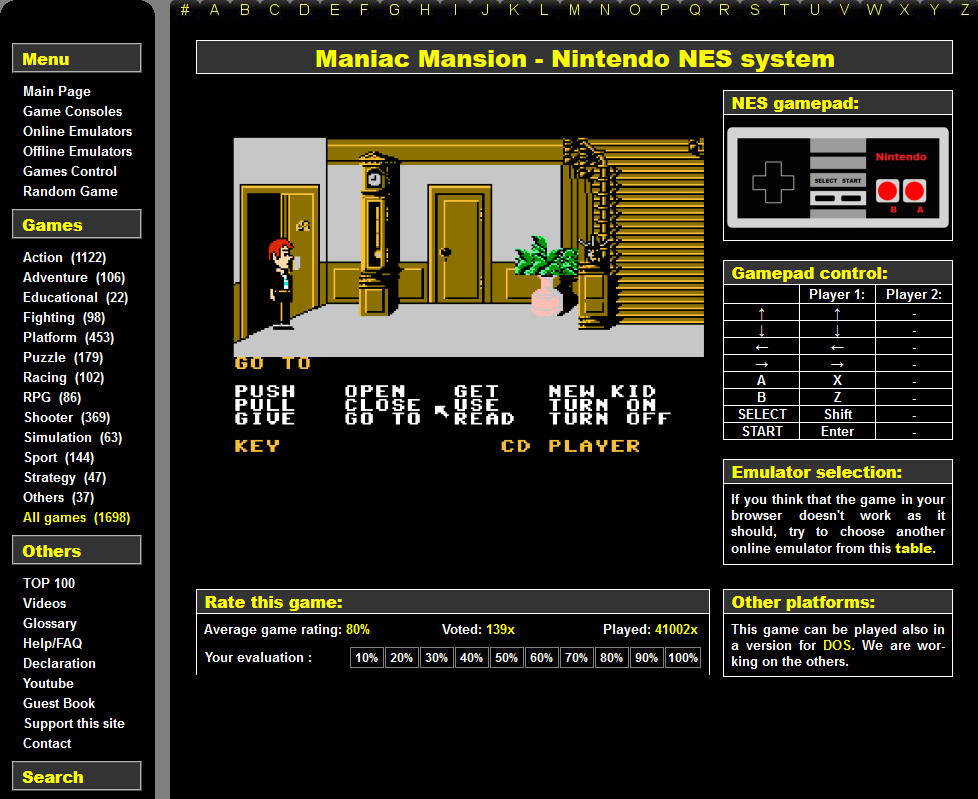
The simplest method for playing retro console games on a PC is through browser emulation. Websites like Retrogames, Retro Games Online, and Webrcade offer a vast library of JavaScript emulations accessible with a single click. Games are typically categorized by console for easy navigation. Retrogames and Retro Games Online provide direct title searches, with Retrogames also offering genre filtering and Retro Games Online sorting by popularity. Retrogames expands beyond consoles, including classic MS-DOS titles like Alone in the Dark and Gabriel Knight.
 alt=A screenshot of the Retrogames website showing a selection of retro games organized by genre and console. The controller/keyboard layout is displayed on the right.
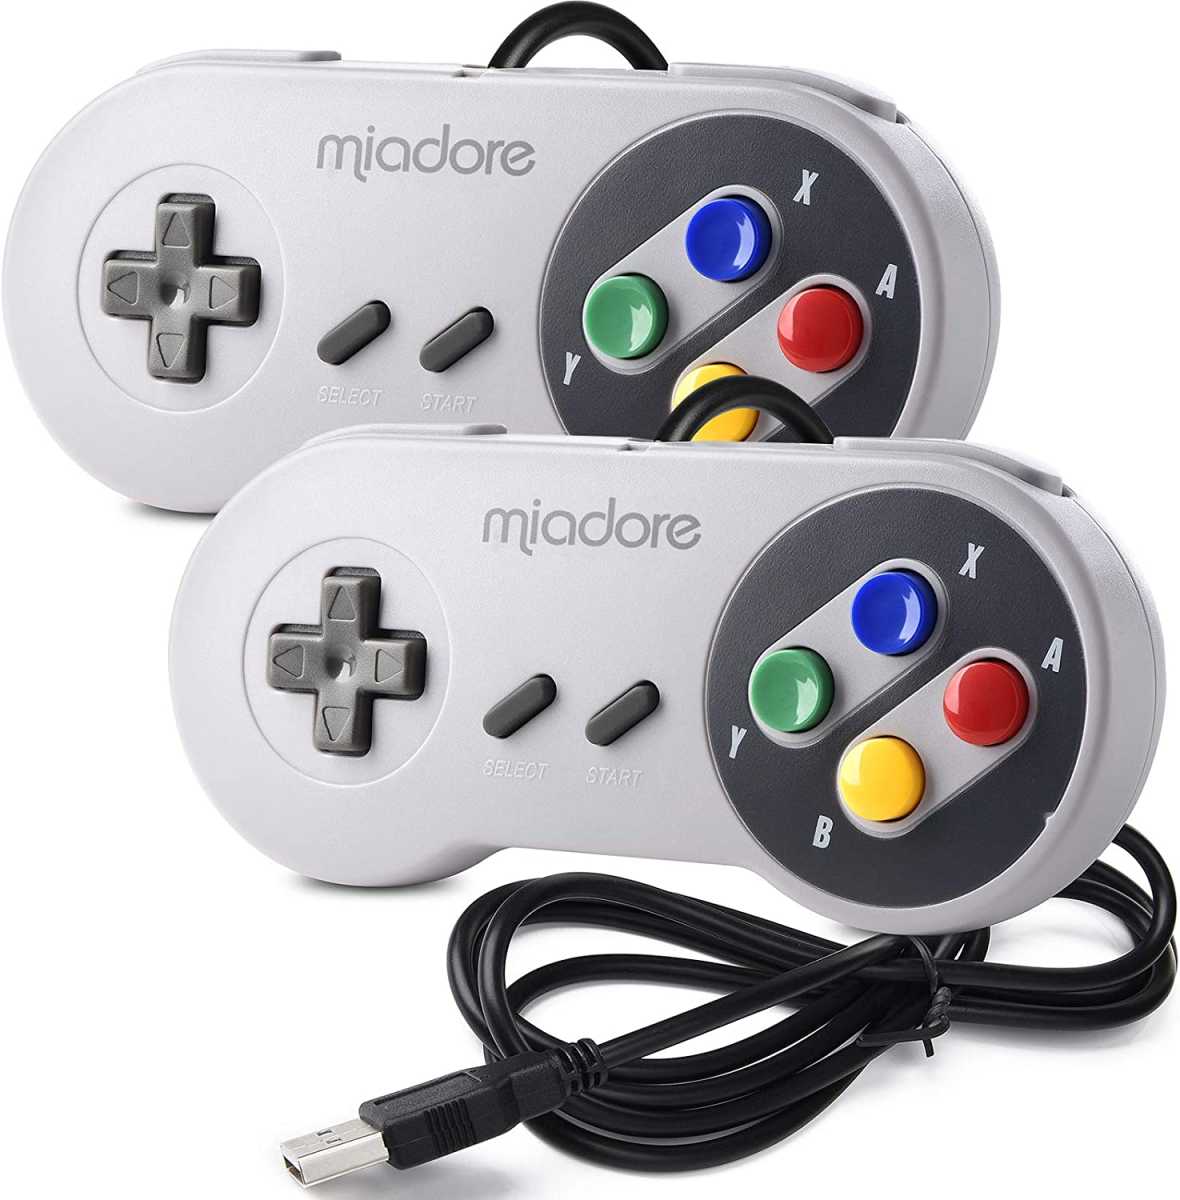
While keyboard controls are available, using a gamepad significantly enhances the experience, especially for games like Maniac Mansion. Standard PC gamepads (USB or Bluetooth) are recommended. Alternatively, console controllers like the Nintendo Switch Pro Controller and Sony PlayStation 4 DualShock 4 are compatible via USB or Bluetooth. Simply enable pairing mode on the controller (Switch Pro Controller: button next to the USB-C port; DualShock 4: PS and Share buttons simultaneously) and connect through your PC’s Bluetooth settings.
 alt=A screenshot of the Joy2key software interface, used for mapping gamepad buttons to keyboard functions.
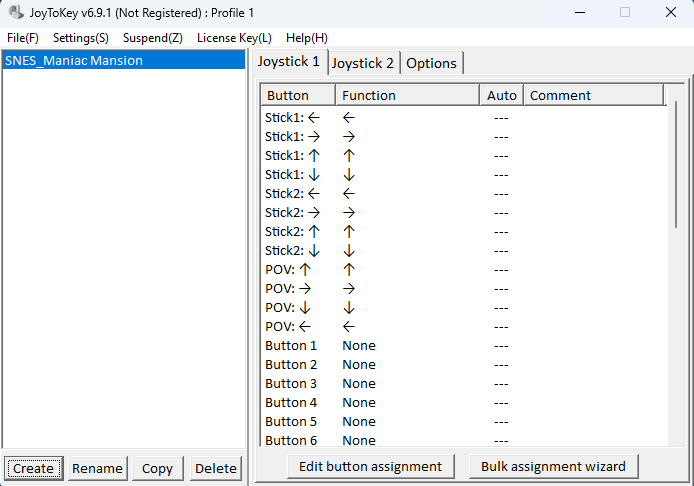
Software like Joy2Key allows for custom gamepad button mapping. Map directional keys to the D-pad or joysticks, enhancing control and gameplay. To identify buttons in Joy2Key (which are numbered), press the desired button; its corresponding number will highlight in yellow.
USB Drive Gaming: The Advanced Approach
 alt=A generic console controller recommended for playing retro games on a PC.
For those seeking a browser-free experience, Batocera Linux offers a solution. Run console emulators directly from a USB drive on any PC. Batocera includes emulators for Gameboy, Sega Megadrive, and C64, with the option to install more. Download the appropriate Batocera image for your system (desktop/laptop or even 32-bit systems) from their website. After downloading and extracting the image, you’ll need a USB drive (at least 8GB, depending on the number of games).
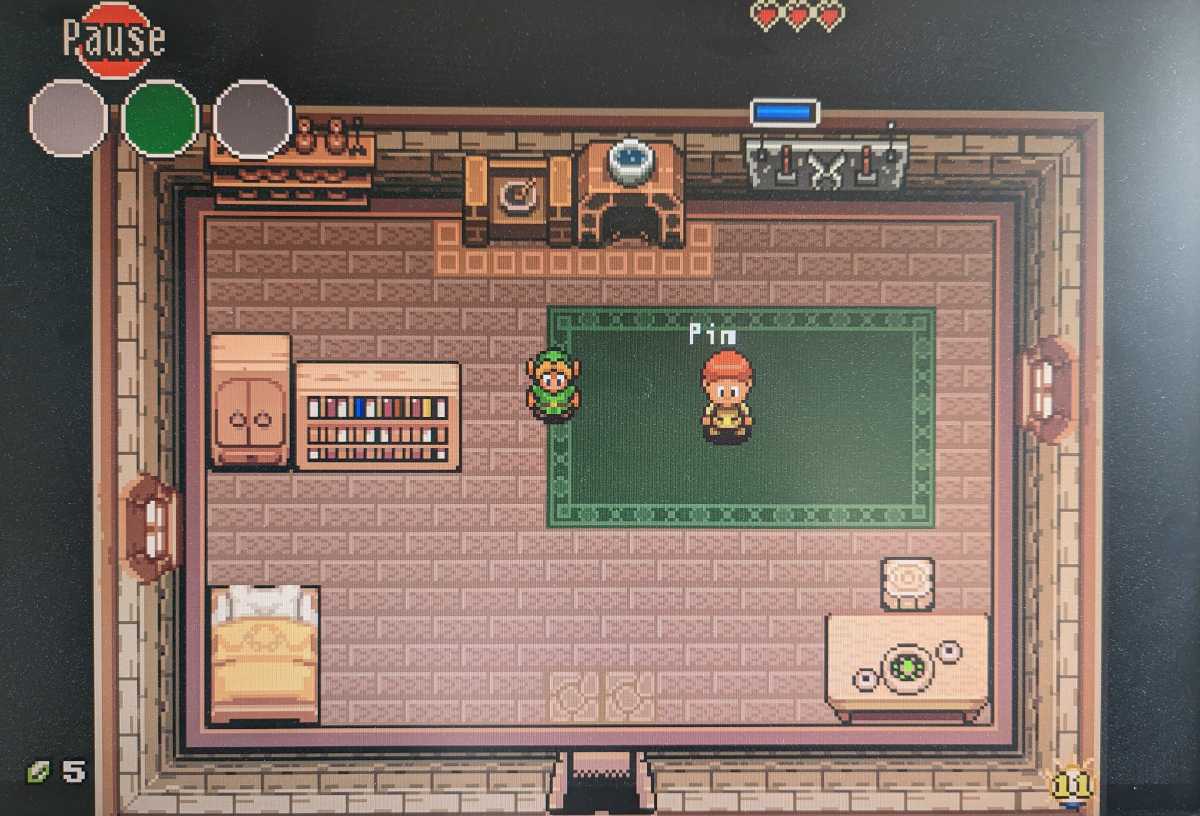 alt=A screenshot of Batocera Linux running on a PC, accessed from a USB drive. The interface shows a selection of retro games.
Install the Batocera image onto the USB drive using the Raspberry Pi Imager. Select the USB drive, choose the “Own image” option, and locate the extracted Batocera image. (Extracting the image beforehand is recommended.) After the image is written, boot your PC from the USB drive (BIOS adjustments might be necessary). USB gamepads are typically recognized automatically. Pair Bluetooth gamepads through Main Menu > Controller & Bluetooth Settings > Pair Bluetooth Device Manually.
Batocera includes 14 pre-installed games. Download additional titles and emulators via Main Menu > Updates & Downloads > Content Downloader (download one file at a time to avoid issues). To add your own ROMs, use the built-in file explorer (F1). Locate the ROMs folder, find the correct system folder (e.g., “c64”), and consult the “info.txt” file for supported ROM formats. Transfer the ROM to a separate drive, connect it to the PC, and copy the ROM file (usually a ZIP archive) into the system folder. After restarting, the game will be available.
Raspberry Pi: The Pro-Level Retro Gaming Console
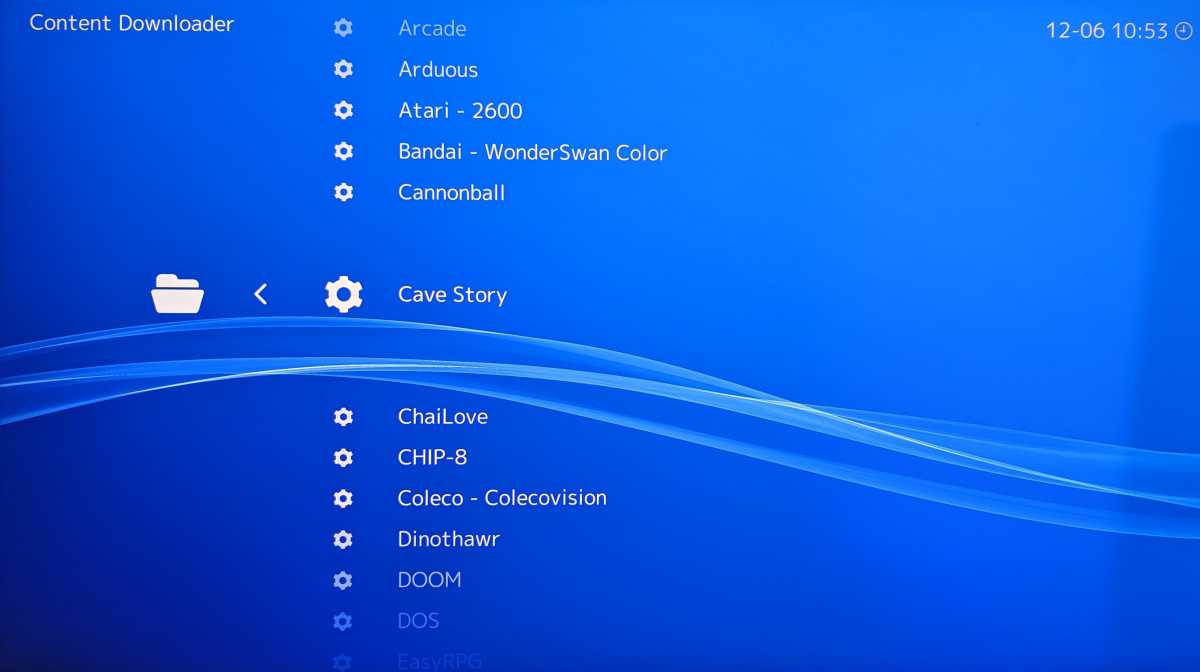 alt=A screenshot of the Lakka emulator interface showing the Content Downloader menu for adding games and emulators.
Transform your Raspberry Pi into a dedicated retro gaming console using emulators like Batocera, Recalbox, Lakka, and Retropie. Install your chosen emulator using the Raspberry Pi Imager. Insert a microSD card into a card reader, select the card in the Imager, choose the emulator under Emulation and game OS, specify your Raspberry Pi model, and click Write. Boot your Raspberry Pi from the microSD card. Control games using a keyboard or gamepad (USB or Bluetooth, depending on the model and emulator). Configure controller settings within the emulator’s menu (Recalbox: Enter key; Lakka: Settings > Input; Retropie: during initial setup).
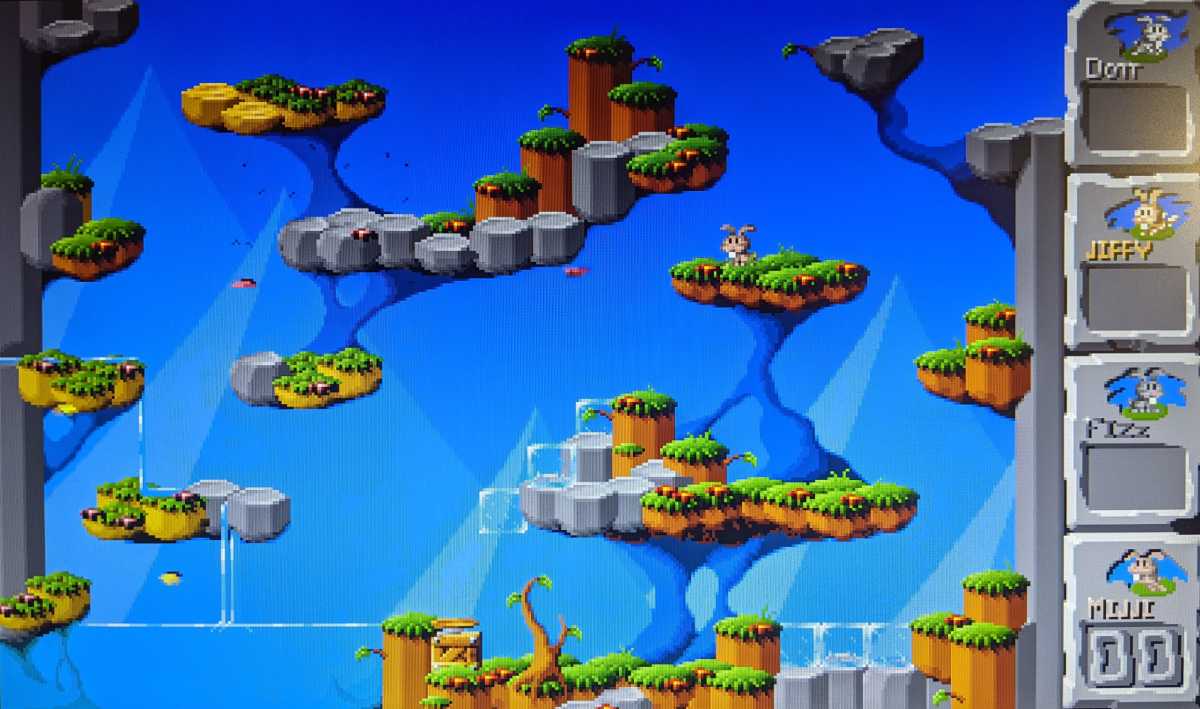 alt=A screenshot of the Retropie interface showing a selection of retro games.
Recalbox comes pre-loaded with games, organized by console, and allows for adding ROMs. Lakka has fewer pre-installed games; download additional titles and emulators via Main Menu > Online Updater > Content Downloader. Select games by console, then Load Content (choose the emulator/“Core”). For Retropie, set up Wi-Fi via Configuration, then choose Retropie Setup, followed by I Basic Install and Yes. Download optional or experimental packages through P Manage Packages. Customize game display in the main view by pressing the start button on your controller and navigating to Game Collection Settings—Automatic Game Collections.
Finding Legal Game ROMs
Resources for legal game ROMs can be found on the Recalbox website, Mamedev, and Romhustler. Ensure ROMs are in the correct format and placed in the appropriate folder.


