Setting up Windows 11 typically requires an active internet connection for a Microsoft account login. However, limited internet access or unrecognized network hardware can make this process challenging. This guide provides a workaround to create a local account during Windows 11 setup, even without an internet connection.
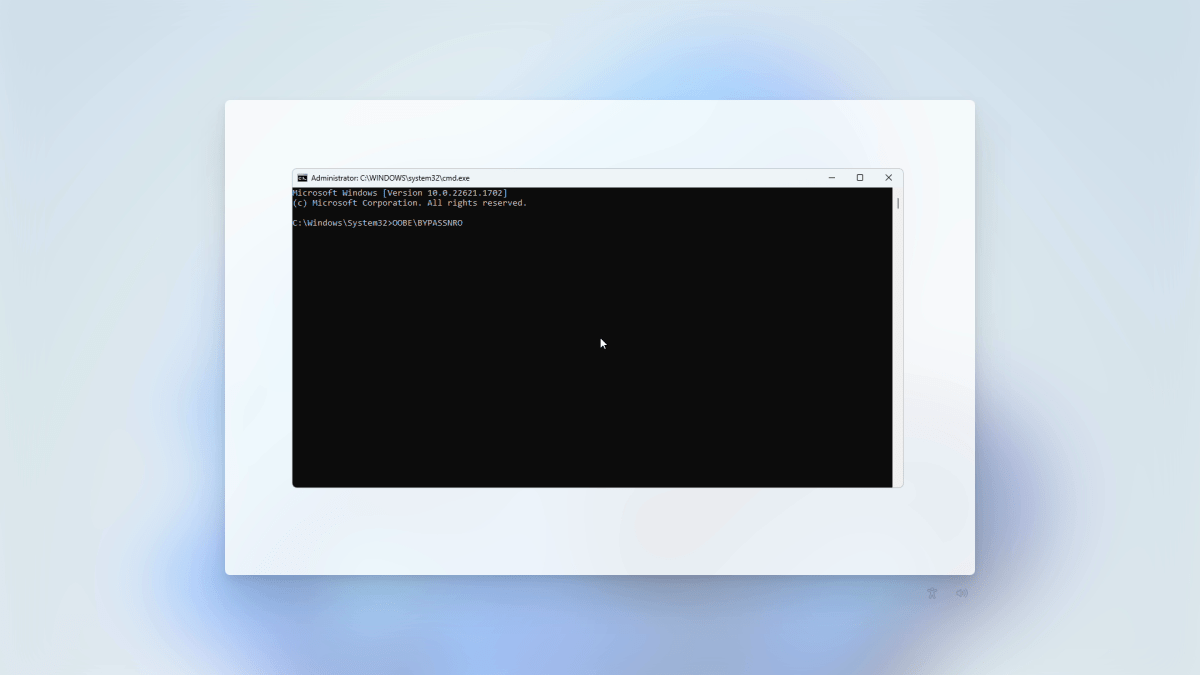 Windows 11 Command Prompt input for unlocking local account option PCWorld
While Windows 11 setup seemingly forces a Microsoft account login, local accounts are still an option. When you reach the “Let’s connect you to a network” screen, use the keyboard shortcut Shift + F10 to open a Command Prompt window.
Bypassing the Network Requirement
In the Command Prompt window, type OOBEBYPASSNRO and press Enter. This command is not case-sensitive, so lowercase entry works as well. Your PC will reboot and restart the Windows 11 setup process. Proceed through the steps until you encounter the “Let’s connect you to a network” screen again.
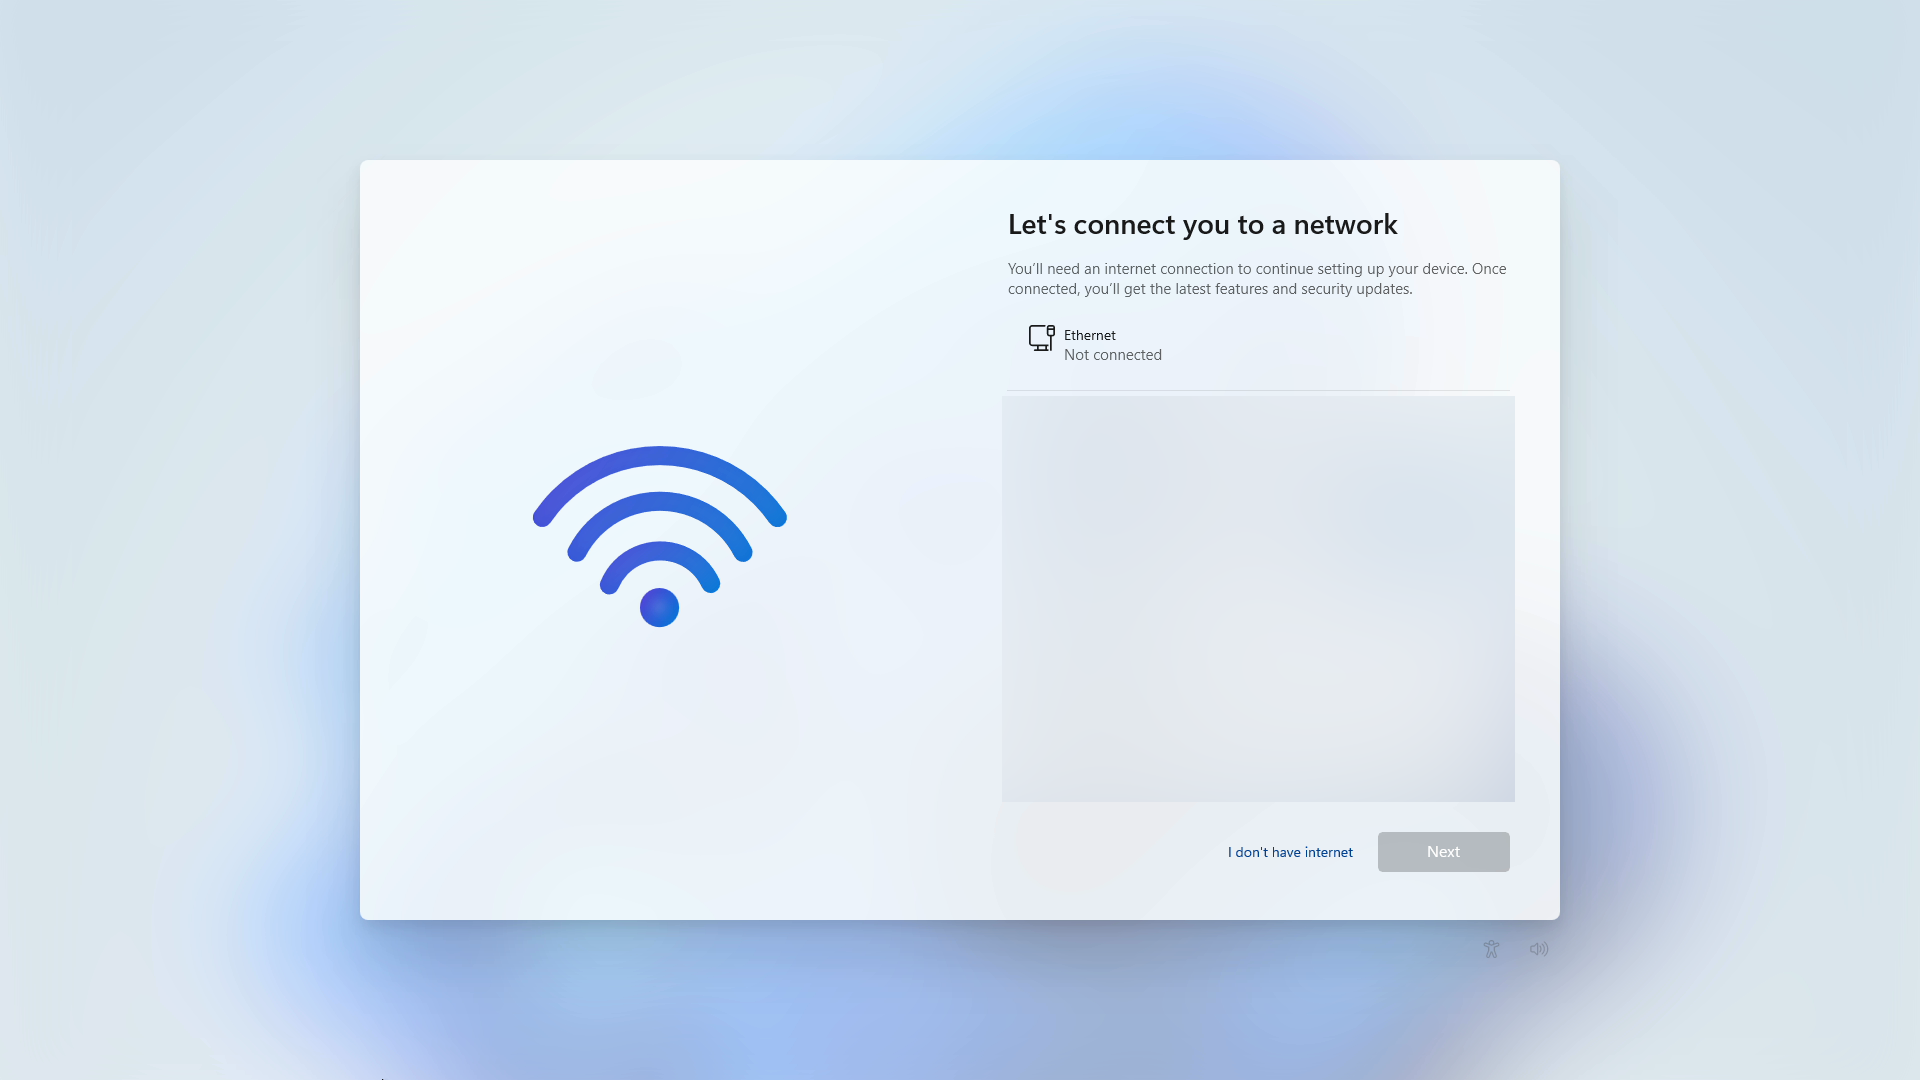 Windows 11 local account setup option unlocked
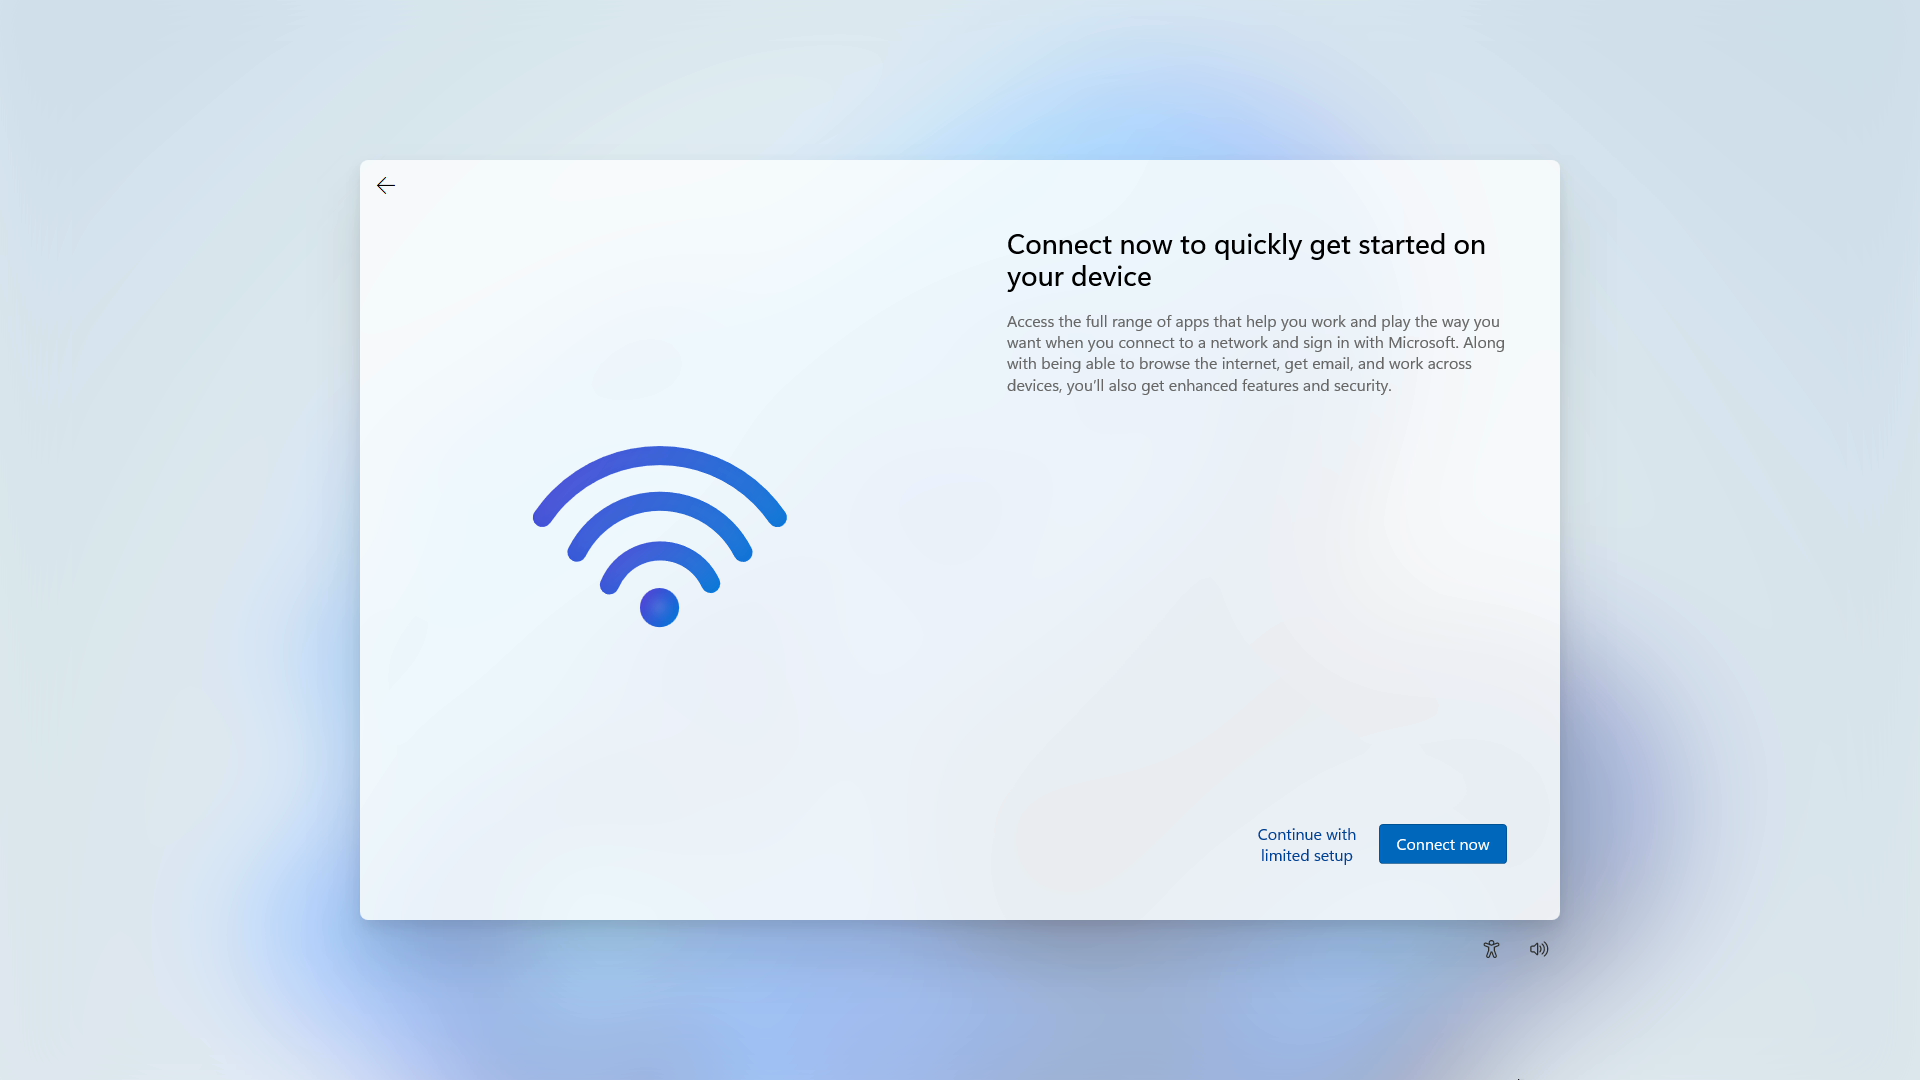 Windows 11 Continue with limited access
Completing Local Account Setup
You should now see a new option: “I don’t have internet.” Select this option, followed by “Continue with limited setup.” Accept Microsoft’s terms and conditions, then choose a name for your PC. Create a password and set up security questions to complete the local account setup. You’ll then reach the Windows 11 desktop.
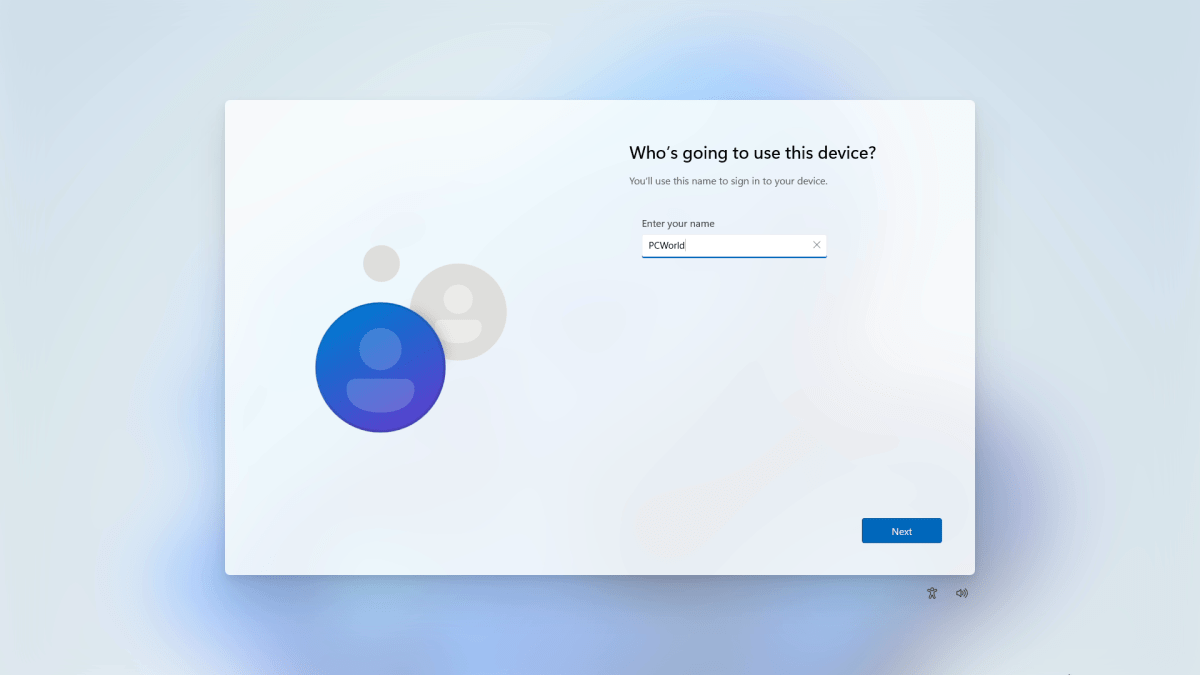 Windows 11 local account user name PCWorld
Troubleshooting Network Hardware Issues
If your ethernet or wireless hardware isn’t recognized, you’ll need to install the appropriate drivers. For prebuilt PCs, visit the product page on the manufacturer’s website (e.g., dell.com, hp.com) to download the necessary drivers. For custom-built PCs, check your motherboard manufacturer’s website for driver downloads.
Switching to a Microsoft Account (Recommended)
While this guide focuses on local account creation, switching to a Microsoft account is recommended for enhanced security. Navigate to Settings > Accounts to link your local account to a Microsoft account. This provides benefits like device encryption, automatic backups to OneDrive, and added protection against loss, theft, or ransomware. These features offer crucial safeguards against unforeseen circumstances.


