Windows 11 removed the simple drag-and-drop taskbar resizing feature present in older Windows versions. This change, along with the inability to move the taskbar to the screen’s sides, has frustrated many users. While the reasons behind Microsoft’s decision remain unclear, it’s thankfully possible to regain some control over taskbar size using the Registry Editor. This guide provides a step-by-step approach, but remember that modifying the registry carries inherent risks. Proceed with caution and back up your registry beforehand.
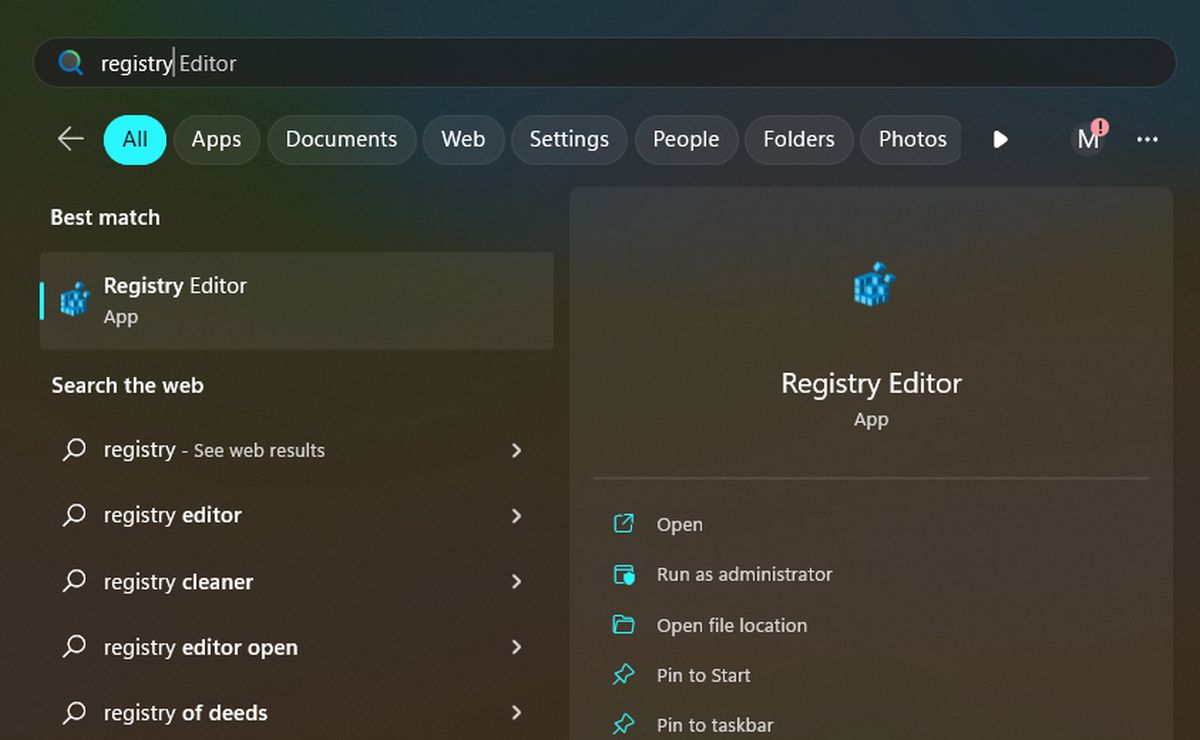
 Registry Editor in Windows 11
Accessing the Registry Editor
To begin, open the Registry Editor. Click the Start button, type “regedit,” and press Enter.
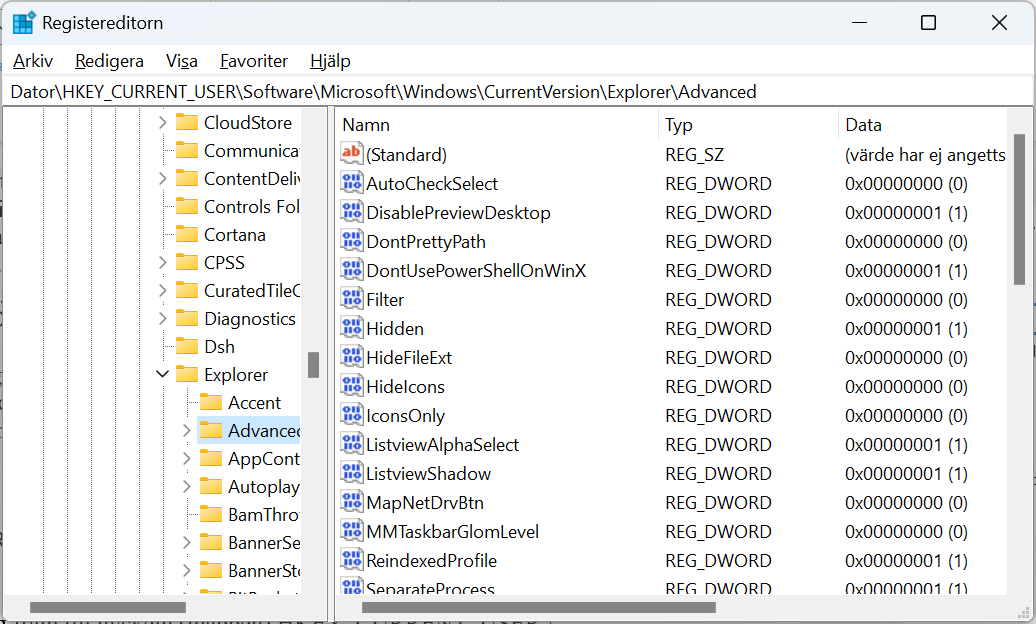
 Navigating to the Advanced Key in Windows 11
Locating the Correct Key
Within the Registry Editor, navigate to the following key: HKEY_CURRENT_USERSoftwareMicrosoftWindowsCurrentVersionExplorerAdvanced.
Creating the DWORD Value
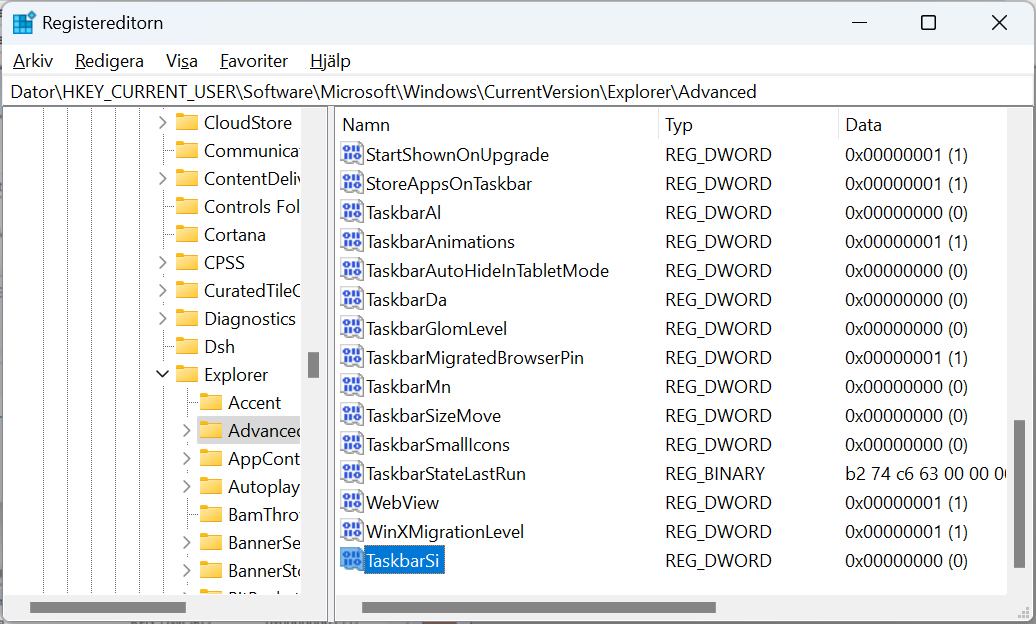
Right-click on the “Advanced” key, select “New,” and then choose “DWORD (32-bit) Value.” Name this new value “TaskbarSi.”
 Creating the TaskbarSi DWORD value
Setting the Taskbar Size
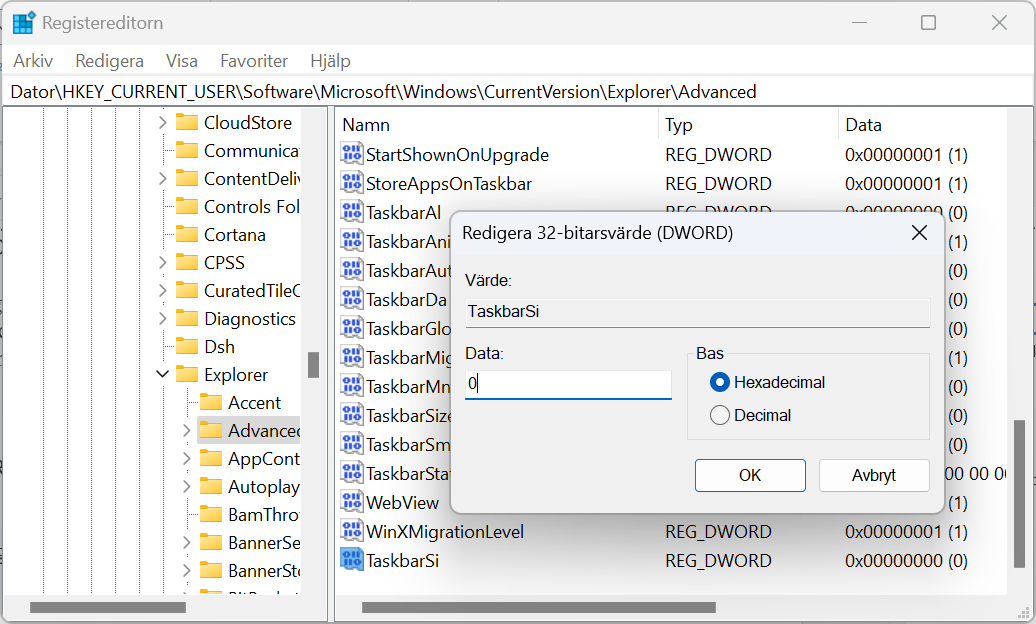
Double-click the newly created “TaskbarSi” value. A dialog box will appear allowing you to modify its value data. Set the value to:
- 0: Smallest taskbar size
- 1: Default taskbar size
- 2: Largest taskbar size
 Setting the TaskbarSi value data
After setting the desired value, restart your computer. Upon restarting, the Windows 11 taskbar will reflect the size you selected.
This simple registry tweak offers a way to customize your Windows 11 taskbar size, restoring some of the flexibility lost with the OS update. While this method is effective, always exercise caution when working with the registry.


