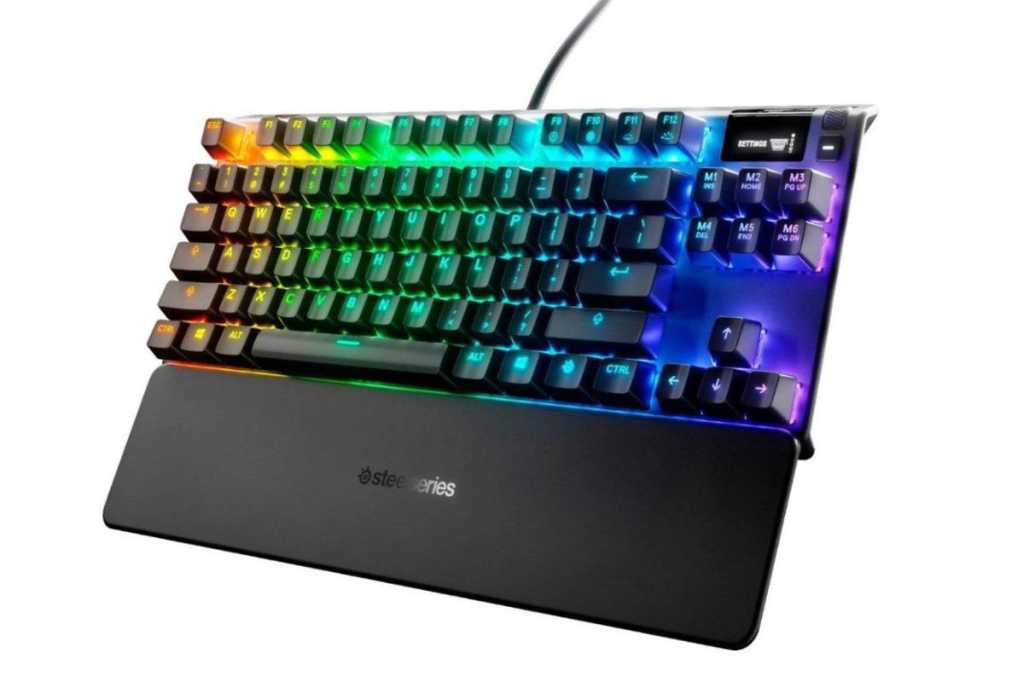
If you’re a dedicated PC user, spending hours at your desk for work or gaming, chances are your mechanical keyboard has seen better days. Crumbs, dust, hair, and other debris inevitably find their way into the crevices, impacting both its appearance and performance. Fortunately, cleaning a mechanical keyboard is a straightforward process that can significantly improve your typing experience. This guide provides a detailed, step-by-step approach to deep cleaning your mechanical keyboard, ensuring it stays in top condition.
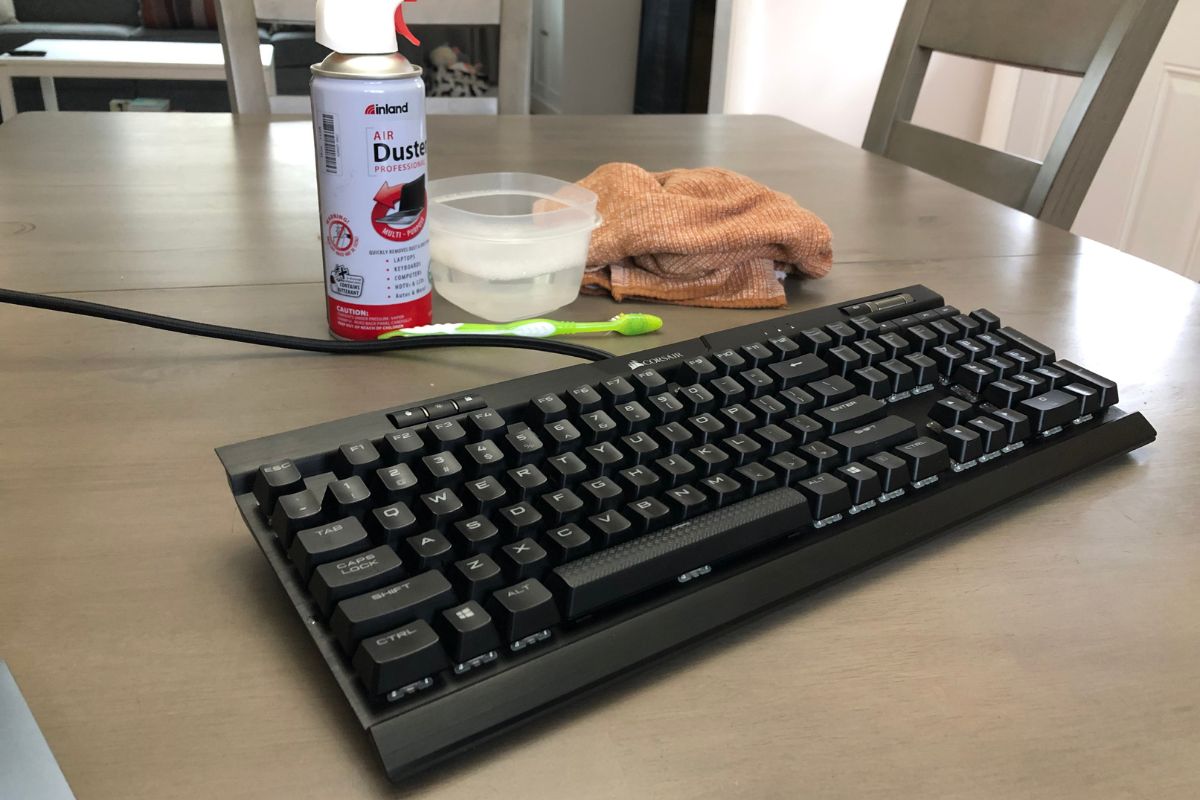 Unplug the wired mechanical keyboardDisconnect your keyboard before cleaning to prevent electrical damage.
Disconnecting and Preparing Your Keyboard
Before you begin, it’s crucial to disconnect your keyboard from your computer. For wired keyboards, simply unplug the USB cable. This precautionary step prevents any electrical mishaps during the cleaning process, especially when water is involved.
Removing the Keycaps
The first step in deep cleaning is removing the keycaps. Most keycaps can be easily removed by gently pinching the sides and pulling upwards. Minimal force is required, but be careful not to yank them off forcefully. For quicker removal or for stubborn keycaps, consider using a keycap puller tool. This inexpensive tool minimizes the risk of damaging the keycaps or the underlying switches.
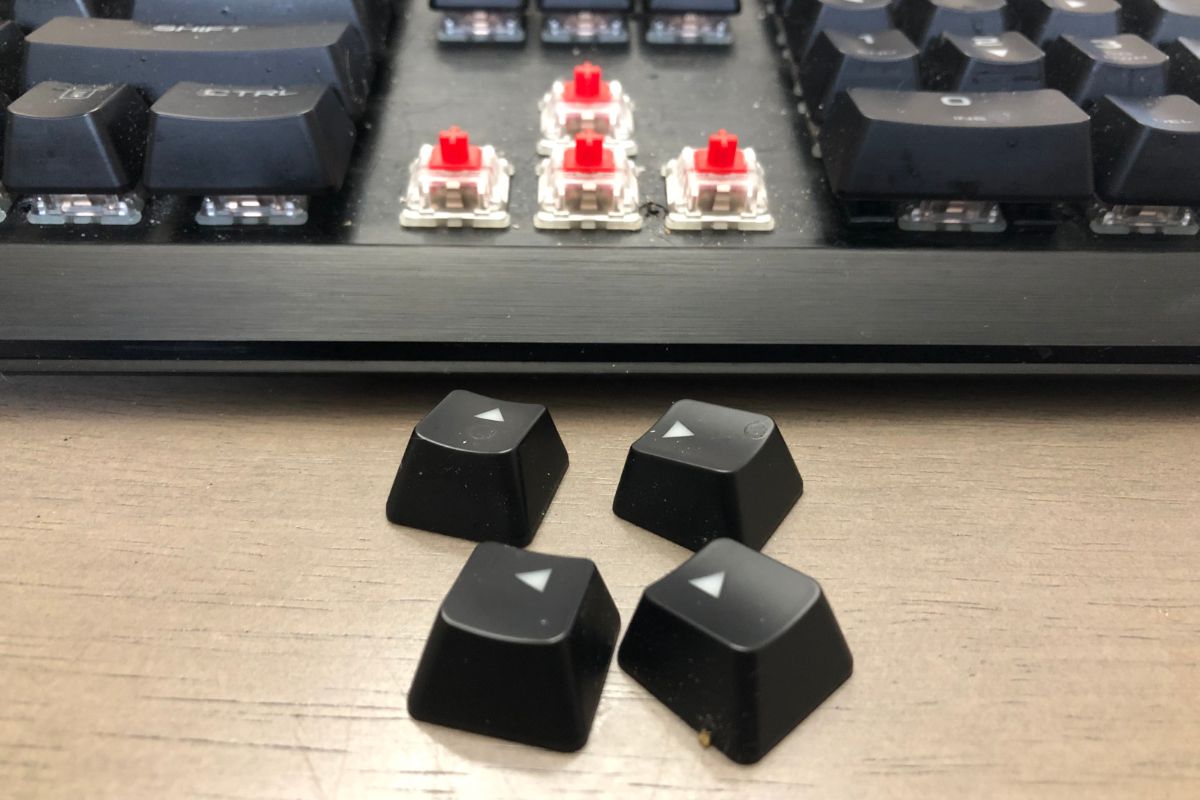 Remove keycapsA keycap puller simplifies keycap removal.
Cleaning with Compressed Air
Once the keycaps are removed, you’ll likely see a buildup of dust, hair, and other debris. Use a can of compressed air to blow away these loose particles. Focus on the areas around the switches, where debris tends to accumulate. A few short bursts of air should dislodge most of the loose particles.
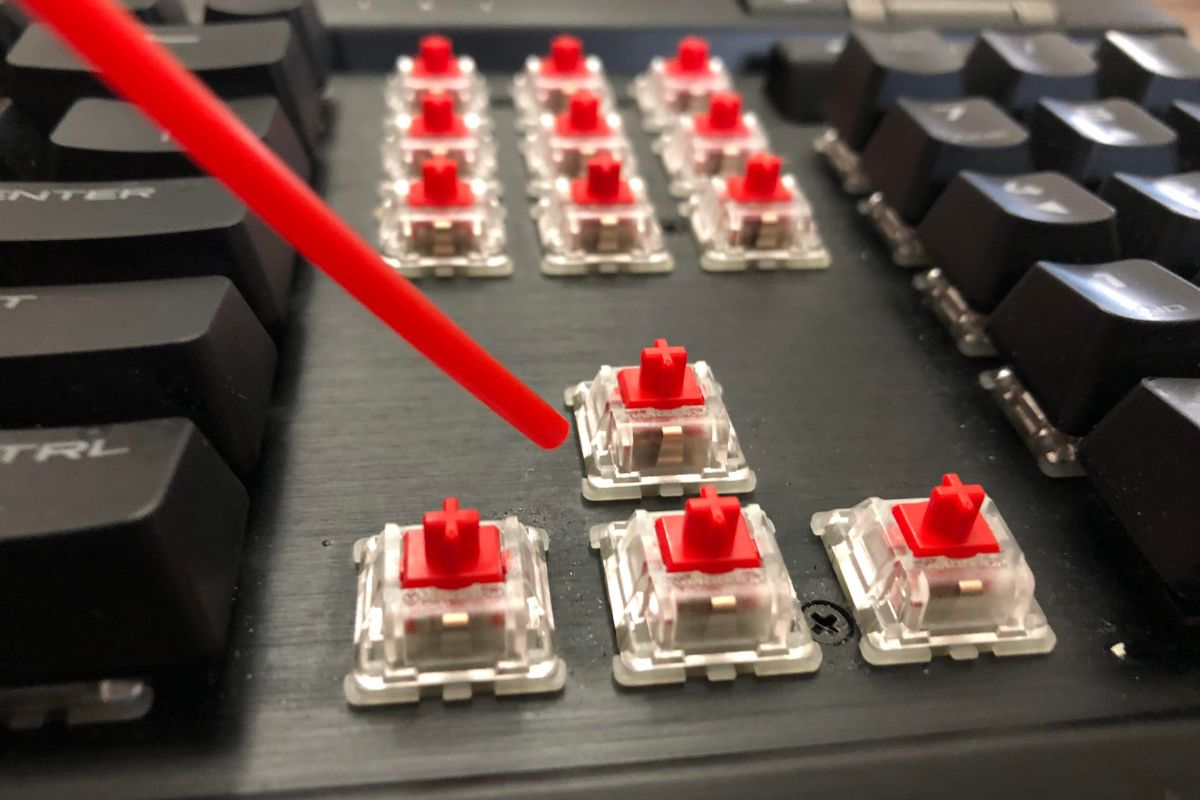 Use compressed air to clean the switchesCompressed air effectively removes loose debris.
Tackling Stubborn Debris
For more stubborn debris clinging to the keyboard or switches, use a soft-bristled toothbrush. Gently brush around the switches and other hard-to-reach areas. For sticky residues, slightly dampen the toothbrush with a mixture of mild soap and water. Be careful not to use excessive water, as it can damage the keyboard’s internal components.
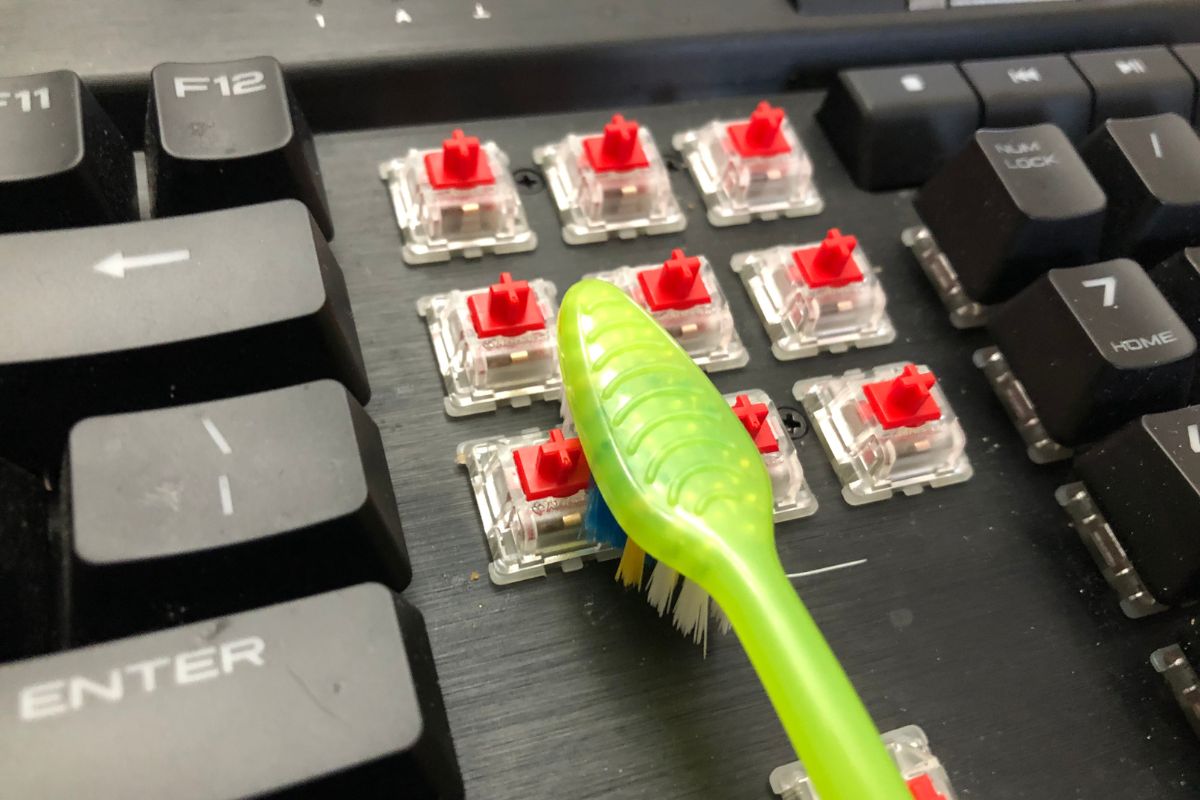 Use a soft bristle toothbrush to remove loose debrisA soft-bristled toothbrush helps clean hard-to-reach areas.
Wiping Down the Keyboard
After removing loose and stubborn debris, wipe down the entire keyboard surface with a damp (not wet) cloth. This removes any remaining residue and leaves your keyboard looking pristine. Avoid soaking the cloth, as excess moisture can damage the keyboard.
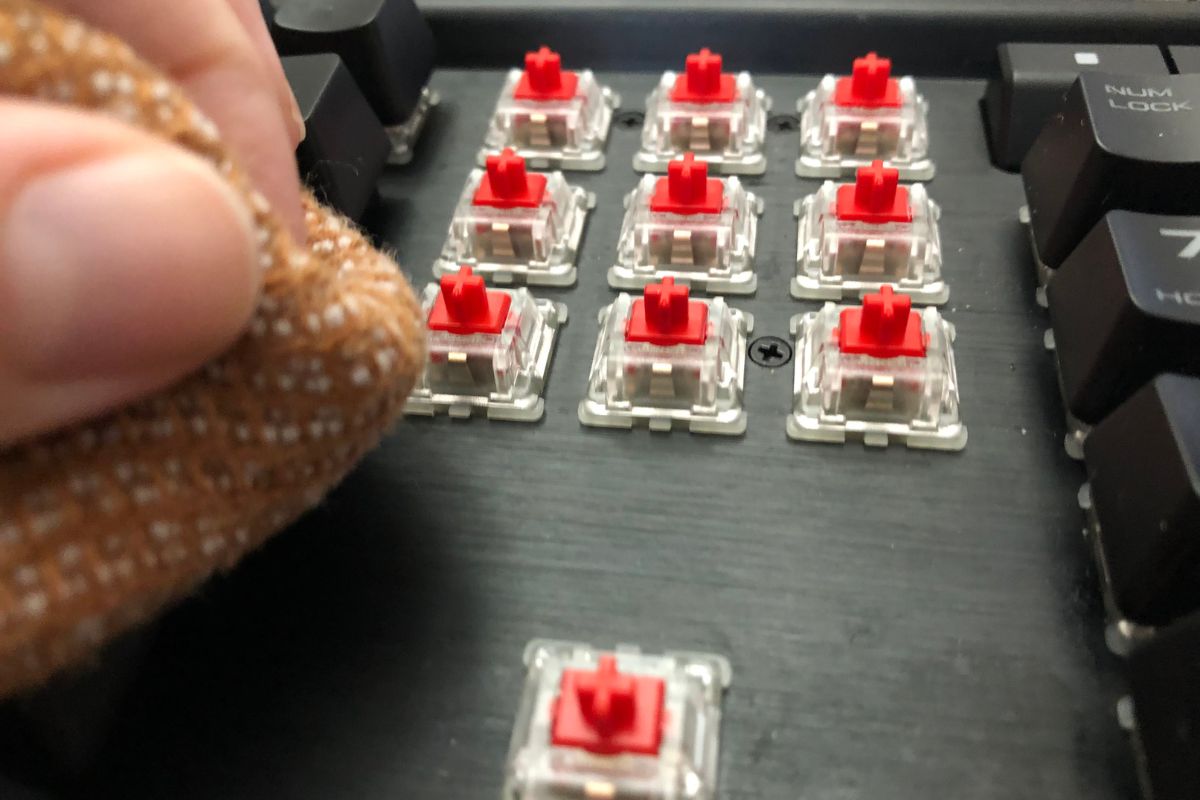 Wipe down the keyboard with a damp clothWipe the keyboard with a damp cloth to remove residue.
Cleaning the Keycaps (Optional)
For a thorough cleaning, consider soaking the keycaps in warm, soapy water. This helps remove oils and grime that accumulate from regular use. Ensure the keycaps are completely dry before reassembling the keyboard.
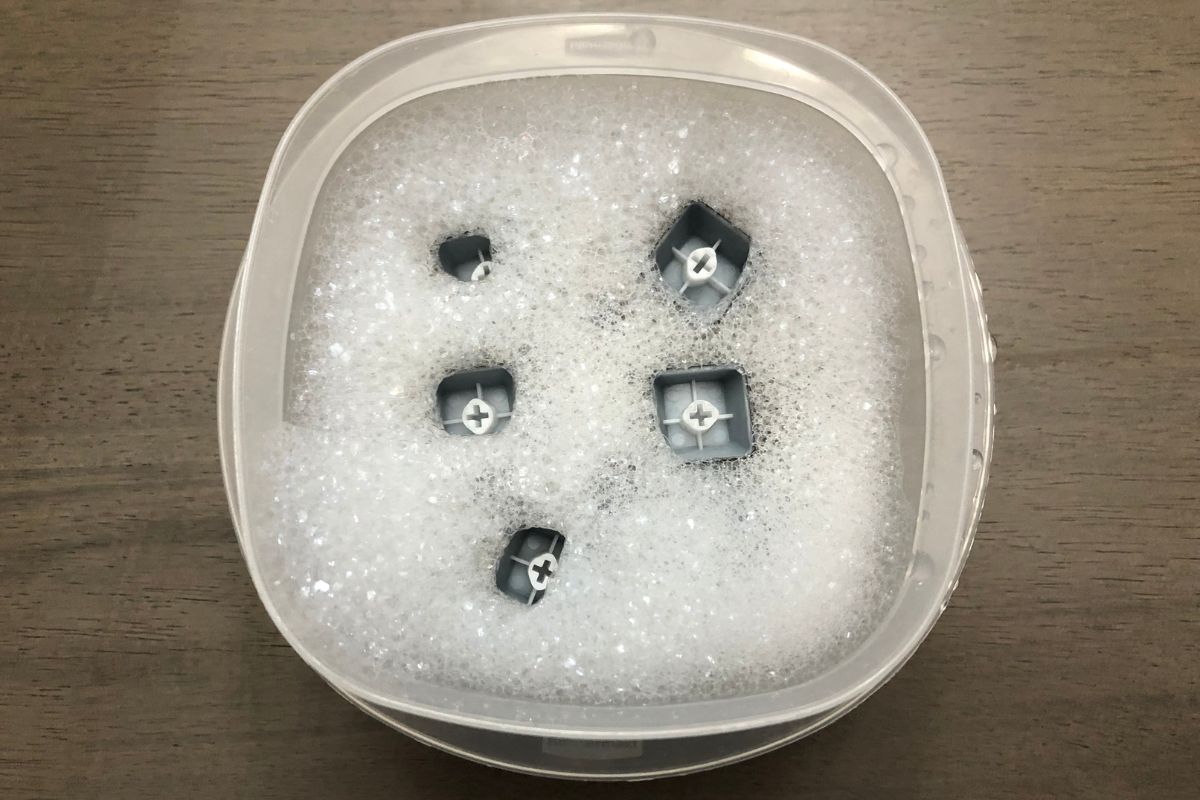 Soak keycaps in warm waterSoaking keycaps removes built-up oils and grime.
Reassembling the Keyboard
Once everything is clean and dry, it’s time to reassemble your keyboard. Carefully place each keycap back onto its corresponding switch, ensuring it clicks securely into place. This process might be the most time-consuming part of the cleaning procedure, but the result is a clean and refreshed keyboard.
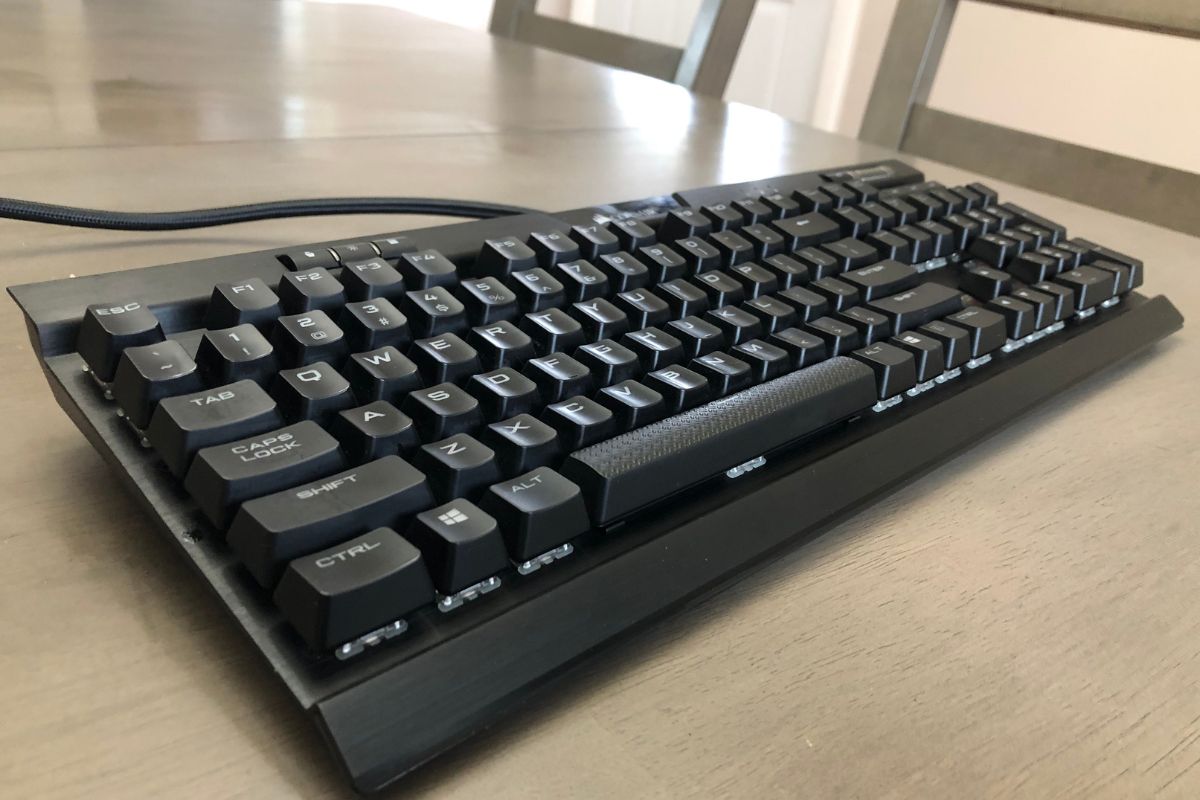 Reassemble the keycapsCarefully reassemble the keycaps after cleaning.
By following these steps, you can maintain a clean and functional mechanical keyboard, enhancing your typing experience and prolonging its lifespan.


