Windows desktop notifications can be helpful, especially for time-sensitive information like email arrival. However, the constant barrage of notifications for routine tasks, such as printing, can become disruptive. Fortunately, Windows allows you to customize and disable these notifications on a per-app basis. This guide will show you how.
Managing Notifications in Windows 10
In Windows 10, open the Settings app and navigate to System > Notifications & actions. Here, you can globally disable all notifications using the toggle at the top. More importantly, you’ll find a list of individual apps, often prioritized by those that recently sent notifications. Simply use the slider next to each app to disable its notifications. Close the Settings window to save your changes.
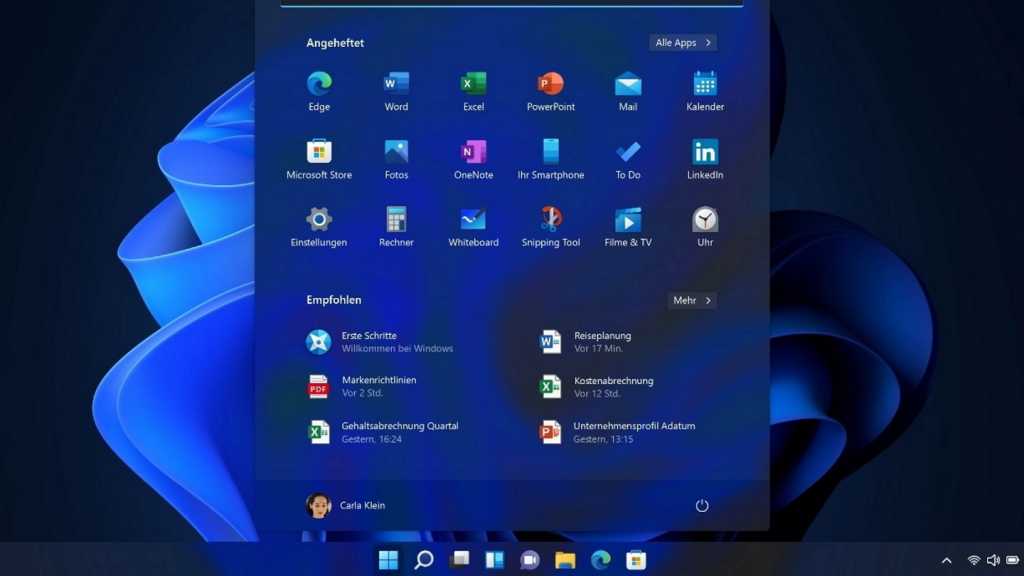
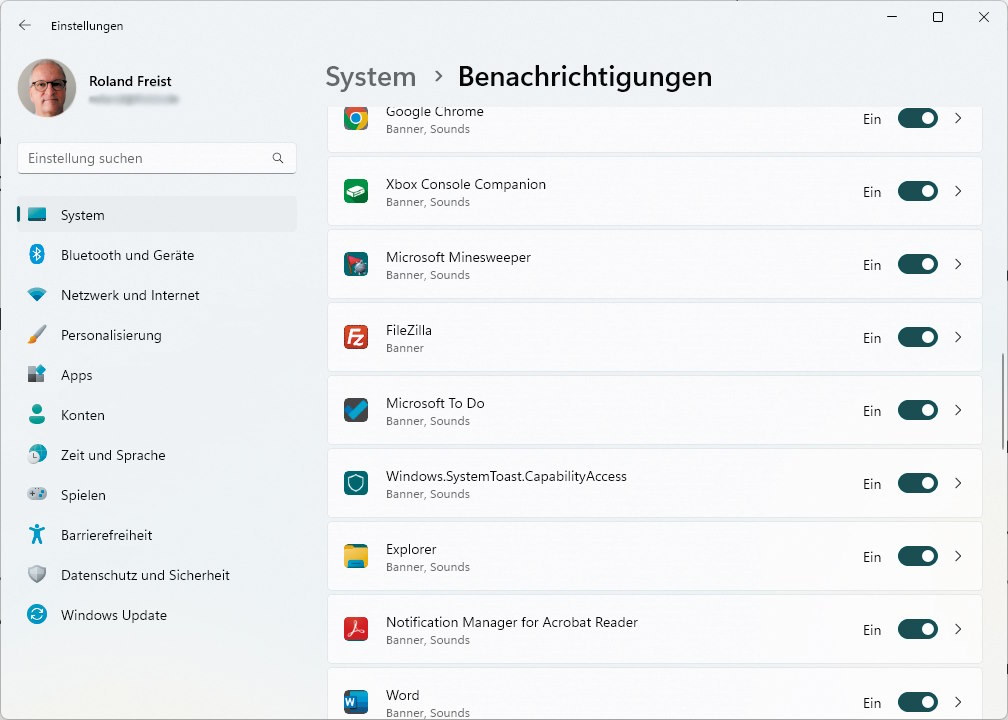 Windows BenachrichtigungenCustomize notification settings for individual apps within the Windows Settings app.
Controlling Notifications in Windows 11
Windows 11 provides similar functionality, with a few enhancements. Access notification settings directly through Settings > System > Notifications. At the top, you’ll find Do not disturb options, including priority notification settings, allowing for more granular control over interruptions.
Similar to Windows 10, you can manage app-specific notifications in the list below. However, Windows 11 offers expanded customization. Click the small arrow to the right of each app to reveal further options. Additionally, settings for system notifications, such as Windows tips, are located under Additional settings.
Conclusion: Taming Notification Overload
Both Windows 10 and 11 offer convenient ways to manage app notifications. By customizing these settings, you can prioritize important alerts and minimize distractions, creating a more focused and productive computing experience. Take a few minutes to configure your notifications and reclaim control over your digital workspace.


