A red light on your motherboard can be anything from benign RGB lighting to a signal of hardware failure. If your PC is acting up, refusing to power on, and displaying a red LED on the motherboard, it’s time to investigate. This guide will walk you through diagnosing and resolving this issue.
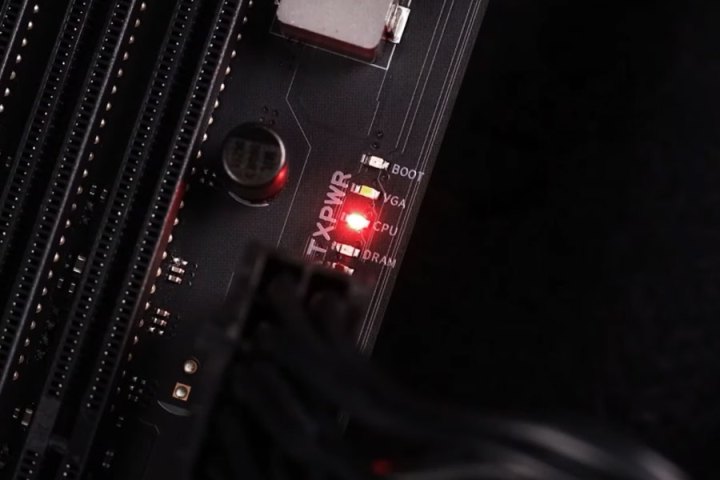 Asus diagnostic LED. An illuminated diagnostic LED on an ASUS motherboard.
Consult Your Motherboard Manual
Motherboard layouts and designs vary significantly between manufacturers and even models within the same brand. Pinpointing the meaning of a red light requires knowing your motherboard’s model. While some motherboards, like the ASUS example above, have onboard indicators, most require referencing the manual.
Locate your physical manual or find a digital version on the manufacturer’s website. This documentation provides detailed information about your specific motherboard. Note the red LED’s location, its behavior (solid on, flashing, or displaying a code), and when it activates (always on or only during startup). This information is crucial for diagnosis.
The manual may provide a direct explanation for the red light. If not, cross-reference any accompanying beep codes or other LED readouts displayed during boot with the manual’s troubleshooting section.
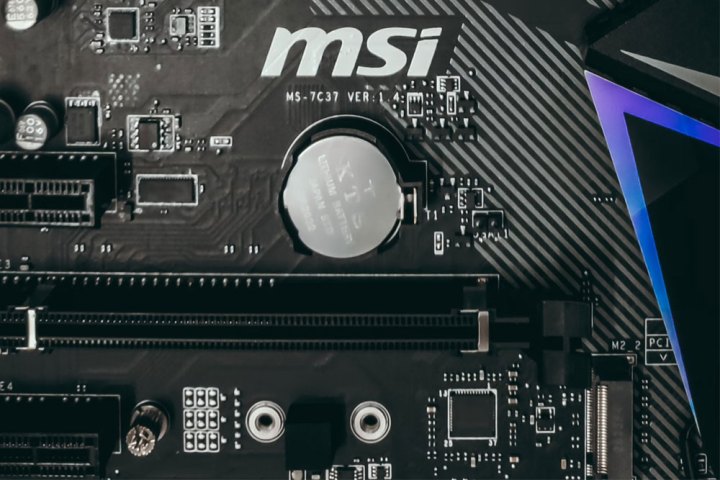 CMOS battery on an MSI motherboard. The CMOS battery on an MSI motherboard.
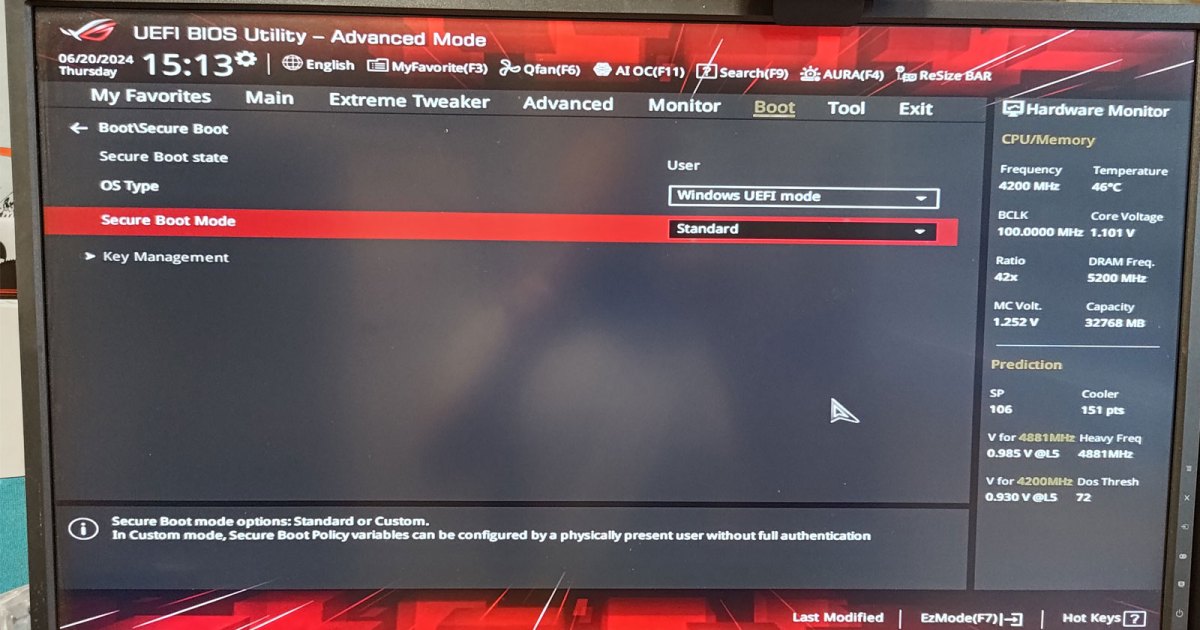
Resetting the CMOS: A First Step
Before delving into complex solutions, try resetting the CMOS. BIOS modifications or new hardware installations can sometimes cause instability, leading to boot issues and warning lights.
Locate the CMOS reset button on your motherboard, if available. Alternatively, disconnect the power cable, remove the CMOS battery, press and hold the power button for 30 seconds to discharge any residual power, reinsert the battery and cables, and attempt to power on your system.
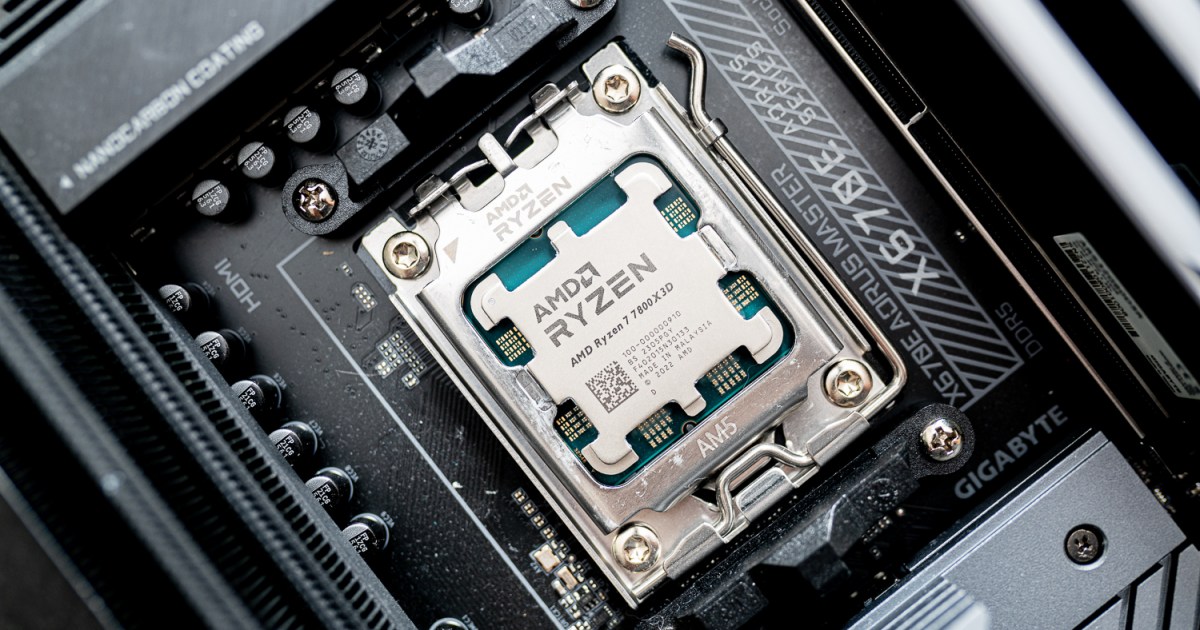
Addressing CPU-Related Red Light Errors
If the red light suggests a CPU problem, consider these troubleshooting steps:
- Reinstall the CPU: Carefully remove and reinstall the CPU and cooler, ensuring proper placement and secure connection. Consult our PC building guide for detailed instructions.
- Verify CPU Cooler Function: Confirm that the CPU fan spins correctly and the cooler is firmly attached. A loose or malfunctioning cooler can trigger motherboard warnings and prevent startup.
- Update BIOS Firmware: Incompatibility between a new CPU and an older motherboard’s BIOS can cause issues. If applicable, install a known compatible CPU, update the BIOS to the latest version, then reinstall the new CPU. Always refer to the motherboard’s compatibility list to ensure CPU support.
- Test the CPU: If feasible, test the CPU in another compatible system to rule out a faulty processor.
Additional Troubleshooting Checks
If the red light persists, explore these further checks:
- Minimal Hardware Configuration: Disconnect all non-essential components, including extra RAM sticks, storage drives, add-in cards, and USB devices. Boot with only the essential hardware (CPU, one RAM stick, graphics card, keyboard, and mouse) to isolate the problem.
- Reseat RAM Modules: Remove and reinstall the RAM modules, testing with each stick individually in different slots to pinpoint a potentially faulty module or slot.
- Verify Power Connections: Double-check all power connections, including the graphics card power cables and the CPU power cable at the top of the motherboard. Unplug and reconnect each cable to ensure a secure connection.
Conclusion: Next Steps
If you’ve exhausted these troubleshooting steps and the red light remains, hardware replacement might be necessary. However, before resorting to replacement, consider seeking professional assistance from a qualified technician for further diagnosis and repair options.


