Upgrading to Windows 11? Secure Boot is a crucial system requirement that safeguards your PC against unauthorized software. This guide provides a comprehensive walkthrough on how to enable Secure Boot, ensuring a smooth transition to Windows 11.
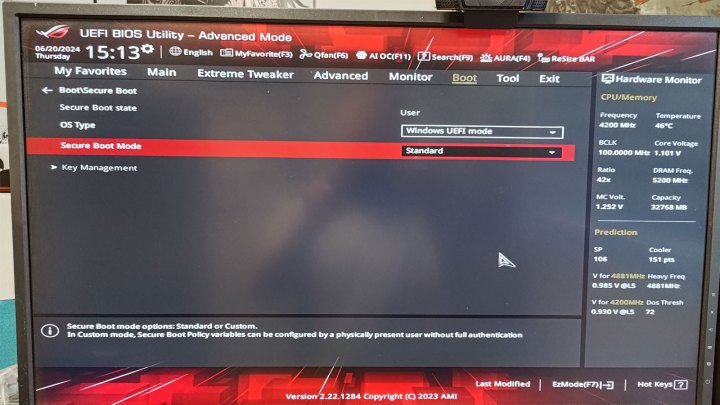
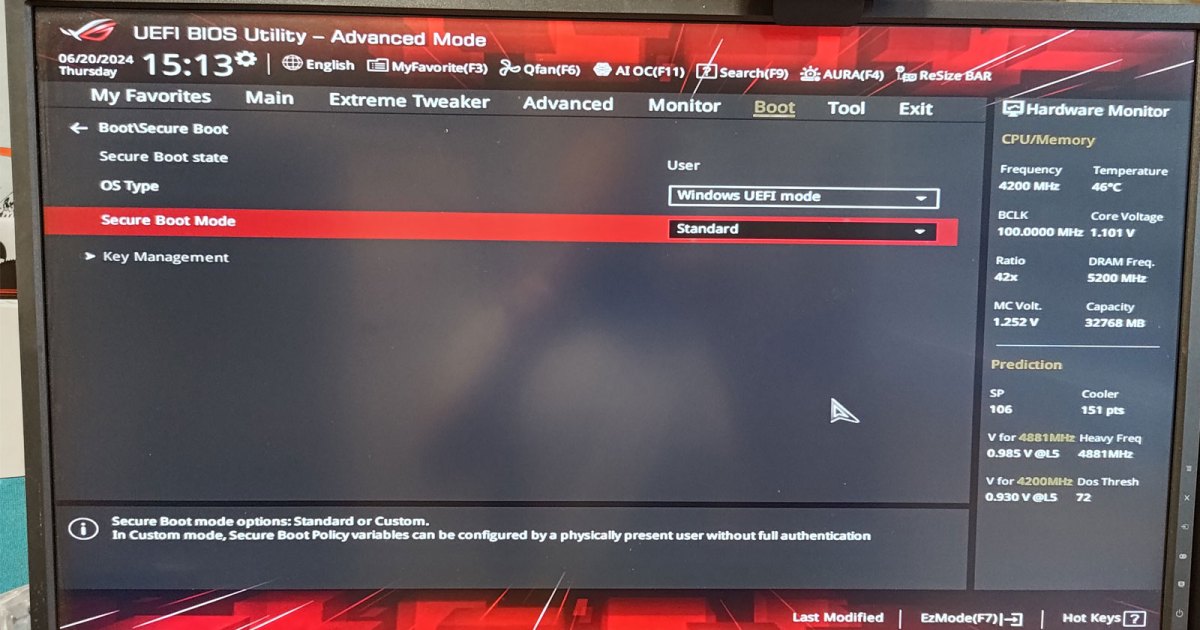
 Secure Boot setting in an ASUS BIOS. DigitalTrends
Accessing and Enabling Secure Boot in BIOS
The most direct method to enable Secure Boot is through your computer’s BIOS settings. Here’s how to navigate this process:
Step 1: Accessing Your BIOS
Upon startup, press your motherboard’s designated BIOS key (commonly Del or F2, but this varies by manufacturer). Refer to your motherboard’s documentation or manufacturer’s website for the specific key. Alternatively, you can access the BIOS through Windows 11’s advanced startup options.
Step 2: Switching to Advanced Mode
If your BIOS interface is in Basic or Simple mode, switch to Advanced mode to access the full range of settings. This option is usually clearly labeled within the BIOS interface.
Step 3: Locating the Secure Boot Setting
The precise location of the Secure Boot setting depends on your motherboard’s make and model. Typically, it resides within the Boot or Security tab. Navigate through these tabs to locate the Secure Boot option.
If you encounter difficulties finding the setting, consult your motherboard manufacturer’s website for specific instructions or consider updating your BIOS to the latest version.
Step 4: Enabling Secure Boot
Once you’ve found the Secure Boot option, toggle it to On or Enabled. If you need to disable Secure Boot later, you can follow the same steps and switch it back to Off or Disabled.
For example, on some ASUS motherboards, you might need to set the Secure Boot Mode to Standard.
Step 5: Saving and Rebooting
Save the changes you’ve made in the BIOS and restart your computer. Upon reboot, Secure Boot should be active.
Verifying Secure Boot Status in Windows 11
After enabling Secure Boot, it’s a good practice to verify its status within Windows 11. Follow these simple steps:
Step 1: Opening System Information
Use the Windows search bar to search for “msinfo32” and select the System Information app from the search results.
Step 2: Checking Secure Boot Status
In the System Information window, scroll down until you locate the Secure Boot entry. The status will be displayed next to it, indicating whether it’s On or Off.
 Windows 11 System Information DigitalTrends
This verification step ensures that Secure Boot is functioning correctly, providing an added layer of security for your Windows 11 system. Now that you have Secure Boot enabled, you’re one step closer to enjoying the enhanced security features of Windows 11.


