Microsoft’s decision to discontinue WordPad in Windows 11 24H2 surprised many users. While a simple text editor, WordPad served as a convenient alternative to Microsoft Word for basic document creation. This guide explains how to restore WordPad if you prefer to continue using it.
The 24H2 update, currently rolling out, marks the official removal of WordPad, among other features. While free alternatives like LibreOffice exist, they may not offer the same familiar experience. If you’re attached to WordPad, the following steps will guide you through its reinstallation.
Restoring WordPad Functionality
Reinstalling WordPad is relatively straightforward. You’ll need access to a Windows 11 system running version 23H2 or earlier—one where WordPad is still present. The necessary files are typically located in a specific directory, even on systems running 24H2, albeit without the executable file.
On the older Windows 11 system, navigate to the following file path in File Explorer:
C:Program FilesWindows NTAccessories
Within this directory, you should find three key components: WordpadFilter.dll, wordpad.exe, and a localization folder (e.g., en-US). Copy these three items to a USB drive or external storage device.
Next, connect the storage device to the Windows 11 24H2 system where WordPad has been removed. Create a new folder, preferably in a permanent location, and name it “WordPad”. Paste the copied files into this newly created folder.
Locate the wordpad.exe file within the “WordPad” folder. Right-click the file, select “Show more options,” then navigate to “Send to” and choose “Desktop (create shortcut).” This action creates a shortcut on your desktop.
Copy the newly created shortcut. Then, open File Explorer and navigate to the following path:
C:Program FilesDataMicrosoftWindowsStart MenuProgram Files
Paste the shortcut into this directory. You can rename the shortcut if needed. This step adds WordPad to the Start Menu’s application list.
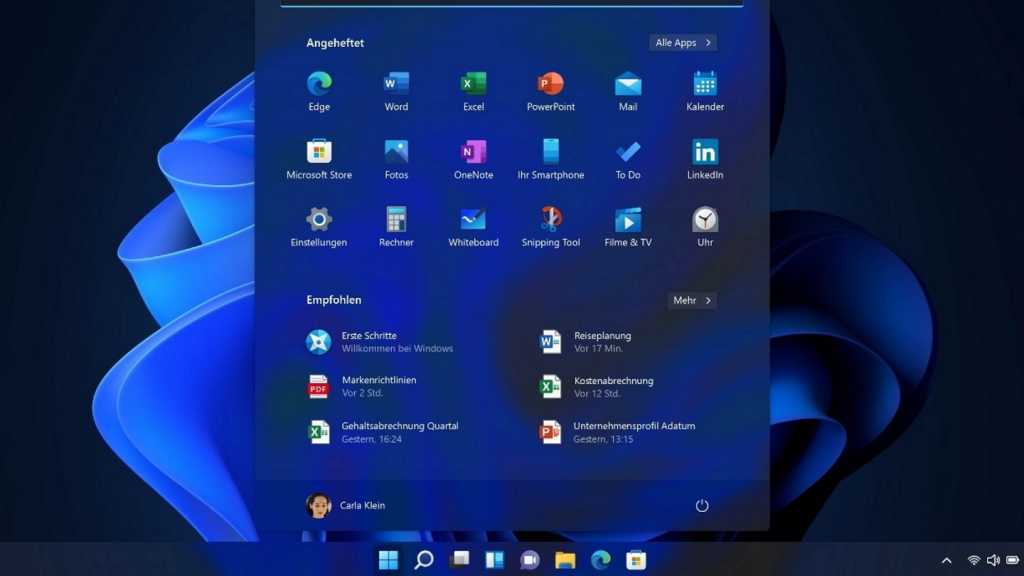
Open the Start Menu, click “All apps,” and scroll down to locate WordPad. You can now pin WordPad to the Start Menu or taskbar for easier access. This final step is crucial as WordPad won’t appear in search results when installed using this method.
Finally, configure file associations for WordPad. Navigate to “Settings > Apps > Default apps” and select WordPad from the list. Specify the file types you want WordPad to open by default, such as RTF documents.
Considerations for Reinstalled WordPad
While reinstalling WordPad using this method is safe, as it utilizes official Microsoft files, keep in mind that the reinstalled version won’t receive future updates, including security patches. This lack of updates could lead to compatibility issues or bugs over time.
Furthermore, compatibility with newer Microsoft Office documents might eventually become a problem. While this method allows continued WordPad usage for now, it’s important to be aware of these potential limitations.


