A slow internet connection can be incredibly frustrating. Whether you’re experiencing lag in your favorite online game, buffering issues while streaming, or slow download speeds, knowing how to test your internet speed is crucial. We’ll explore several methods, from simple online tools to built-in commands for Windows, Linux, and macOS. This guide will empower you to diagnose connectivity problems and ensure you’re getting the speeds you’re paying for.
Using Online Speed Test Tools
Several readily available online tools provide quick and accurate internet speed tests. Here are two popular options:
Google Speed Test
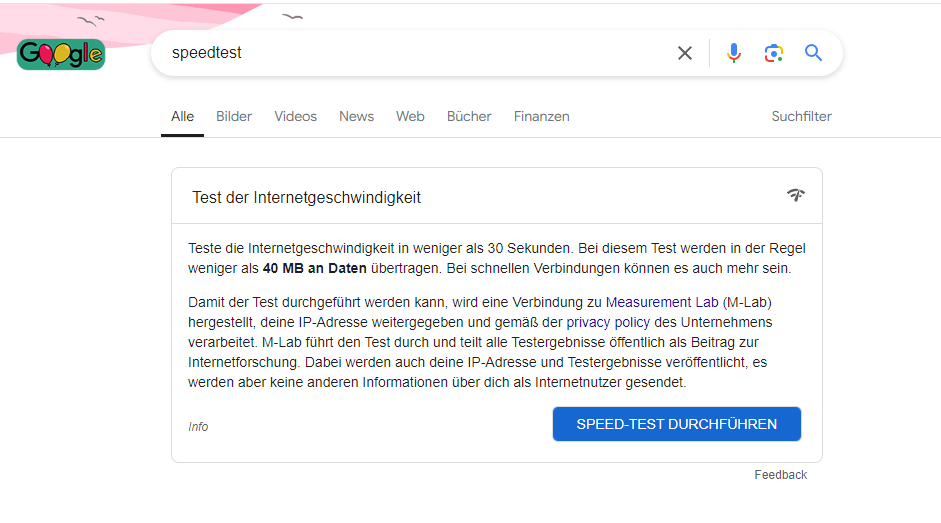
The quickest way to test your internet speed is directly within Google Search. Simply type “speed test” into the search bar, and click the “Run Speed Test” button. Google will measure your download and upload speeds. You can repeat the test by clicking “Test Again”.
 Testing your internet speed with Google Search
Clicking “Learn More” provides additional information on how the test is conducted and how the results are analyzed.
Ookla Speedtest
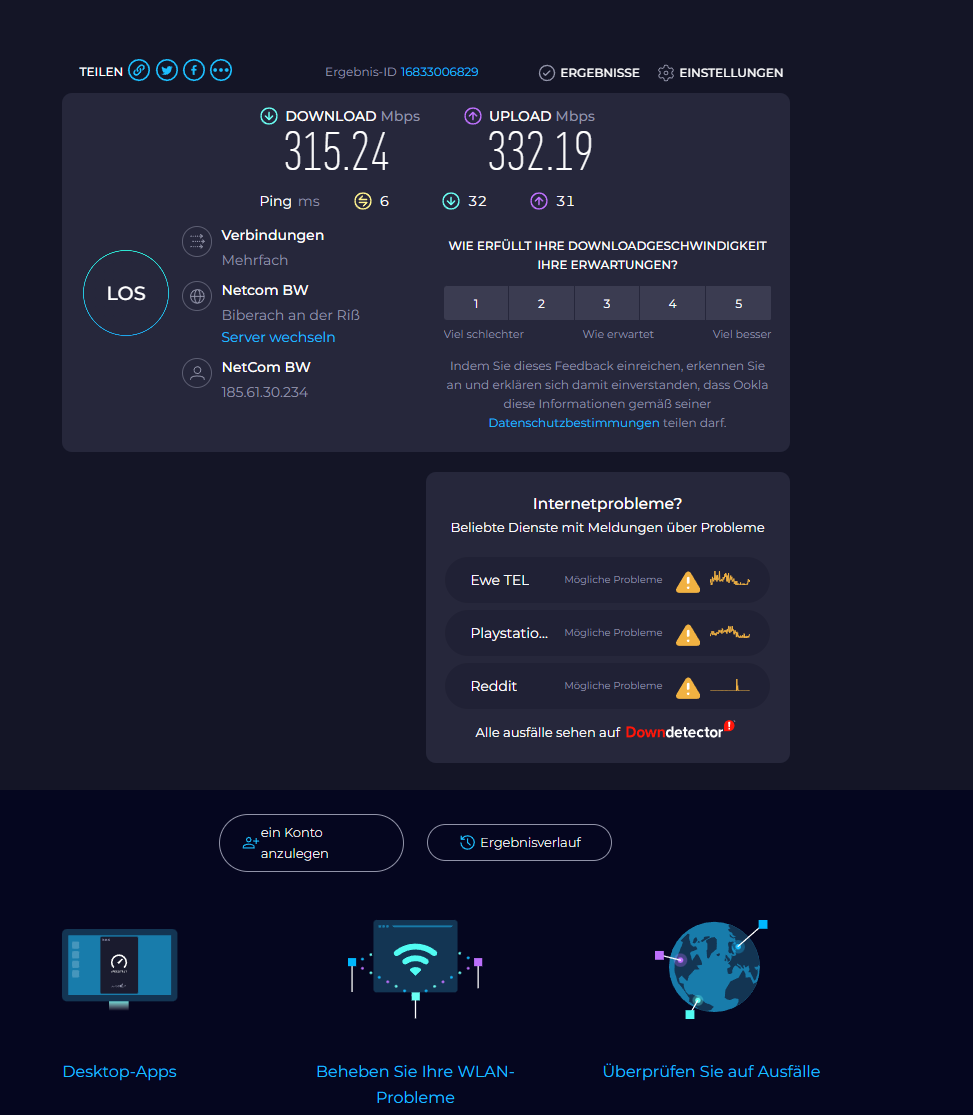
Ookla’s Speedtest is another widely recognized and reliable tool. Navigate to the Speedtest website and click “Go” to begin. The test displays your download and upload speeds, ping, and your internet provider. Ookla also reveals your external IP address. While registration is optional, creating a free account allows you to track your speed test history.
 Measuring internet speed with Ookla
For regular testing, consider installing the Speedtest by Ookla app from the Microsoft Store for Windows. This provides convenient access to speed tests whenever needed.
Testing Internet Speed Using Built-in System Tools
Beyond online tools, your operating system offers built-in commands for measuring network performance.
Ping Command
The ping command is available across Windows, Linux, and macOS. It measures latency, the time it takes for a data packet to travel to a remote server and back. This is indicated in milliseconds (ms). A lower ping indicates a faster, more responsive connection. In your command line or terminal, enter:
ping [destination address]Replace [destination address] with a domain name (e.g., google.com) or an IP address (e.g., 8.8.8.8 for Google’s public DNS). Using well-known, stable servers like Google’s or Cloudflare’s (1.1.1.1) provides more reliable results.
A typical ping response provides:
- Response from [IP address]: Confirms the server is reachable.
- Bytes=32: The size of the data packet.
- Time= [ms]: The latency in milliseconds.
- TTL= [number]: Time-to-live, indicating the number of network hops the packet traversed.
Consistently high latency or timeouts (“Request Timed Out”) suggest network issues.
Tracert/Traceroute Command
For more detailed network diagnostics, use tracert (Windows) or traceroute (Linux/macOS). These commands map the route your data packets take to reach a destination, revealing any bottlenecks or slowdowns along the way.
For Windows:
tracert [destination address]For Linux/macOS:
traceroute [destination address]The output shows each hop (router) along the path, along with its IP address and latency. This helps pinpoint where delays occur.
Advanced Speed Testing on Linux
Linux users have access to the speedtest-cli command-line tool, which leverages Ookla’s Speedtest infrastructure.
Install it using:
sudo apt-get install speedtest-cliRun the test with:
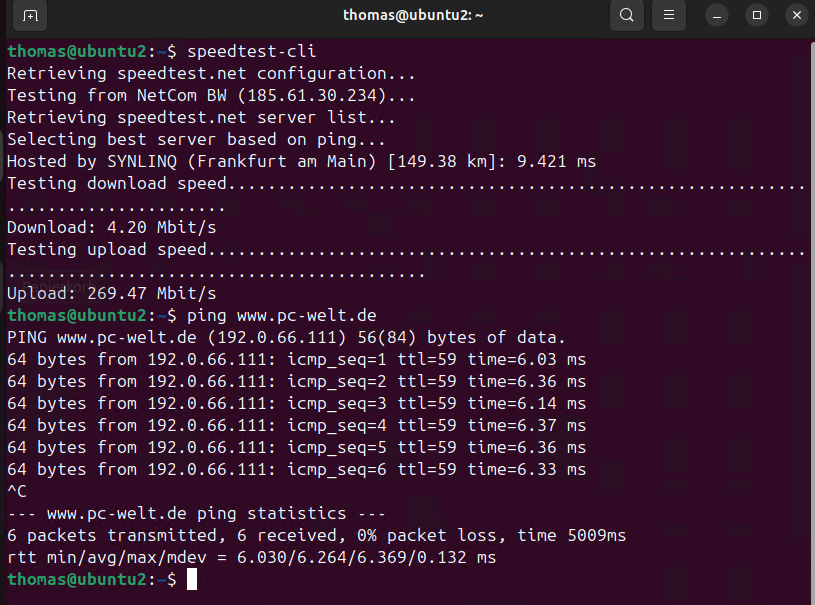
speedtest-cliThis provides download and upload speeds directly in your terminal.
 Measuring internet speed in the terminal with Linux
Conclusion
Understanding how to test your internet speed equips you to troubleshoot connectivity issues effectively. Utilize the various online tools and built-in commands described here to pinpoint problems and ensure you’re getting the performance you expect. From simple checks with Google’s built-in speed test to advanced diagnostics with traceroute and speedtest-cli, you now have a comprehensive toolkit to monitor and optimize your internet connection.


