If your PC powers on, fans spin, but the screen remains stubbornly blank, you’ve encountered a frustrating, but often solvable problem. This guide will walk you through troubleshooting steps, from simple checks to more advanced techniques, empowering you to diagnose and potentially fix the issue yourself.
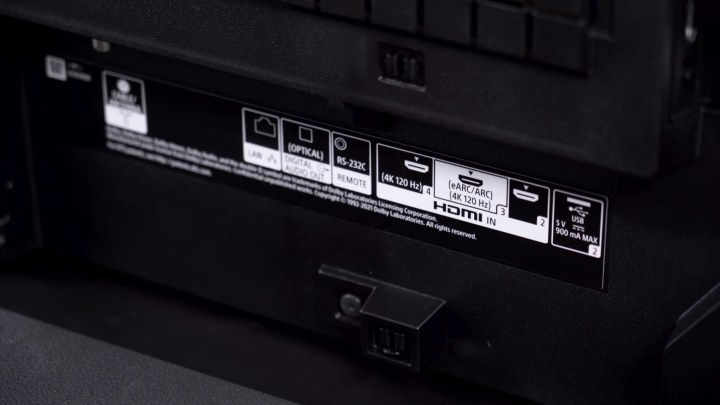 HDMI ports on a TV MaagX
Initial Checks and Reboot
Before diving into complex solutions, start with the basics. Wait a minute or two. Sometimes, a PC takes longer than usual to initialize, especially during memory reconfiguration or USB port initialization. If the screen remains blank, reboot the system. A simple reboot surprisingly resolves many boot-related issues.
Verify Monitor Connection and Functionality
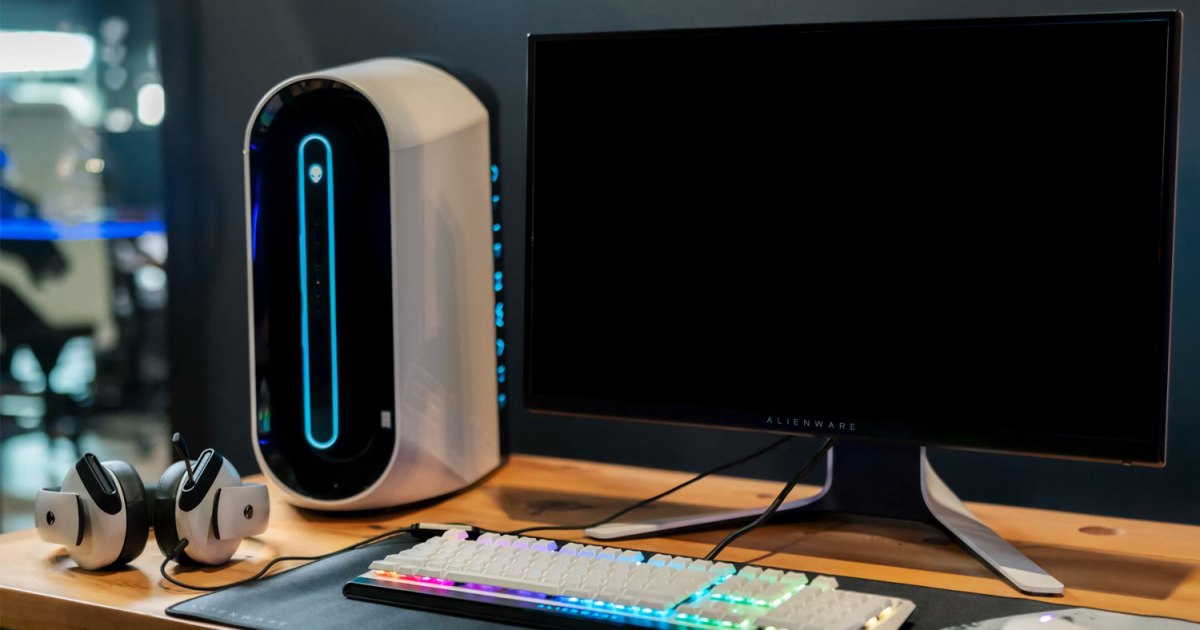
Double-check your monitor. Ensure it’s powered on, indicated by an LED indicator. Even without a display signal, it should show a power-on state, perhaps a logo, standby message, or similar.
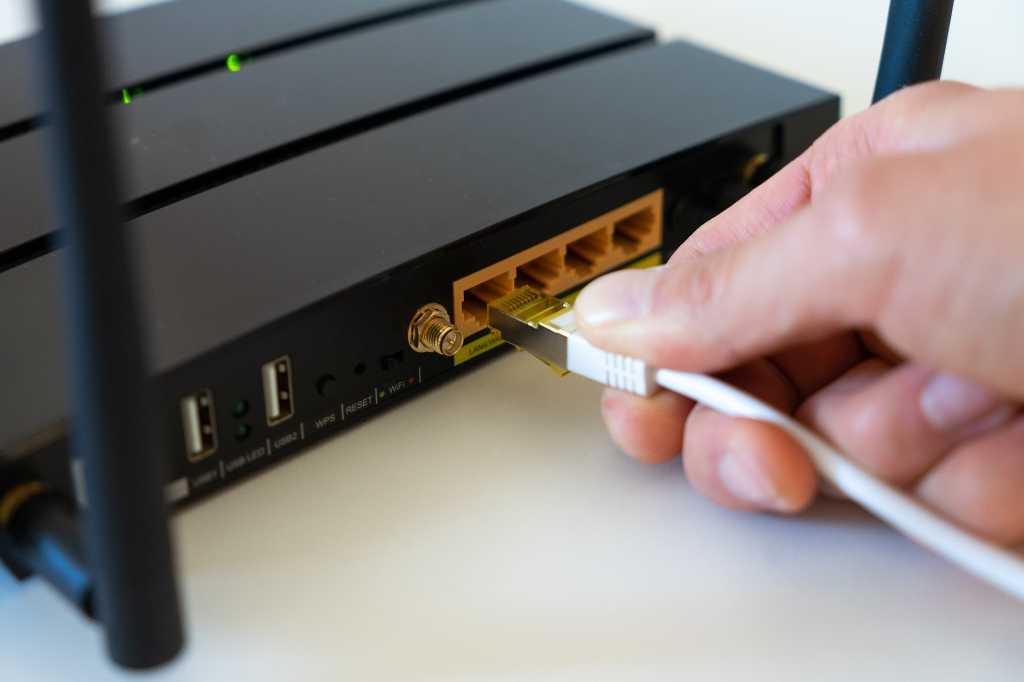
Confirm the monitor cable is securely connected to the correct video output port on your PC (either the graphics card or motherboard for integrated graphics). Unplug and replug the cable at both ends. If you suspect cable damage, test with a known working cable.
While unlikely, a powered-on but malfunctioning monitor is possible. Test your monitor with another device, such as a game console or another computer, to confirm its functionality.
Decoding POST Codes and Beeps
Many modern PCs provide diagnostic information during boot-up through POST codes (Power-On Self-Test), Q-Codes, or beep patterns. If your motherboard offers these features, note the code or beep sequence. Consult your motherboard manual or the manufacturer’s website for a glossary explaining these codes, which can pinpoint the source of the problem.
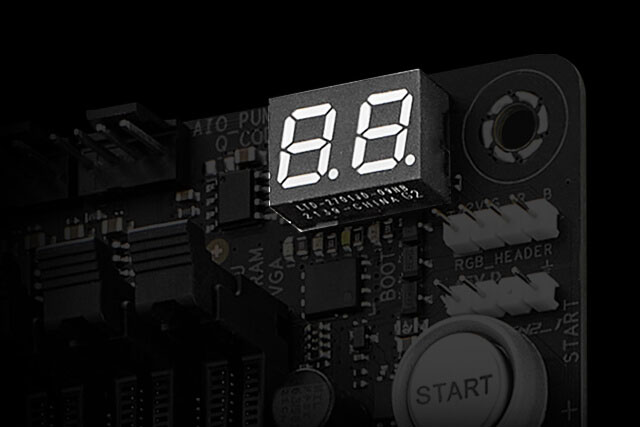 Asus Q Code display. Asus
If your system lacks these diagnostic tools, or you’re unsure how to interpret them, proceed with the following steps. Specialized POST code test cards are available for purchase if needed.
CMOS Reset: Restoring Default BIOS Settings
The CMOS (Complementary Metal-Oxide-Semiconductor) stores essential BIOS/UEFI settings. Resetting the CMOS can often resolve boot issues by reverting to default settings.
Some motherboards have a dedicated CMOS/BIOS reset switch or jumper (consult your manual). Alternatively, locate the small button battery on your motherboard (you might need to remove other components). Remove the battery, unplug the PC’s power cable, and hold the power button for 30 seconds. Reinsert the battery and attempt to power on the PC.
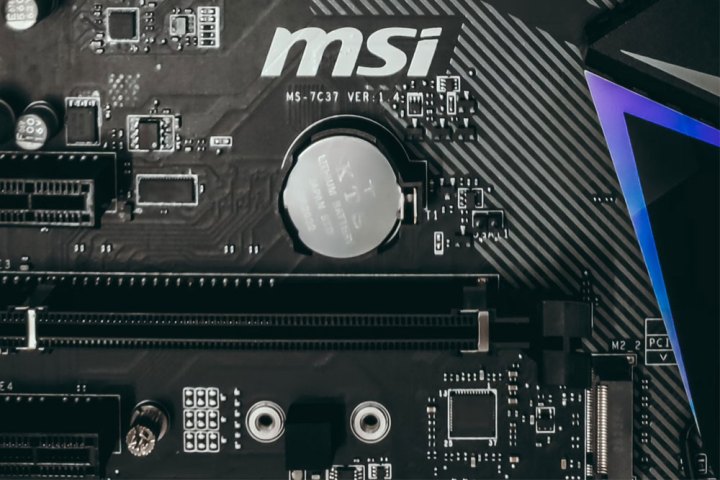 CMOS battery on an MSI motherboard. Anirudh Gadgil / Unsplash
Eliminating Unnecessary Hardware: Isolating the Problem
Disconnect all non-essential peripherals from your PC’s rear panel, leaving only the keyboard, mouse, and monitor connected. Try booting.
If the issue persists, try disconnecting internal components. Remove add-in cards (USB hubs, network cards), extra memory modules (leave one stick), and secondary storage drives (unless containing the operating system). Disconnect non-essential cooling fans, fan controllers, and RGB lighting systems. If your PC supports integrated graphics, remove the dedicated graphics card and try booting with the integrated graphics.
If the PC starts after removing components, gradually reintroduce each one, rebooting after each addition, until the problem reappears, identifying the faulty component.
RAM Check: Ensuring Memory Integrity
Memory issues can prevent PC POST. If possible, swap your RAM with a known working kit. Alternatively, try booting with only one RAM stick. If it fails, try each stick individually in the same slot.
 Intel Jacob Roach / MaagX
CPU Considerations: A Less Frequent Culprit
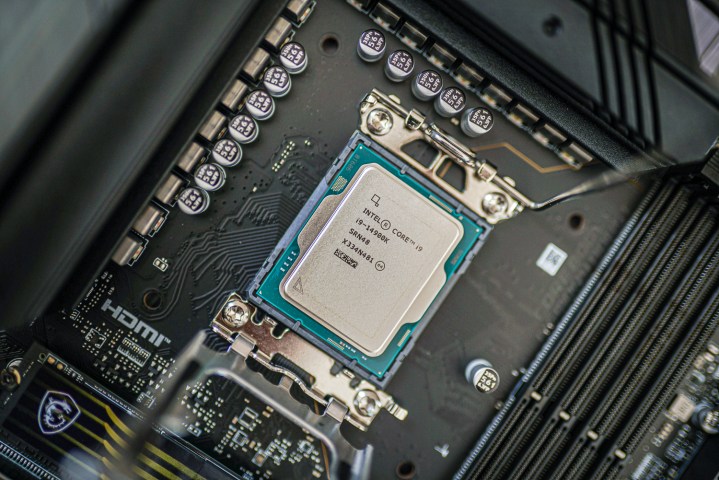
While less common, the CPU can be a factor. Remove all RAM and attempt to boot. A “no memory” error code or beep pattern indicates a functioning CPU. If no error is displayed, you might have a CPU or motherboard problem. Reseating the CPU might also help; consult a CPU installation guide if needed.
Physical Inspection: Identifying Damage
If your PC still refuses to display anything, suspect hardware damage. Carefully examine the motherboard, graphics card, RAM, and CPU for visible signs of damage or stress. If you find damaged components, replace them. If no visible damage is apparent, test individual components in a known working system. If all else fails, consider a new PC build.
Conclusion
Troubleshooting a PC that powers on but doesn’t display anything can be a methodical process. By following these steps, from basic checks to component isolation and physical inspection, you can often identify the culprit and potentially resolve the issue yourself. If you encounter persistent problems, consult professional PC repair services.


