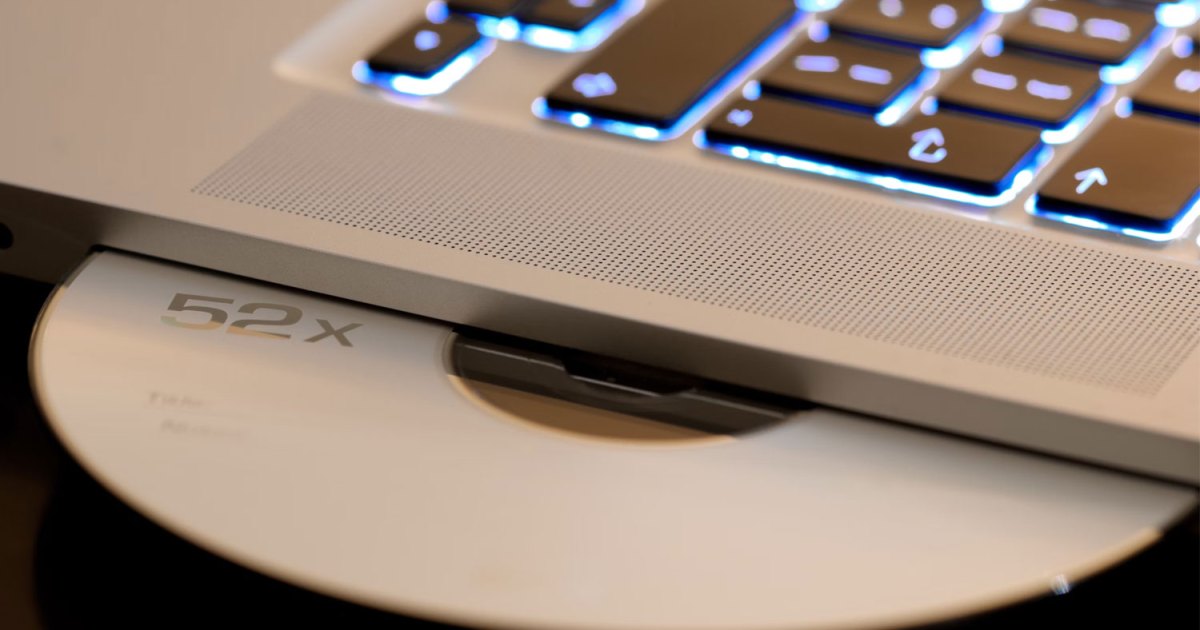
Burning a CD might seem like a relic of the past, but it’s still a relevant skill in 2024. While CD drives are less common in modern laptops and PCs, the process remains straightforward with the right tools. This guide provides a step-by-step approach to burning both data and music CDs in Windows 11.
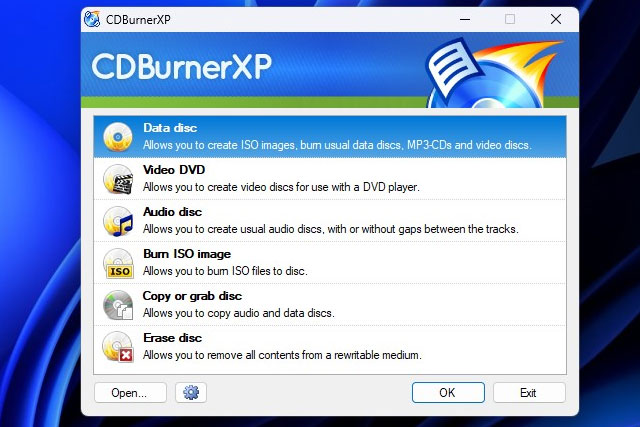 CDBurnerXP start menu.Alt: CDBurnerXP main menu for selecting disc type.
Burning Data CDs in Windows 11
CDBurnerXP is a highly recommended freeware application for burning CDs in Windows, regardless of whether you’re creating a data or music CD. It’s compatible with Windows 11 and offers a simple, intuitive interface. Download it from the official website here.
Step-by-Step Data CD Burning Process
-
Installation and Setup: Download and install CDBurnerXP. Upon launching the application, select “Data Disk” and click “OK.”
-
Insert Blank CD: Insert a blank CD-R (for single write) or CD-RW (for rewritable) disc into your CD burner.
-
Add Files: Click the “Add” button. This opens a Windows File Explorer window. Navigate to the files you wish to burn, select them, and click “Open.” Monitor the green indicator bar at the bottom of the CDBurnerXP window to track the remaining space on the CD.
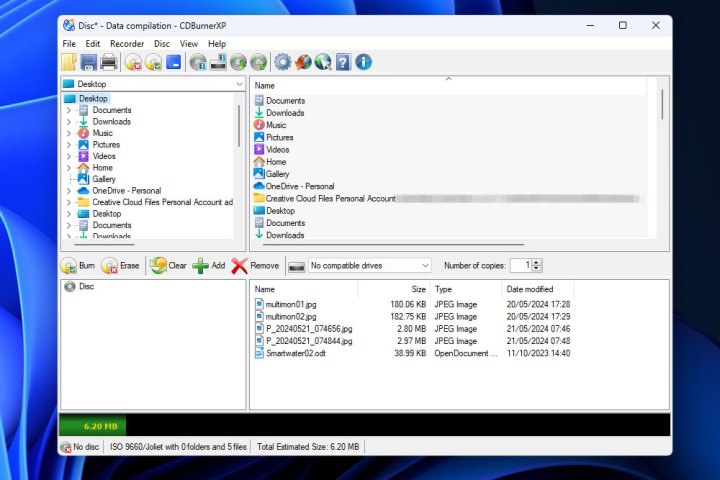 Added data files in the CDBurnerXP menu.Alt: File selection window in CDBurnerXP showing added files and remaining disc space.
- Burn the CD: Once you’ve added all the desired files, click the “Burn” icon. Follow the on-screen prompts to finalize the burning process.
Burning Music CDs in Windows 11
Creating a music CD is equally simple with CDBurnerXP. Follow the same download and installation process as outlined for data CDs.
Step-by-Step Music CD Burning Process
-
Select Audio Disc: After launching CDBurnerXP, choose “Audio Disc” and click “OK.”
-
Add Music Files: Click the “Add” button and use Windows File Explorer to locate and select the music files you want to include on the CD. Click “Open” for each file. The green indicator bar at the bottom of the window displays the remaining CD space.
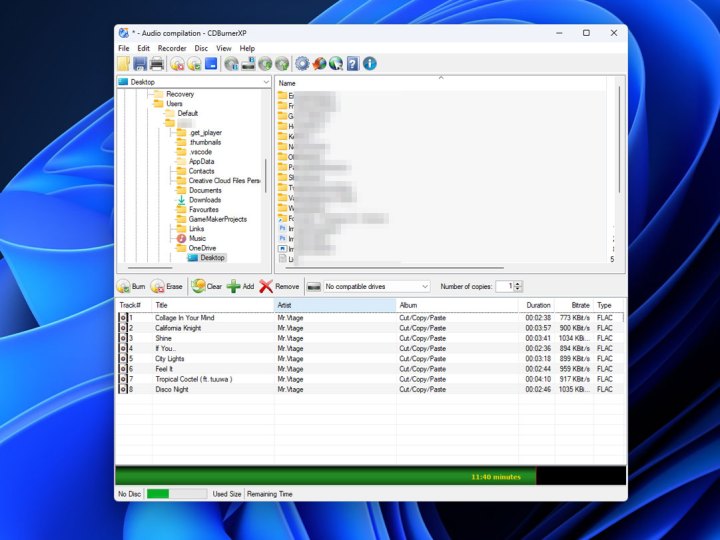 Adding music to an audio CD in CDBurnerXP.Alt: CDBurnerXP window during music CD creation, showing added audio tracks and remaining capacity.
- Burn the CD: After adding all your music files, click the “Burn” button. Follow the on-screen instructions to complete the burning process.
Conclusion
Burning CDs in Windows 11 is a straightforward process using tools like CDBurnerXP. Whether you need to create a data backup or a custom music compilation, this guide provides the steps to achieve that. While other storage solutions like external drives are prevalent, burning CDs remains a viable option for specific needs.


