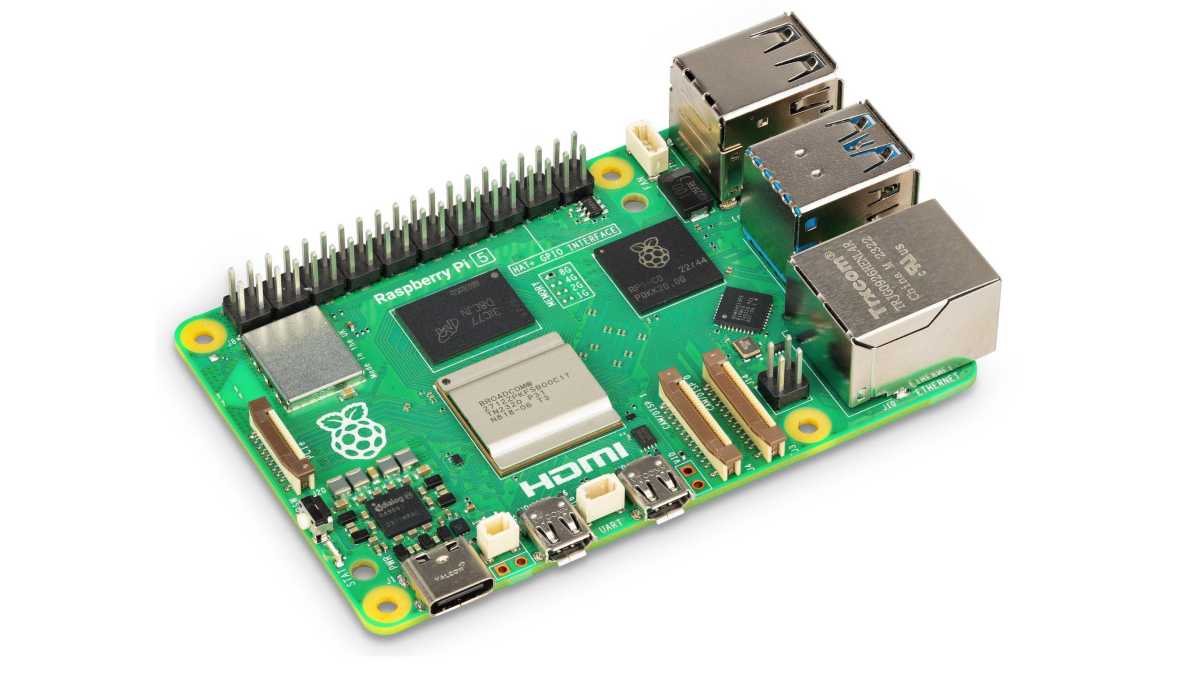
The Raspberry Pi 5 boasts a PCIe interface, opening exciting possibilities for enhanced performance. While it lacks a dedicated PCIe SSD slot, a variety of Hardware Attached on Top (HAT) expansion boards offer a seamless solution for integrating SSDs. These HATs vary in design, some mounting above while others below the Raspberry Pi, with varying compatibility with the Pi’s fan and support for multiple SSDs. Smaller HATs, like the Raspberry Pi Foundation’s M.2 HAT+, may not accommodate longer 2280 SSDs. While some HATs, primarily designed for Network Attached Storage (NAS), support two or even four SSDs, these are typically non-bootable.
Pimoroni’s NVMe Base: A Comprehensive Review
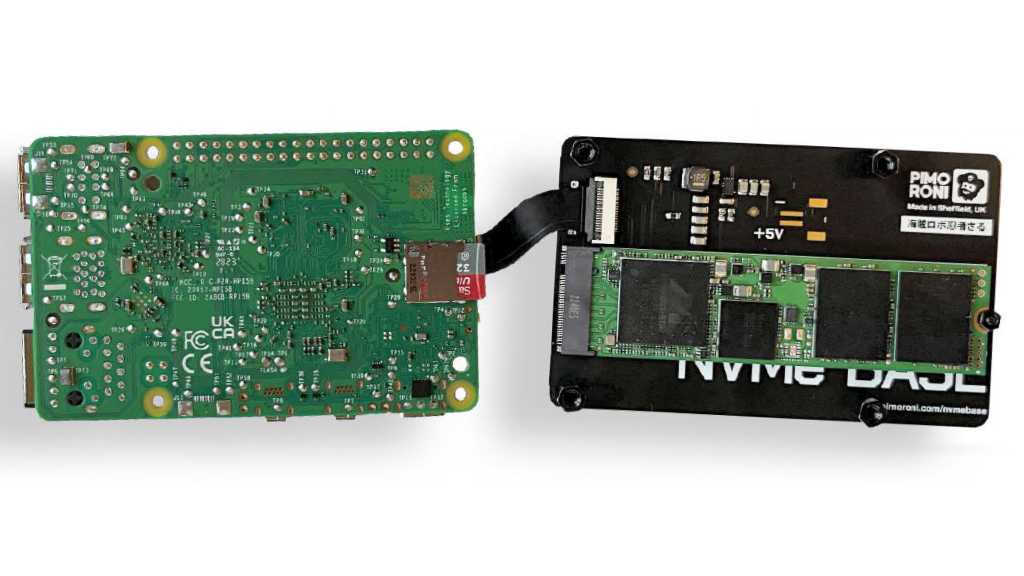
This review focuses on the NVMe Base model from Pimoroni. The package includes the expansion board, a small cable, and numerous screws. Assembly, while requiring careful attention, is straightforward, aided by Pimoroni’s comprehensive YouTube video guide. Crucially, ensure you’re using a PCIe SSD, not an M.2 SATA SSD, as the latter is incompatible. Once assembled, reboot your Raspberry Pi (still from the SD card).
 NVMe Base Assembly Raspberry Pi Foundation
Verify SSD recognition using the lsblk command in the terminal. Successful detection is indicated by the presence of “nvme0n1” in the output.
Cloning Raspberry Pi OS and Booting from the SSD
Next, transfer your Raspberry Pi OS installation from the SD card to the SSD using the SD Card Copier utility. Select the SD card as the source and the SSD as the destination. While generally efficient, copying a live system can introduce errors. Avoid active Raspberry Pi use during this process. For a safer approach, consider creating an image backup first. The SD Card Copier automatically resizes partitions and file systems to fit the SSD.
Following the transfer, configure the Raspberry Pi to boot from the SSD. Open the terminal and navigate to Advanced Options > Boot Order > NVMe/USB Boot within raspi-config.
sudo raspi-configWhile the initial boot from the SSD might seem slower due to SSD recognition time, subsequent boots and application launches, especially larger programs like Firefox, Chromium, and Gimp, will be significantly faster. System updates via sudo apt full-upgrade also benefit from the SSD’s speed. Confirm successful SSD booting by checking the mount point for the root directory “/” using lsblk. It should now point to the NVMe device.
Benchmarking Performance
To quantify the performance gains, we utilized the Pi Benchmark’s storage test, downloadable via wget.
Always inspect downloaded scripts before execution:
Then run the benchmark:
sudo bash Storage.shWe compared boot times and I/O performance across four configurations: a micro SD card, a SATA SSD connected via USB3, a PCIe SSD (Hynix 512 GB PCIe Gen 3 HFS512GD9TNG-62A0A), and the same PCIe SSD with PCIe Gen 3 enabled (detailed below). The results revealed substantial performance differences. While synthetic benchmarks provide valuable insights, real-world performance improvements, although noticeable, may not precisely mirror the benchmark figures.
Unleashing PCIe Gen 3
The Raspberry Pi defaults to PCIe Gen 2. Activate the faster PCIe Gen 3 by adding the following lines to /boot/firmware/config.txt:
dtparam=pciex1
dtparam=pciex1_gen=3
Benchmarks confirm a measurable performance increase with PCIe Gen 3, though this is less apparent in typical desktop use. This setting is primarily beneficial for server applications. While the Raspberry Pi Foundation’s decision to disable PCIe Gen 3 by default suggests potential risks, our extended testing revealed no stability issues.
Conclusion: Is an NVMe SSD Upgrade Worth It?
Integrating an NVMe SSD with your Raspberry Pi 5 undeniably enhances performance. While not essential for basic projects or casual desktop use, the benefits become significant when using the Pi as a data server or NAS. A future Raspberry Pi with a dedicated PCIe slot would further streamline the process and expand compatibility with shorter SSDs.


