The Windows 11 Camera app is a versatile tool often overlooked. While smartphones are known for their camera capabilities, Windows offers a robust and continually updated camera application that rivals its mobile counterparts. Easily accessible through the Start menu (All apps > Camera), this app provides a user-friendly interface for capturing photos and videos.
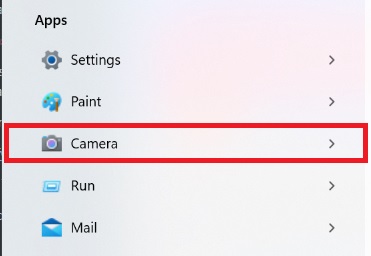 Windows camera app
This guide will walk you through the app’s functionalities, from basic photo capture to advanced features like time-lapse photography and HDR.
Getting Started with the Windows 11 Camera App
The Windows 11 Camera app interface mirrors the familiar design of smartphone camera apps. Upon launching, you’ll see a live preview from your webcam. This immediate feedback allows for quick adjustments and ensures you’re ready to capture the perfect shot. Whether it’s a quick profile picture, a check-in before a video conference, or even a makeshift mirror, the Windows camera app has you covered.
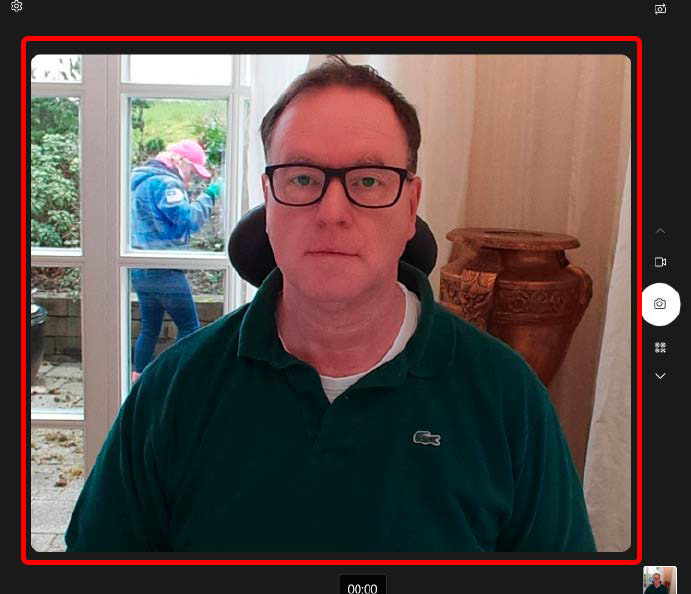 Nach dem Start der Kamera-App
Capturing Photos
The app defaults to photo mode upon startup. Simply click the capture button to take a photo. A preview of the captured image will appear in the bottom right corner. Click the preview to view the full image.
Utilizing the Self-Timer
The self-timer function allows for hands-free photo capture. Click the stopwatch icon on the left side of the app to activate the self-timer. Repeated clicks cycle through the available delay options: 2, 5, and 10 seconds.
Exploring HDR Recordings
For cameras that support it, the Windows 11 Camera app offers HDR (High Dynamic Range) capabilities. HDR captures photos with enhanced contrast and detail, especially in scenes with varying light levels. The “Show advanced controls for photos and videos” setting in the app’s settings menu toggles the visibility of additional options like HDR. Note that the availability of HDR mode might depend on this setting’s status; on some systems, it may only be available when the switch is deactivated.
Setting Resolution for Photos and Videos
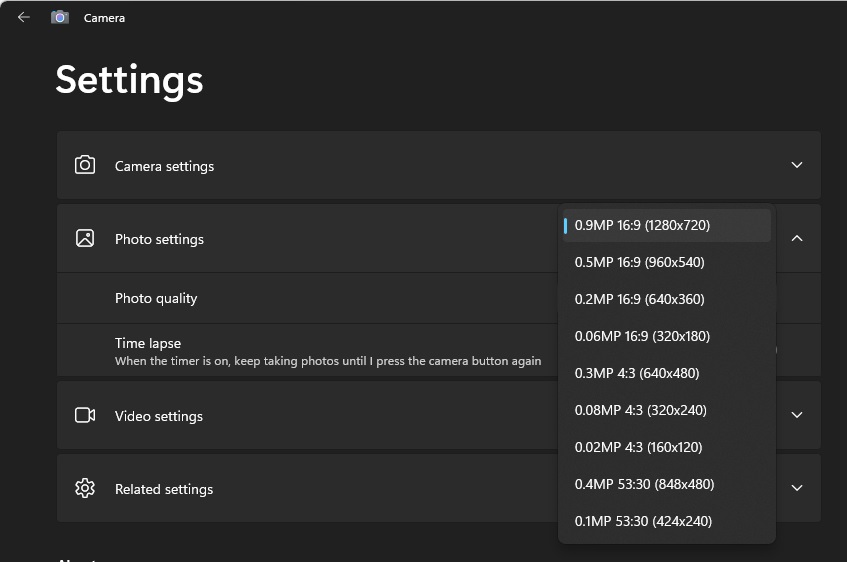 Windows camera
The Windows 11 Camera app allows you to customize the resolution for both photos and videos. Within the app’s settings, navigate to “Photo settings” and select the desired “Photo quality” to adjust photo resolution. Similarly, under “Video settings,” choose the preferred “Video quality” to set the video resolution. Select the highest resolution your camera supports for optimal image and video quality.
Creating Time-Lapse Videos
 Windows camera time lapse
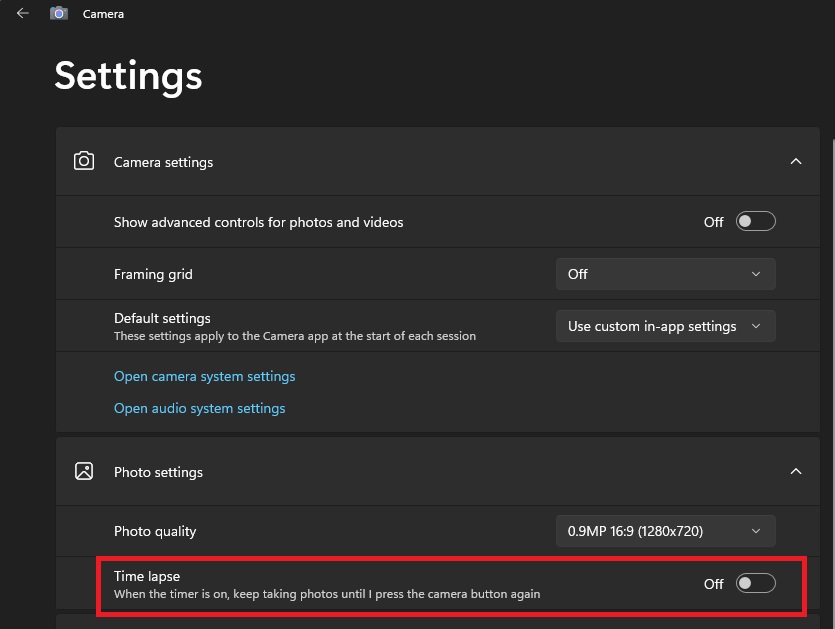
The time-lapse feature adds a creative dimension to your recordings. This feature automatically captures images at set intervals, creating a sped-up view of time. Activate time-lapse mode using the slider within the photo settings. To start a time-lapse recording, enable the self-timer. The camera will continue capturing images until you press the capture button again. A blue circle indicates the interval between shots.
Recording Videos
 Videos in der Kamera-App aufnehmen
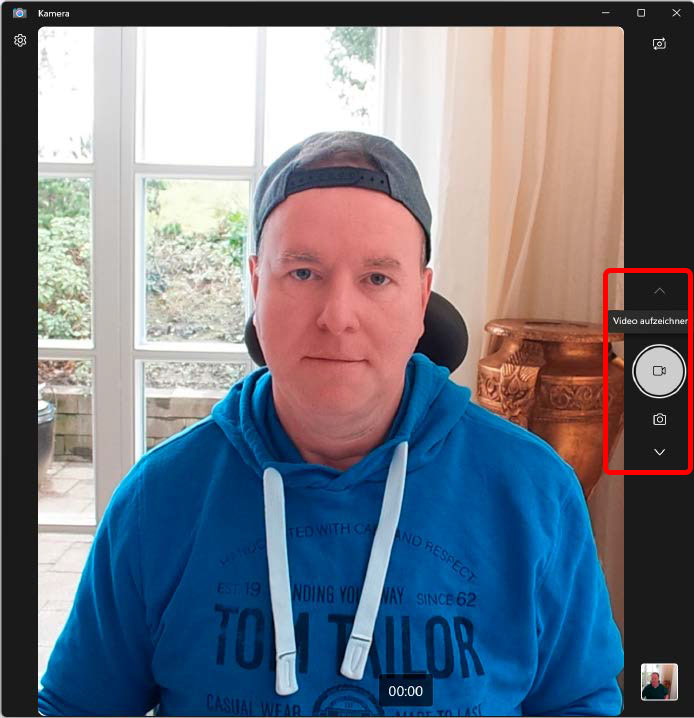
Switching to video mode is simple. Use the arrows on the right side of the window to select “Video.” Press the video button to start recording and press it again to stop.
Troubleshooting: Camera App Not Displaying an Image
If the camera app fails to display an image, the issue likely lies within your privacy settings. Open the Settings app and navigate to “Privacy and security > Camera.” Ensure the “Camera” toggle is switched “On.” This grants the camera app access to your webcam.
 Windows camera
This comprehensive guide equips you with the knowledge to fully utilize the Windows 11 Camera app. Explore its features and discover the creative potential within your Windows device.


