The immersive nature of VR can sometimes feel isolating for those not wearing a headset. Fortunately, the Meta Quest 3 (along with the Quest 2 and Pro) offers a casting feature, allowing you to share your VR adventures with friends and family on a larger screen. This guide provides a step-by-step walkthrough on how to cast your Meta Quest 3 to a Chromecast-enabled television, so everyone can enjoy your gameplay, videos, and other VR content.
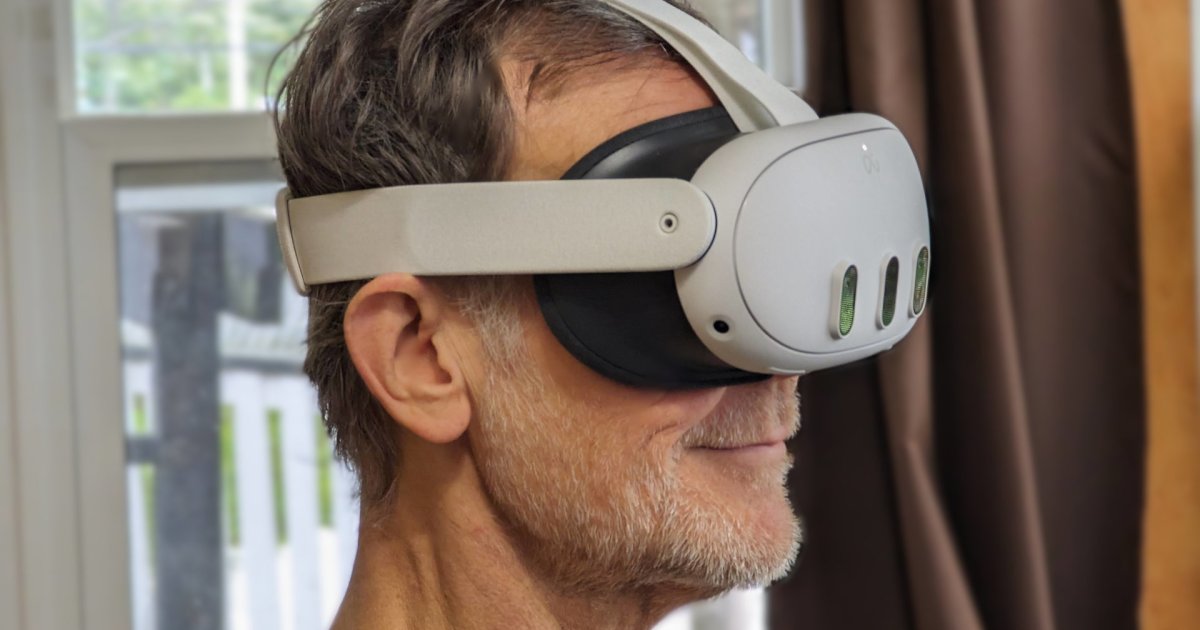
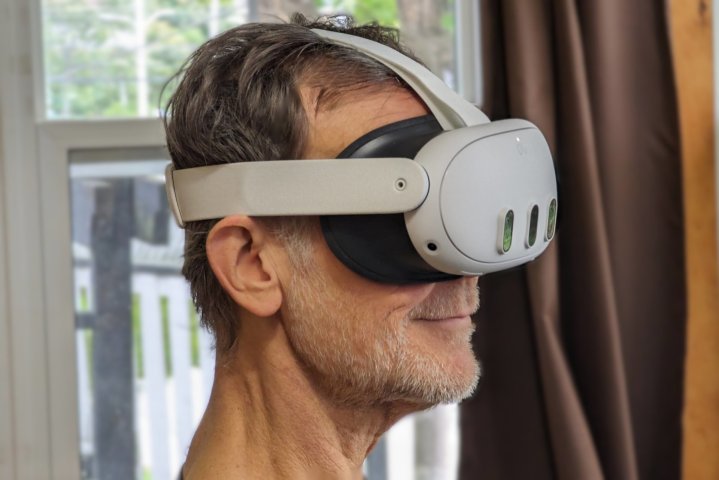 A profile shot shows Alan Truly wearing the Meta Quest 3.
Preparing for Casting
Before diving into the casting process, there are a few essential prerequisites. First, ensure you’ve downloaded the Meta Quest app to your smartphone and logged in using your Meta account. Crucially, your Quest 3 headset, smartphone, and television must all be connected to the same Wi-Fi network for the casting functionality to work seamlessly. Once these conditions are met, you’re ready to begin.
Casting Your Meta Quest 3: A Step-by-Step Guide
Casting your Quest 3 to your TV is a straightforward process. Follow these steps to share your VR experience:
Step 1: Power On and Navigate to the Main Menu
Turn on your Meta Quest 3 headset and wait for it to fully boot up and load the main menu.
Step 2: Access the Camera Menu
From the main menu, locate the navigation bar at the bottom of the screen and select the “Camera” option.
Step 3: Initiate Casting
Within the Camera menu, you’ll find the “Cast” option. Select it to begin the casting process.
Step 4: Select Your Target Device
A list of available devices will appear on your screen. Choose your Chromecast-enabled television from the list. It may take a few moments for the connection to establish. If your television doesn’t appear in the list, double-check that it’s connected to the same Wi-Fi network as your Quest 3 and smartphone, and that it’s Chromecast-enabled.
Step 5: Start Sharing and Monitor Content
After selecting your television, your VR view will be mirrored on the big screen, allowing others to watch your VR experience in real-time. Keep in mind that personal content displayed within your headset will also be visible on the television. Be mindful of any private information you may not want to share.
Stopping the Cast
When you’re ready to end the casting session, simply return to the “Camera” menu, select “Cast,” and then choose “Stop casting.”
Conclusion
Casting your Meta Quest 3 experience to your television is a simple yet powerful way to share the excitement of VR with others. By following these steps, you can easily bridge the gap between the virtual world and the physical world, making VR a more social and inclusive experience. Remember to always be mindful of the content you are sharing and ensure all devices are connected to the same Wi-Fi network for a smooth and seamless casting experience.


