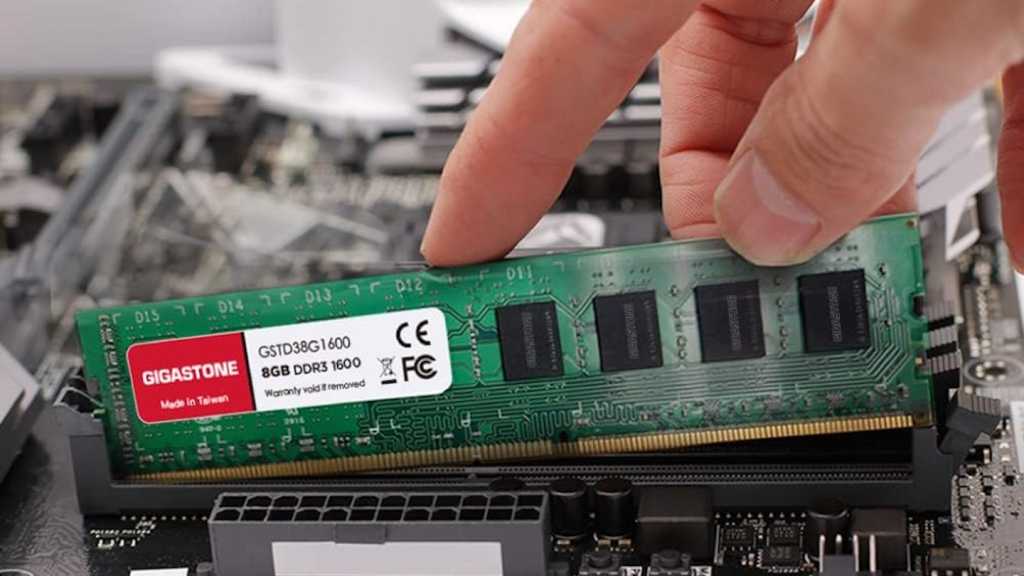
Is your PC experiencing random restarts, freezes, or program crashes? These symptoms could indicate a problem with your RAM. Fortunately, Windows includes a built-in memory diagnostics tool to help pinpoint the issue. This guide will walk you through the process of using Windows Memory Diagnostics to identify potential RAM problems.
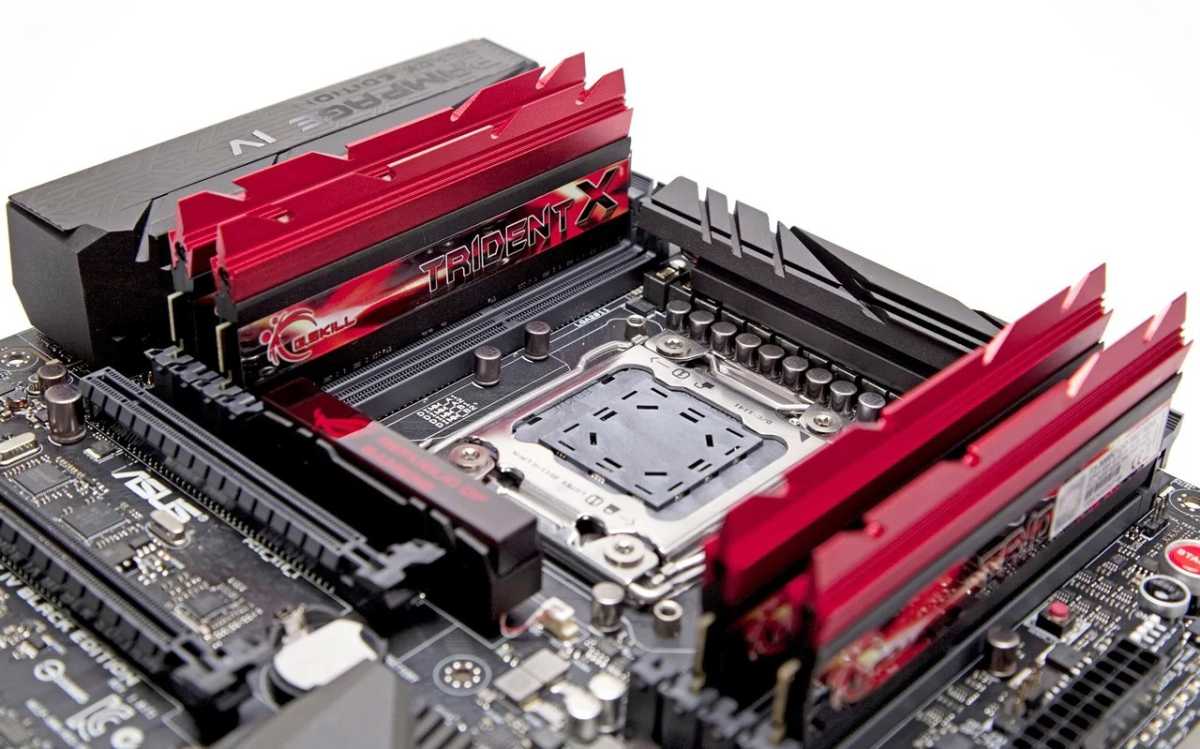 Arbeitsspeicher
Running the Windows Memory Diagnostics Tool
The Windows Memory Diagnostics tool requires a system restart to perform its tests. It typically runs in standard mode, executing two passes before restarting your computer and displaying the results. For more in-depth analysis, advanced options allow you to customize the test type and number of passes. Scheduling the tool is straightforward:
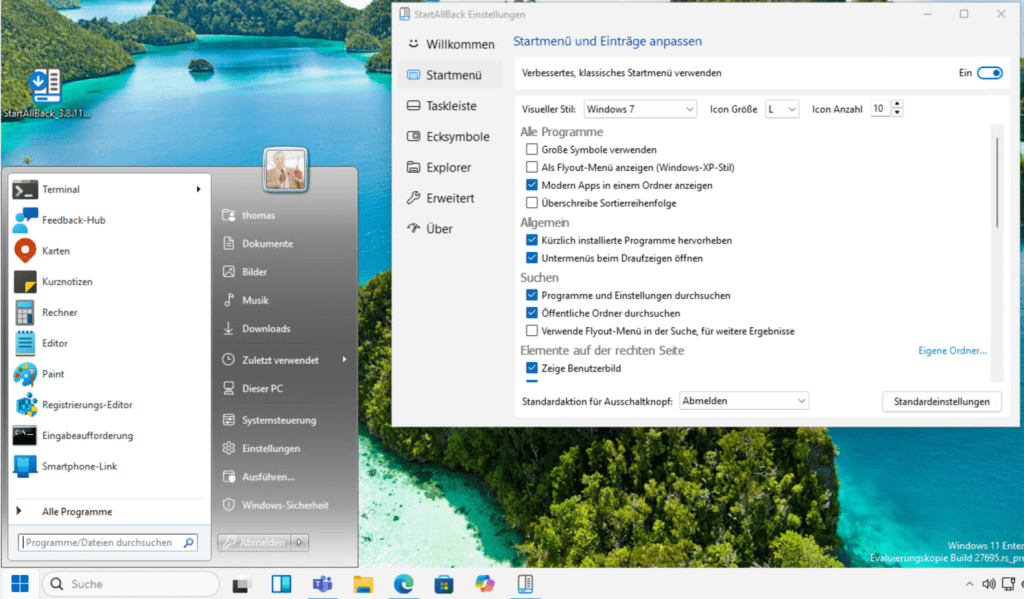
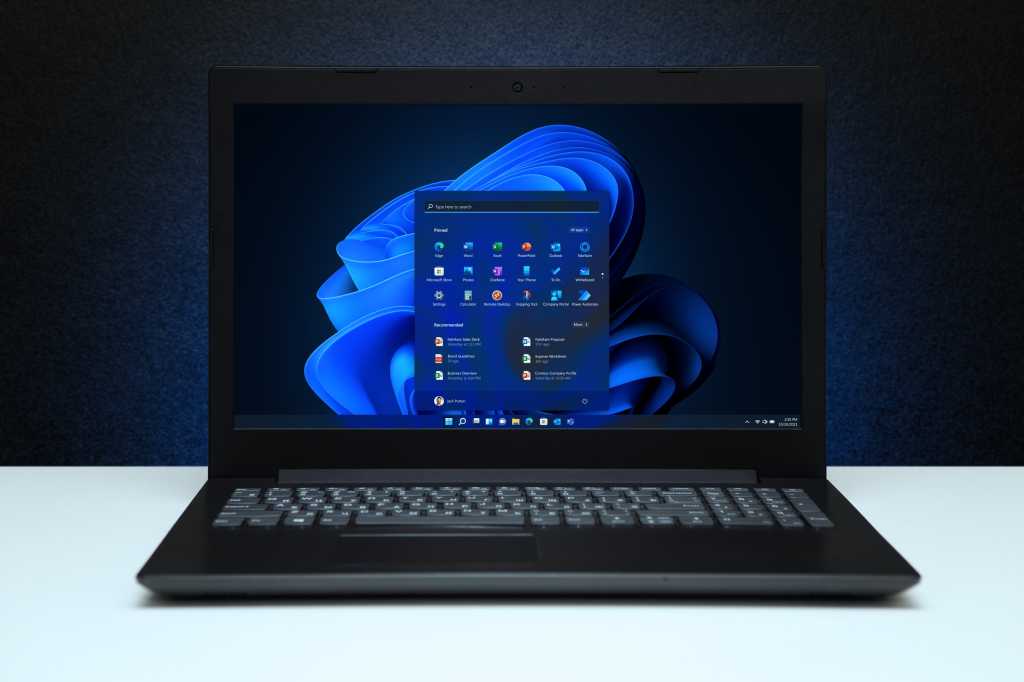
- Open the Start menu and search for “Windows Memory Diagnostics.”
- Select the application. If it doesn’t launch, try right-clicking and selecting “Run as administrator.”
- Choose whether to run the tool immediately (requiring a restart) or on the next reboot.
- Save all open files and close running programs before proceeding.
Understanding the Testing Process
Once initiated, the Windows Memory Diagnostics tool will begin working after your PC restarts. It’s crucial to avoid powering off the computer during the test. The system will automatically reboot once the test is complete. If you’re using a laptop, ensure it’s connected to a power source, as extended tests can take some time. Standard mode is usually sufficient for identifying common RAM problems.
Advanced Testing Options
If standard mode doesn’t reveal any issues, but you still suspect a RAM problem, you can utilize the advanced testing options. Press the F1 key during startup to access these settings. Here, you can specify the types of tests and the number of passes. Keep in mind that extended tests are more comprehensive but also take significantly longer.
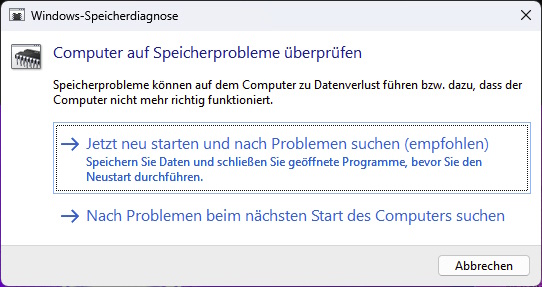 Windows-Speicherdiagnosetool
Viewing the Test Results
After the restart, the Windows Memory Diagnostics tool will usually display the results on your desktop. If no results appear, you can find them in the Event Viewer:
- Open the Start menu and search for “Event Viewer.”
- Run the application as administrator.
- Expand “Windows Logs” in the left pane.
- Right-click on “System” and select “Find.”
- Enter “MemoryDiagnostics-Results” and click “Find Next.”
Interpreting the Results and Further Troubleshooting
If the results show no errors, it’s unlikely that your RAM is the culprit. However, if an error is reported, research the specific error description and details to determine if replacing the RAM might solve the problem. Even if the tool finds no errors, it’s still possible (though less probable) that a RAM issue exists. Other hardware problems, like a failing hard drive, can sometimes mimic RAM issues.
Consider your PC usage. Are you running applications that exceed your system’s available RAM? Sometimes RAM errors appear unexpectedly. These could stem from various factors including Windows updates, newly installed applications, hardware malfunctions, or overheating. Regularly monitoring your CPU temperature can help prevent overheating issues.
Conclusion
The Windows Memory Diagnostics tool provides a valuable resource for troubleshooting potential RAM problems. By following the steps outlined in this guide, you can effectively diagnose and address RAM-related issues, ensuring optimal system performance. Remember to explore other potential causes if the memory diagnostics test doesn’t identify any issues. Regularly monitoring system resources and temperatures can help prevent future problems and keep your PC running smoothly.


