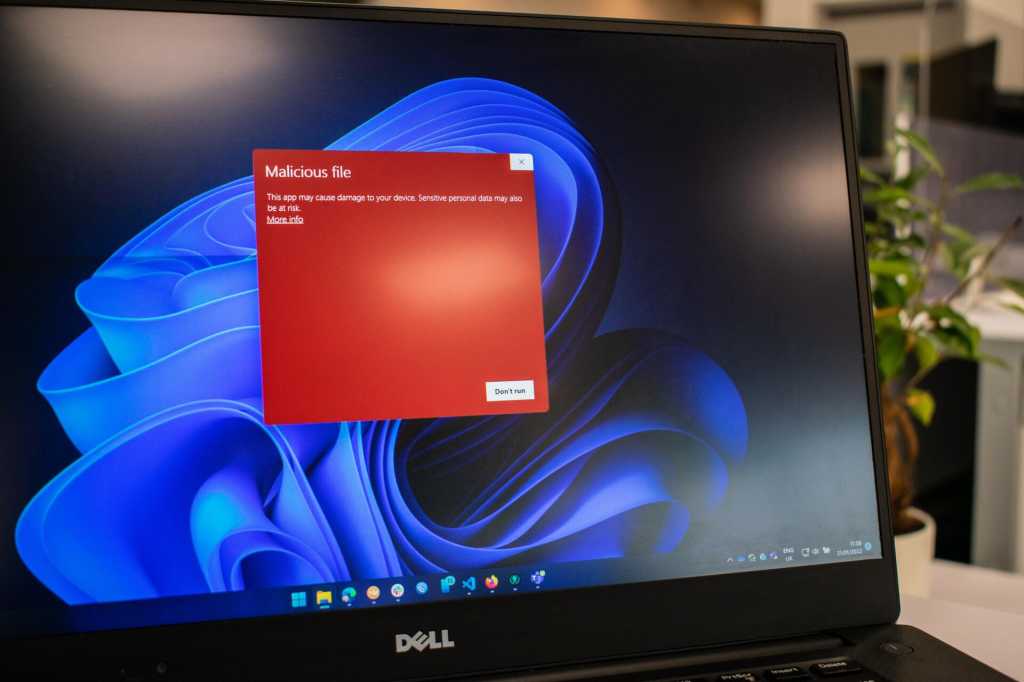
A freshly installed Windows PC runs smoothly, with minimal system services and programs consuming resources. However, over time, installed software, especially programs and services configured for automatic startup, can significantly slow down your system. Boot times increase, and the desktop becomes less responsive. This article provides ten professional tips and tools to help you deep clean your Windows PC and restore its performance.
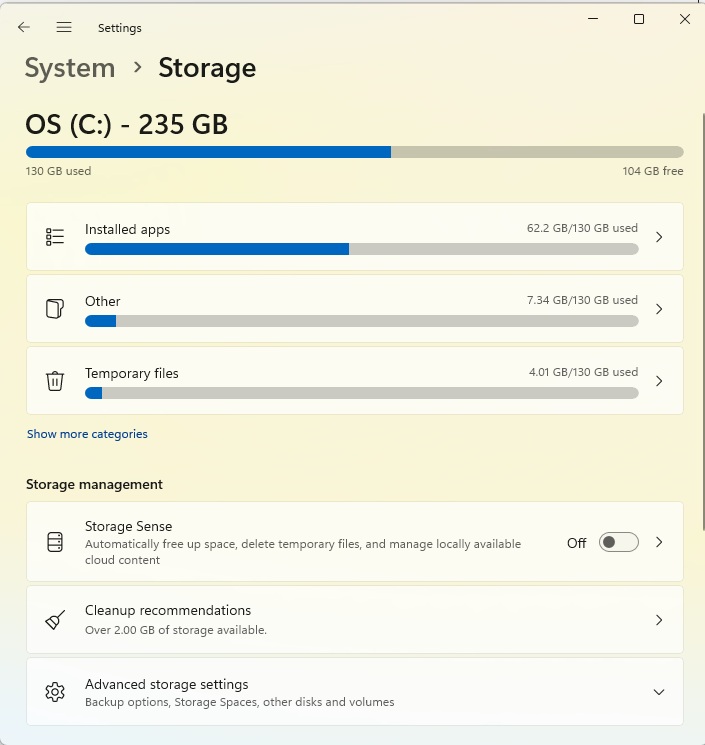 Windows system storage
1. Analyze Memory Utilization
Open Settings (Win+I) and navigate to System > Storage. This section provides a comprehensive overview of your system drive utilization, including space used by temporary files and installed applications. The Other category represents files not categorized elsewhere. Selecting Show more categories reveals a detailed breakdown of storage usage by areas like Documents, Pictures, and Videos.
Clicking on a category provides further insights:
- Other: Displays some of the largest folders on the drive, allowing you to open them in File Explorer for potential deletion.
- Installed apps: Directs you to Apps > Installed apps, where you can sort applications by size or installation date and uninstall unnecessary programs.
- Temporary files: Lists areas containing potentially redundant files. After a Windows upgrade, this includes the Previous Windows installation(s) (C:Windows.old) folder, which can be safely removed if everything is working correctly.
Under System > Storage > Temporary files, pre-selected entries can be safely deleted by clicking Remove files. You can also select Downloads and Recycle Bin, but exercise caution: Ensure you don’t delete essential files from your Downloads folder or accidentally discard items from the Recycle Bin.
While you can delete all items under Temporary files, it’s not always necessary. For instance, “thumbnails” (preview images) stored in db files (C:Users[username]AppDataLocalMicrosoftWindowsExplorer) optimize File Explorer performance. Deleting these forces File Explorer to rebuild the cache, which, while not time-consuming, is generally unnecessary. Similarly, temporary internet files cached by web browsers improve loading speeds.
2. Leverage Windows 11 Cleanup Functions
In Windows 11, navigate to Settings > System > Storage and select Cleanup recommendations. This section displays storage occupied by downloads, the recycle bin, and previous Windows installations (if applicable). Select the areas to clean and click the cleanup button. Note that this also deletes other temporary files. Explore Advanced options for details.
The Large or unused files option provides a valuable list of potentially deletable files. Similarly, Unused apps lists infrequently used applications, though it primarily includes apps installed from the Microsoft Store.
3. Automate Storage Optimization with Storage Sense
Windows 11 offers automated cleanup through Storage Sense. In Settings > System > Storage, enable Storage Sense and configure its settings. You can schedule automatic cleanup and specify how long to keep files in the recycle bin and downloads folder before deletion. For OneDrive users, Locally available cloud content settings manage offline file availability.
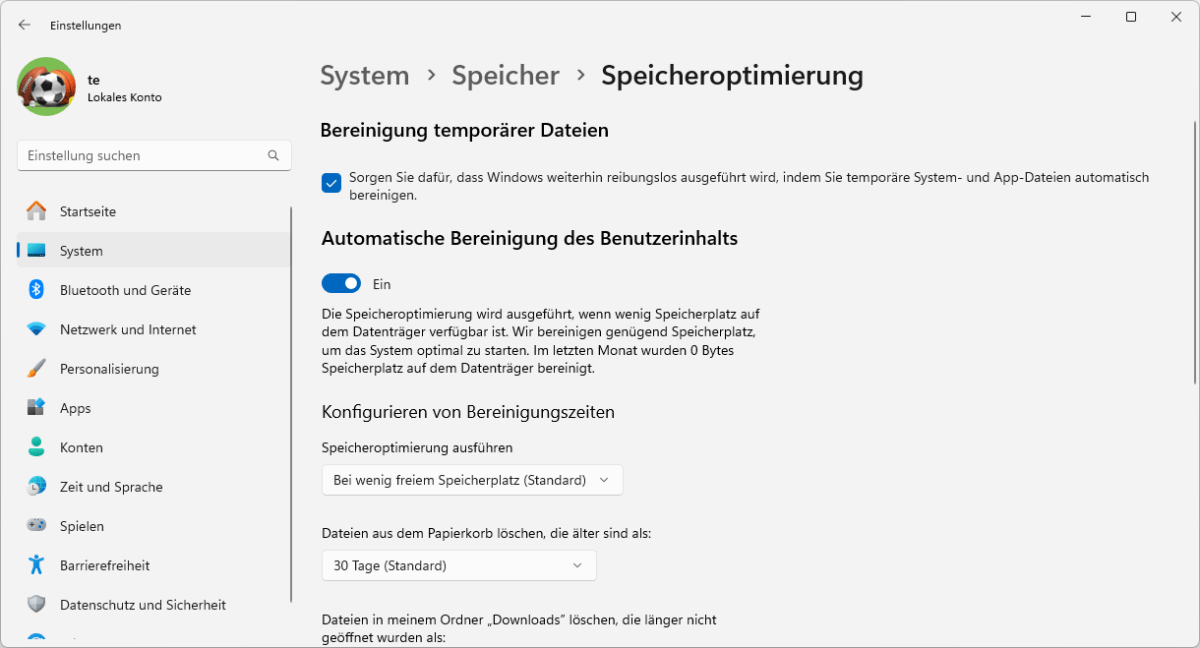 Storage Sense
4. Relocate Standard Storage Locations
Utilize secondary drives (internal or external) for storing personal files. In Settings > System > Storage > Advanced storage settings > Where new content is saved, you can redirect default folders like New apps and New documents to a different drive. For complete folder relocation, create the destination folder on the new drive, right-click the folder in File Explorer, select Properties > Path > Move, and choose the new location.
5. Change Storage Location for Apps
While moving conventionally installed desktop programs directly isn’t recommended, you can often choose a custom installation path during reinstallation. Apps from the Microsoft Store can be moved directly via Settings > Apps > Installed apps. Select the app, click the three-dot menu, and choose Move.
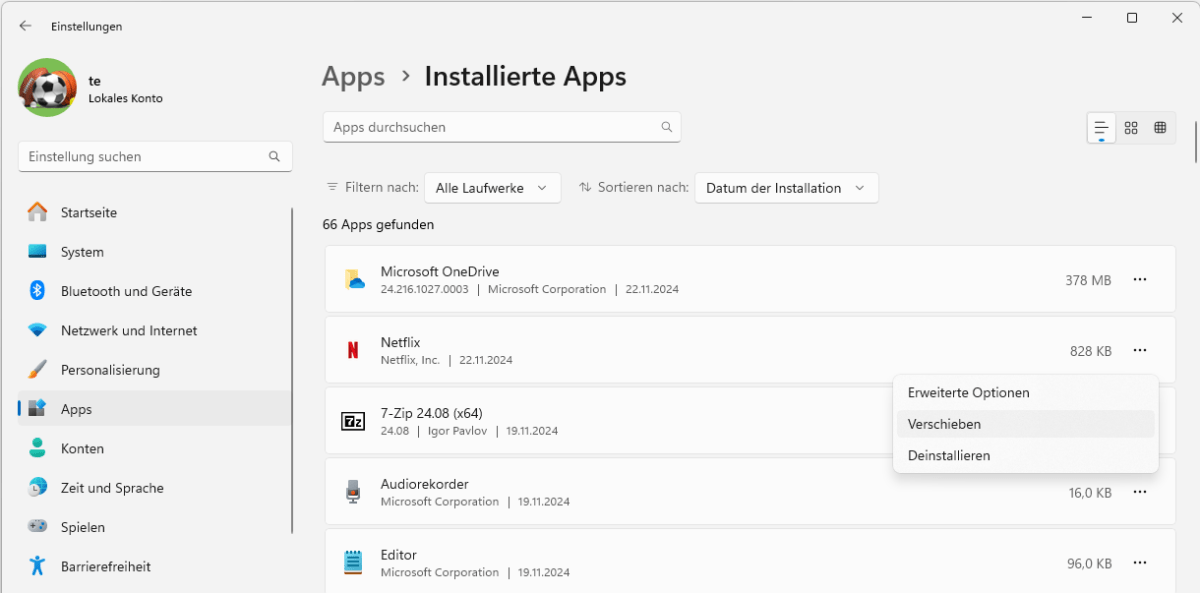 Moving Apps
Making Optimum Use of Hard Drives and SSDs
Traditional hard drives have varying data transfer speeds depending on the disk area. SSDs offer significantly faster and more consistent performance. While defragmentation is beneficial for hard drives, it’s unnecessary for SSDs. Maintaining sufficient free space on both hard drives and SSDs is crucial for optimal performance and longevity. Tools like Defraggler can help optimize hard drive performance.
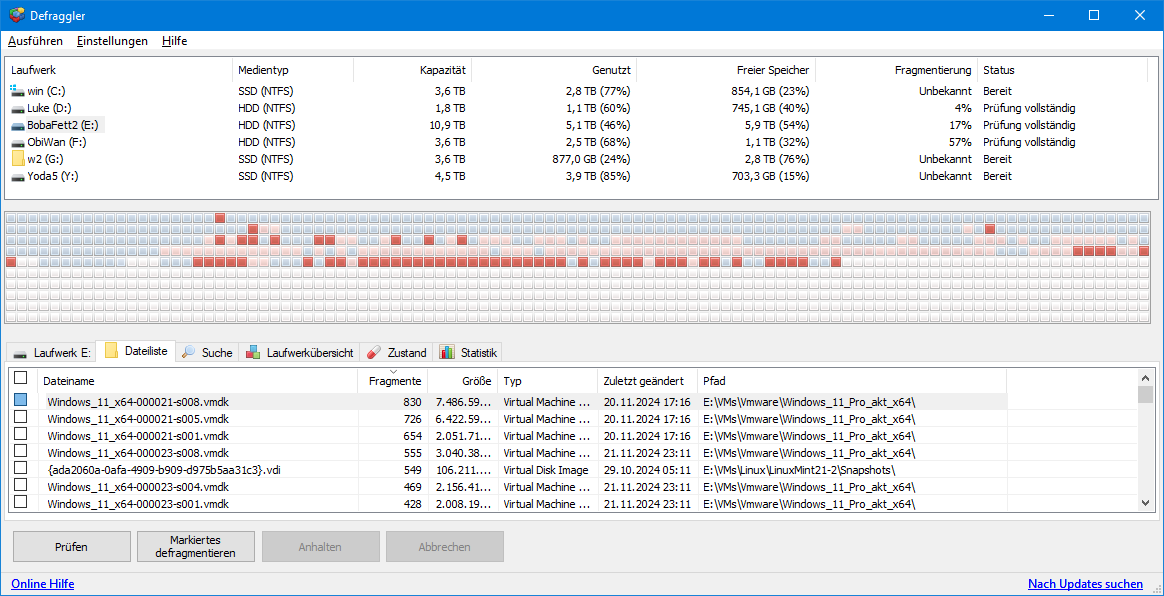 Defraggler
6. Disk Cleanup (Legacy Tool)
While still present in Windows 11, Disk Cleanup is now largely superseded by the Storage settings. If you prefer using it, access it through the Start menu search or by running cleanmgr.
7. Delete Browser Data
Web browsers cache files to improve performance. While generally beneficial, clearing the cache can resolve display issues. In Edge, go to Settings > Privacy, search, and services > Choose what to clear. Select the data to delete, paying attention to cookies, passwords, and autofill data.
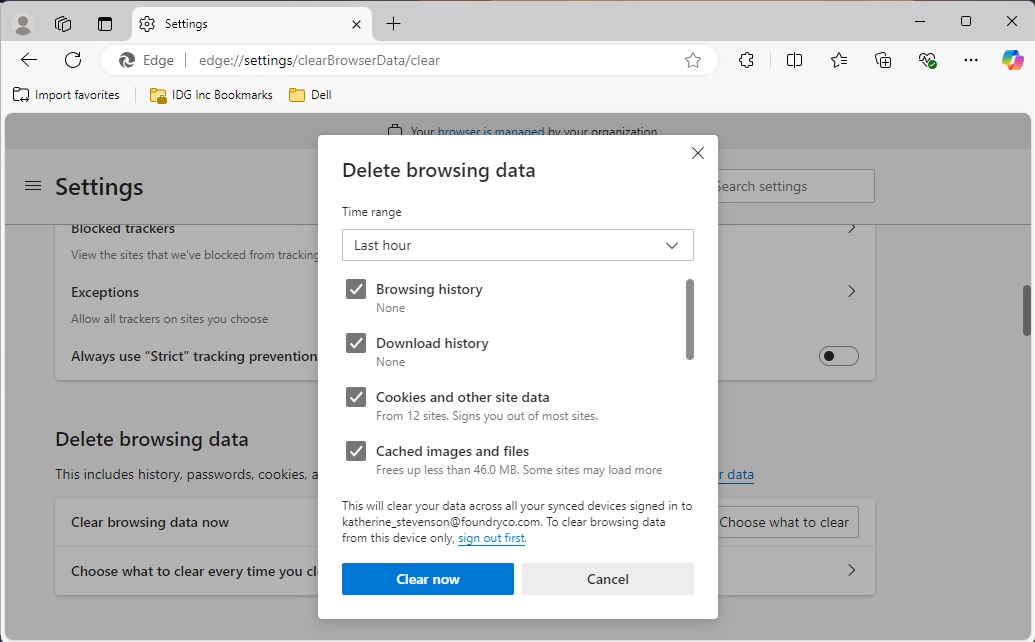 Edge settings
8. Optimize Autostart
Manage startup programs through the Task Manager (Ctrl+Shift+Esc). Disable unnecessary programs on the Startup tab. Tools like Autoruns provide more advanced control and analysis.
9. Utilize Specialized Cleanup Tools
Third-party tools like Bleachbit and CCleaner offer more aggressive cleaning options. Exercise caution and understand their functionality before use. Tools like Treesize Free, WinDirStat, Everything, and Duplicate Media Finder can help identify large files and duplicates. For uninstalling programs, consider Revo Uninstaller or Iobit Uninstaller.
10. Addressing the Winsxs Folder
The Winsxs folder in the Windows directory often appears large but contains essential system files. Avoid manually deleting files from this folder, as it can damage system functionality. Windows automatically cleans up this folder.
Additional Cleanup Tools
Several other tools can assist with specific cleanup tasks, including:
- Foldersizes: Analyzes disk space usage by folder.
- Largest File Finder: Identifies the largest files on your drive.
- Duplicate Media Finder: Locates and removes duplicate files.
- Clonespy: Finds and manages duplicate files.
- Revo Uninstaller: Thoroughly uninstalls programs.
- Iobit Uninstaller: Uninstalls programs and manages Windows apps and browser extensions.
- Privazer: Deep cleans user traces and temporary files.
- Spybot – Search & Destroy: Removes unwanted software and tracking cookies.
- 7-Zip: Compresses and archives files.
- FastStone Image Viewer: Manages and edits photos.
- Digikam: Professional photo management software.
- Powerlame: Manages and converts MP3 files.
- MediaMonkey: Organizes and tags music files.
- Sumo: Checks for software updates.
- Driver Easy: Updates device drivers.
- Iobit Driver Booster Free: Updates drivers and provides driver information.
- Core Temp: Monitors CPU temperature.
- GPU-Z: Displays graphics card information.
- HD Tune: Monitors hard drive health and performance.
By following these tips and utilizing the appropriate tools, you can effectively deep clean your Windows PC, free up valuable disk space, and improve system performance.


