Damaged cables are a common frustration, whether they’re charging cables, data transfer lines, or audio connections. Frequent bending and everyday use can lead to kinks, breaks, and even exposed wires. This guide will show you how to repair these issues, from simple kinks to more complex breaks. For significant damage involving a broken or exposed core, consult a professional. Replacing the cable is often the safest option for non-experts. However, minor damage is often easily repairable at home.
Straightening Kinked Cables
Kinked cables are a nuisance. Sometimes, they even arrive new from the manufacturer already bent due to tight packaging. If a kink doesn’t straighten out on its own, a simple heat trick can help.
Plastic cables are thermoplastic, meaning they become more pliable when warm. Place the kinked section on a warm radiator for a few minutes, then gently straighten it with your hands. Repeat as needed for stubborn kinks.
 Erko
Erko
Important: Disconnect the cable from any device or power source before applying heat, and allow it to cool completely afterward.
A hot water bath can also work, but ensure the plugs stay completely dry to prevent water damage. Avoid temperatures above 60 degrees Celsius.
Repairing Broken Cables: A Cautionary Approach
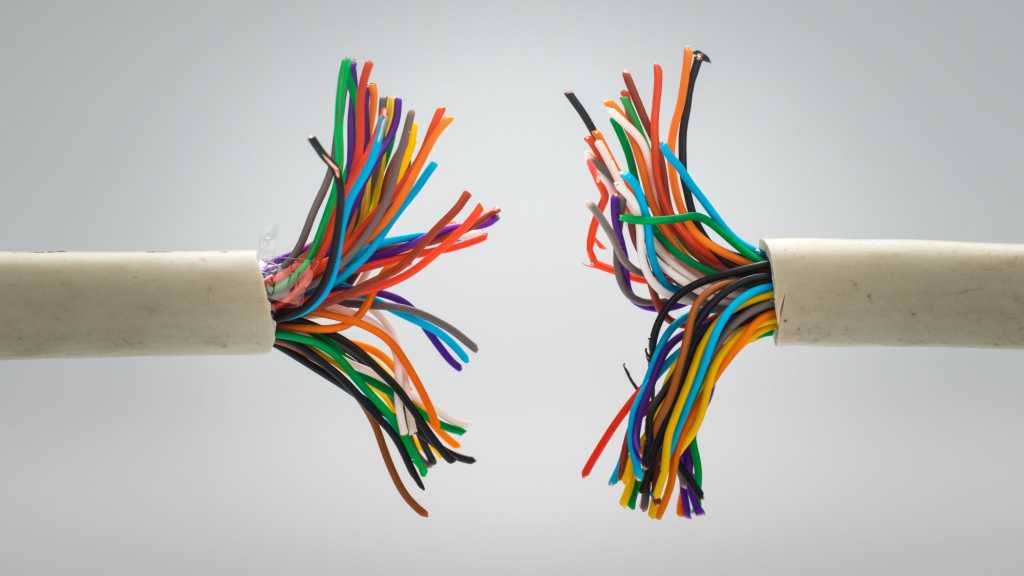
A kink can often lead to a break. Repairing a broken cable sheath is relatively easy, but a damaged core is more complex and should be handled with caution. If you’re not comfortable working with electrical wiring, consult a professional. This guide focuses on repairing low-voltage cables (up to 50 volts). Do not attempt to repair high-voltage cables yourself; always seek professional assistance.
Fixing a Broken Cable Sheath
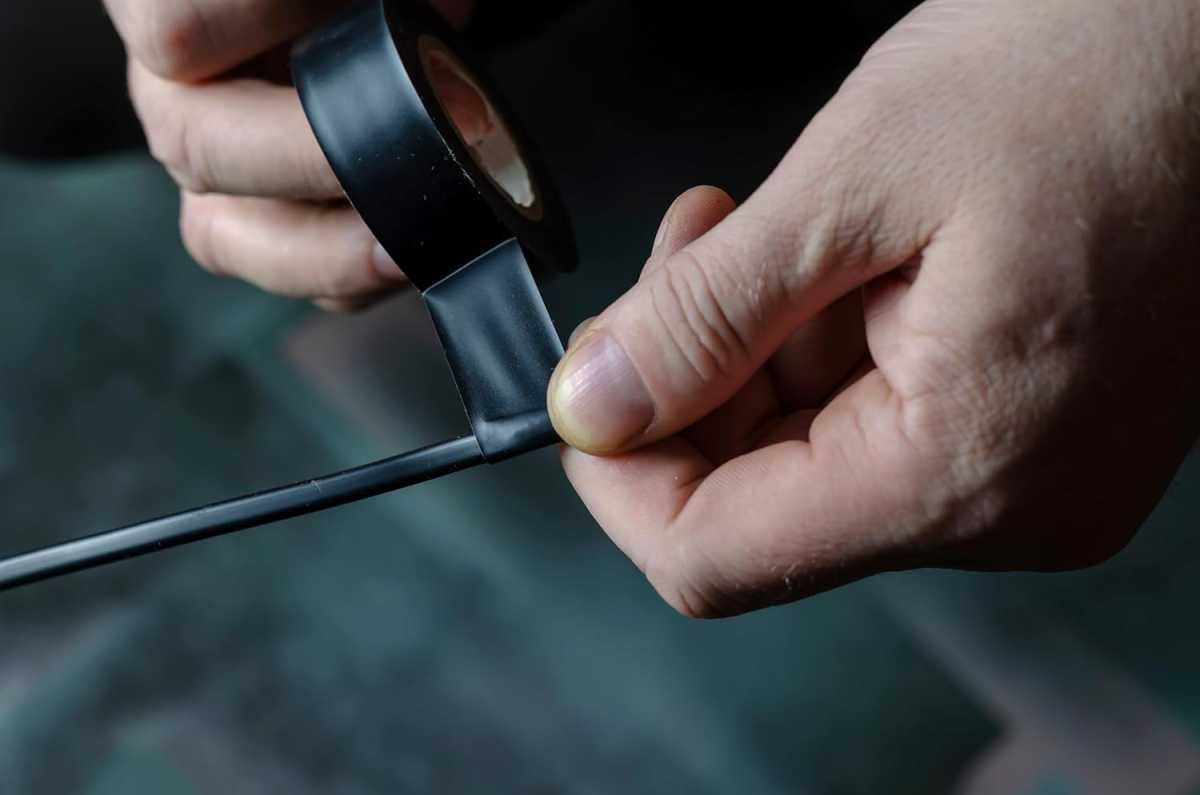
Cracked or broken sheaths are common, especially on frequently used cables. As long as the internal conductor is intact, insulating tape is a quick fix. Wrap two to three layers of tape tightly around the damaged area.
Tip: Applying slight tension while wrapping ensures a tighter seal and better adhesion. Heat-shrink tubing (discussed later) also offers a robust and professional-looking repair.
Repairing a Damaged Cable Core
Repairing a low-voltage cable core requires the following steps:
- Disconnect the cable: Unplug the cable from all devices and power sources.
- Locate the damage: Identify the precise location of the break.
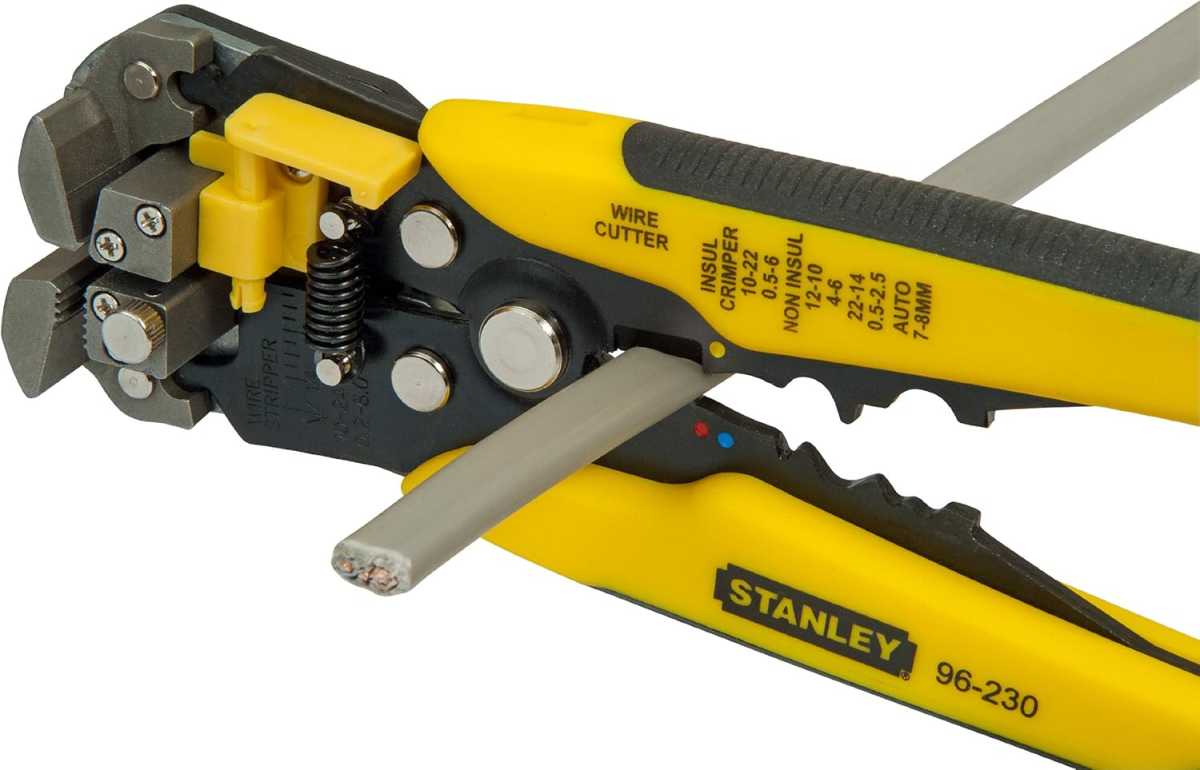
- Remove the damaged section: Use wire strippers or cable cutters to cleanly cut out the damaged portion.
- Expose the conductor: Strip about one centimeter of insulation from both newly cut ends.
- Reconnect the ends: Use crimping pliers for the most secure connection, or carefully twist the conductors together and wrap them with insulating tape. Heat-shrink tubing provides a cleaner and safer finish.
 Stanley FatMax Automatische Abisolierzange und Schneidzange
Preventing Cable Damage
A simple trick can prevent breaks and kinks, especially at the vulnerable plug-cable junction. Reinforce this area with two to three layers of insulating tape, extending two to three centimeters along the cable. This maintains flexibility while adding strength.
Alternatively, use the nib of a disassembled ballpoint pen. Slide it over the cable end for added protection.
Recommended Tools for Cable Repair
The following tools are helpful for effective cable repair:
- Insulating Tape: Essential for sealing and insulating.
 SOMELINE Crimping Tool For Insulated Electrical Connectors
- Wire Strippers/Cutters: For cleanly removing damaged sections and stripping insulation.
- Crimping Pliers and Connectors: Provide the most secure connection for repaired cores.
 Heat Shrink Tubing Kit
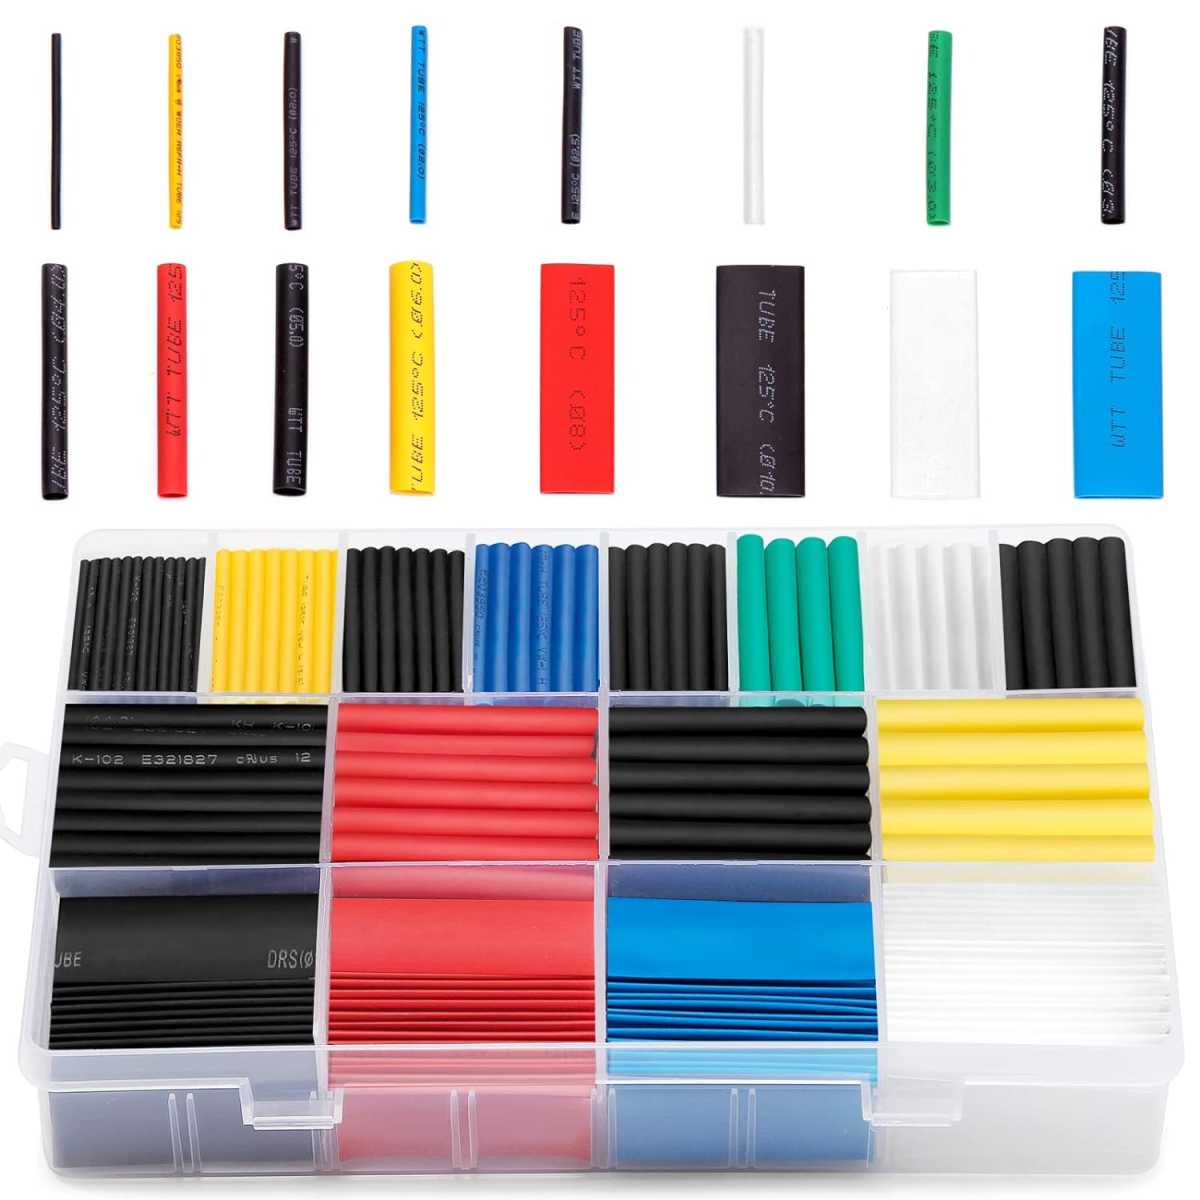
- Heat-Shrink Tubing: Offers a professional and durable finish for insulation and protection.
Remember to prioritize safety and consult a professional when dealing with high-voltage cables or complex repairs. With the right tools and techniques, you can extend the life of your cables and avoid the frustration of damaged connections.


