Many gamers seek the smallest, lightest portable retro gaming setup. The Raspberry Pi 5 is a popular choice, but an even more compact solution exists: transforming a USB flash drive into a portable gaming console. While still requiring a PC for gameplay, this method significantly reduces the bulk of your gaming gear. Here’s how to achieve this for under $100.
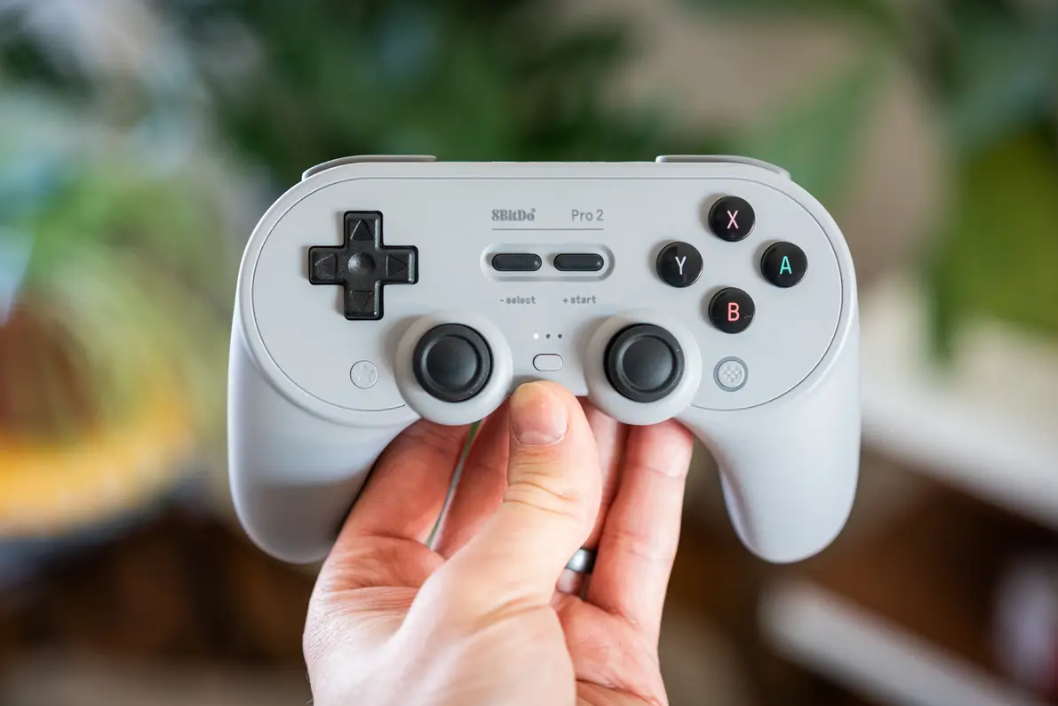 8Bit Do Pro 2 Adam Patrick Murray
Gathering Your Components
You’ll need a few essential items:
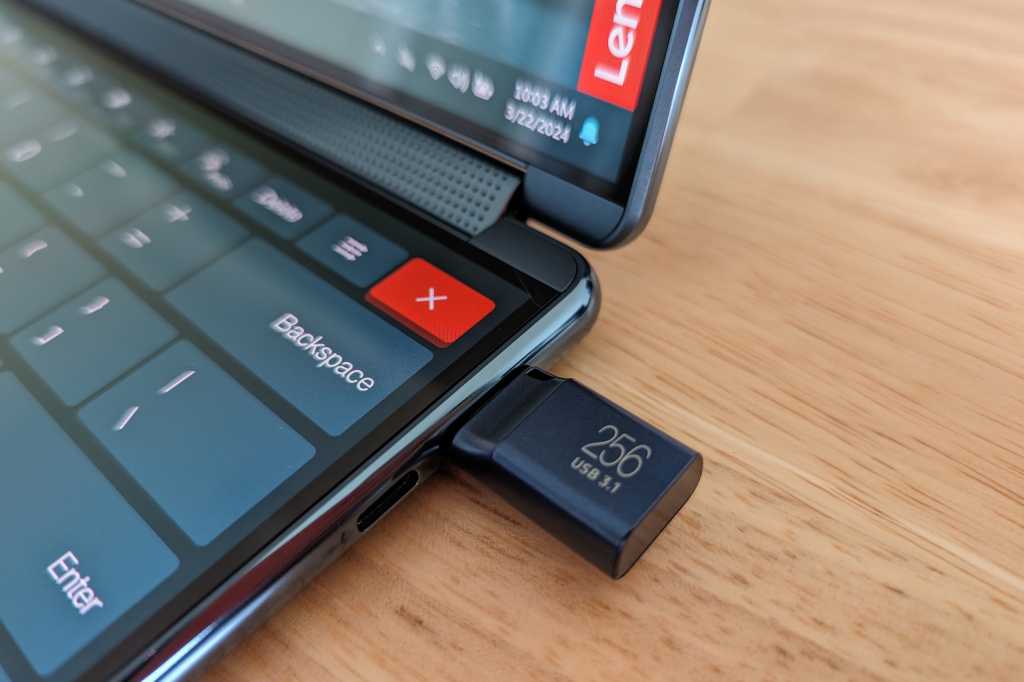
- USB Flash Drive: A high-capacity drive like the SanDisk 512GB offers ample storage for numerous games. Smaller or larger capacities also work depending on your needs.
- Wireless Keyboard: A compact wireless keyboard is essential for navigating Batocera’s interface. Affordable options are readily available online. Some even offer integrated storage for your USB drive.
- Gamepad: A reliable USB gamepad like the 8BitDo Pro 2 enhances the retro gaming experience. Its USB-C compatibility simplifies connection to your PC.
Setting Up Your Portable Console
The process involves installing the Batocera operating system on your flash drive and then loading your ROMs.
Installing Batocera
Follow these steps to install Batocera:
- Connect your USB flash drive to your PC.
- Download the x64 Windows version of Batocera from the official website.
- Download and install BalenaEtcher, a tool for flashing operating systems onto USB drives.
- Open BalenaEtcher, select “Flash from file,” and choose the downloaded Batocera file.
- Select your USB flash drive and click “Flash.”
- Once flashing completes, dismiss any pop-up windows by clicking “Cancel” or “Ignore.”
Booting into Batocera
Two methods exist for booting from your flash drive:
Method 1:
- Type “recovery options” into the Windows start menu. Under “Advanced Startup,” click “Restart now.”
- Select “Use a device” and then “UEFI: Removable Device.” Batocera should now boot. If this option isn’t available, try Method 2.
Method 2:
- Shut down your PC and power it back on.
- Repeatedly press the F12 key (or your PC’s designated BIOS key) during startup to enter the BIOS menu.
- Select “UEFI: USB, Partition” (your USB flash drive) as the boot device. This should launch Batocera.
 Batocera Dominic Bayley / IDG
Loading Games
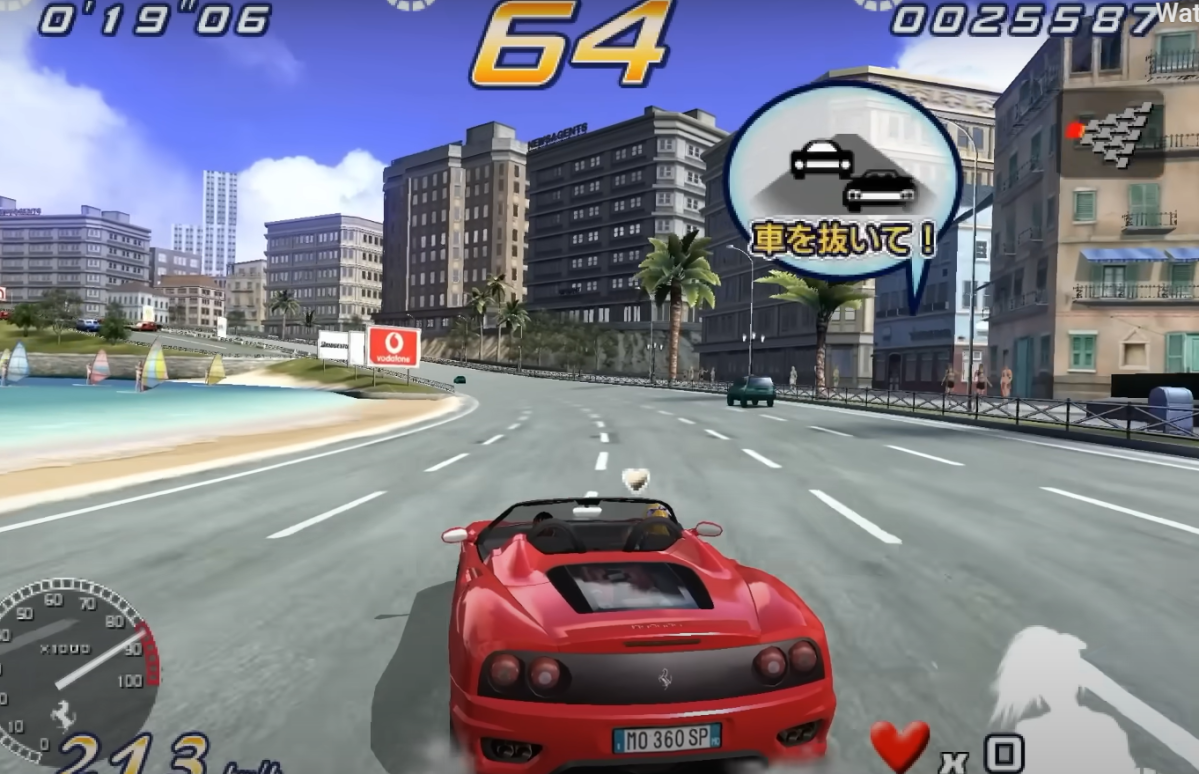
Batocera supports a wide range of retro game console emulators, from PlayStation 2 and PlayStation 3 to Nintendo 3DS and many more. While it includes some pre-loaded ROMs, adding your own expands your gaming library. Remember, it’s crucial to only use ROMs for games you legally own.
- Press F1 in Batocera to open the file manager.
- Locate your ROM files on your computer or connect the storage device containing them.
- Right-click the desired ROM files and select copy.
- Navigate to the “ROMs” directory within Batocera, find the appropriate emulator folder, and paste the copied files.
- Your games should now appear in Batocera. To add artwork, long-press the X button (button 3) on your controller while highlighting a game and select “Scrape.” An internet connection is required for this feature.
Additional Tips and Resources
While a USB flash drive offers excellent portability, you can also use an SD card or portable hard drive for this process.
For optimal performance, explore Batocera’s settings. Adjusting video settings and resolution for specific emulators significantly enhances game visuals. Resources like the Batocera Nation YouTube channel offer valuable tutorials.
Further reading: Best external drives
Conclusion
With a few simple steps and readily available components, you can transform a USB flash drive into a convenient portable retro gaming console. Enjoy countless hours of classic gaming on any compatible PC.


