Windows 10 has been a reliable operating system, but its end-of-life is approaching in October 2025. This means the end of regular updates, leaving only paid Extended Security Updates (ESU). If you’re among those considering the move to Windows 11, this guide will walk you through the process, addressing common concerns and ensuring a smooth transition.
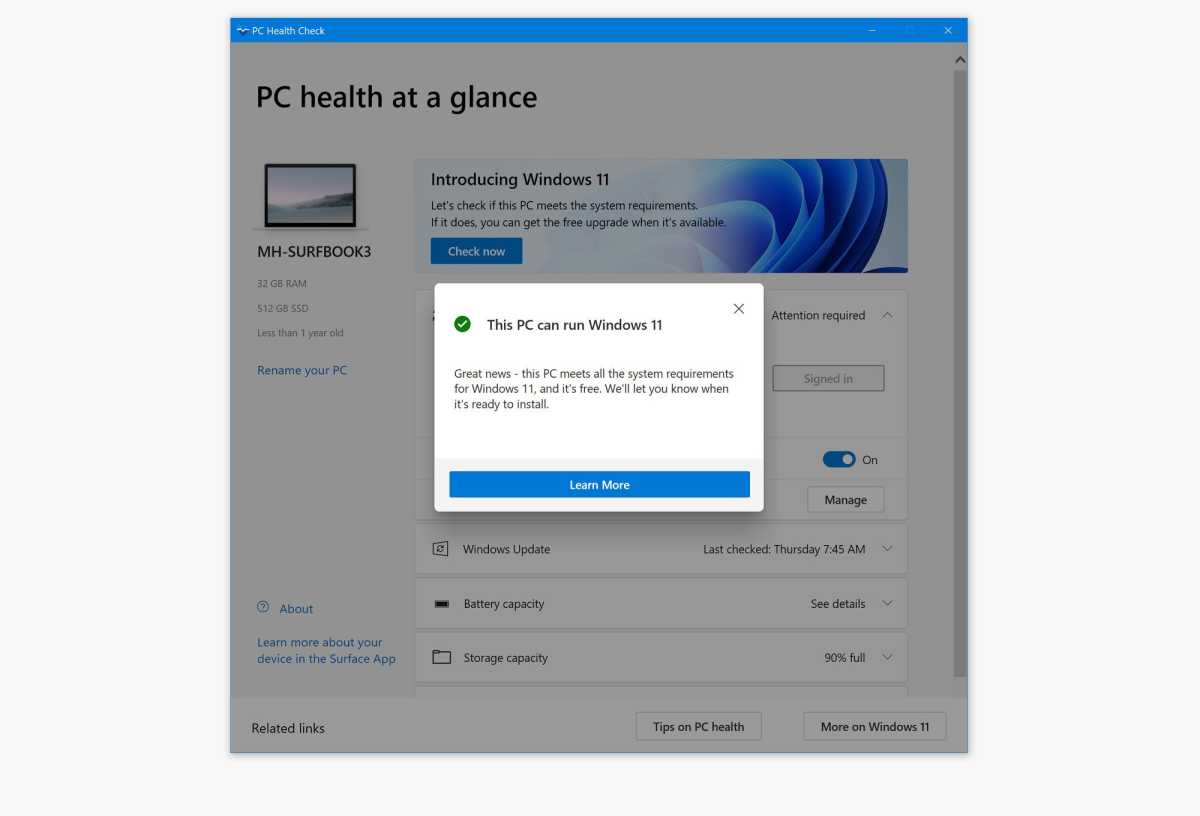 PC health at a glance
Ensuring System Compatibility
Before upgrading, verify your computer meets Windows 11’s requirements. Installing all available Windows 10 updates is a simple way to check. If your system is compatible, Windows Update will offer the upgrade option. Alternatively, the PC Health Check app provides detailed information about any compatibility issues and potential solutions. Common problems include a disabled TPM module, easily enabled in BIOS settings.
Minimum requirements include a 64-bit processor (1GHz or faster), 4GB RAM, 64GB storage, UEFI Secure Boot support, TPM 2.0, a 720p display, and internet access. Version 24H2 introduced slightly higher processor requirements: 8th-generation Intel Core or newer (including Celeron, Atom, Xeon equivalents), 2nd-generation AMD Ryzen or newer (including Threadripper, Epyc, and select Athlon equivalents).
Backing Up Your System
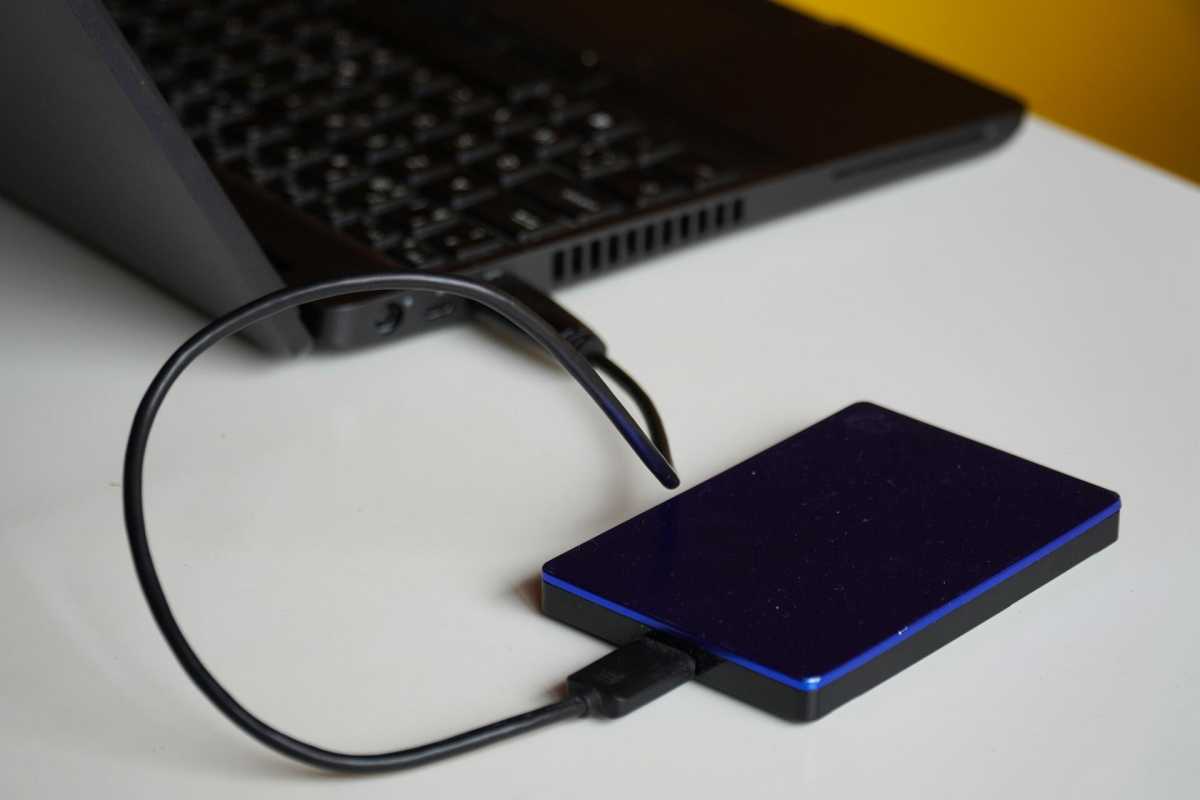 Extern hårddisk
Creating a full system backup (clone backup) is crucial before upgrading. This enables easy reversion to Windows 10 if issues arise during or after the installation. R-Drive Image is a powerful option, while EaseUS offers a free alternative. Remember to test your backup’s functionality before proceeding.
Upgrade or Clean Install?
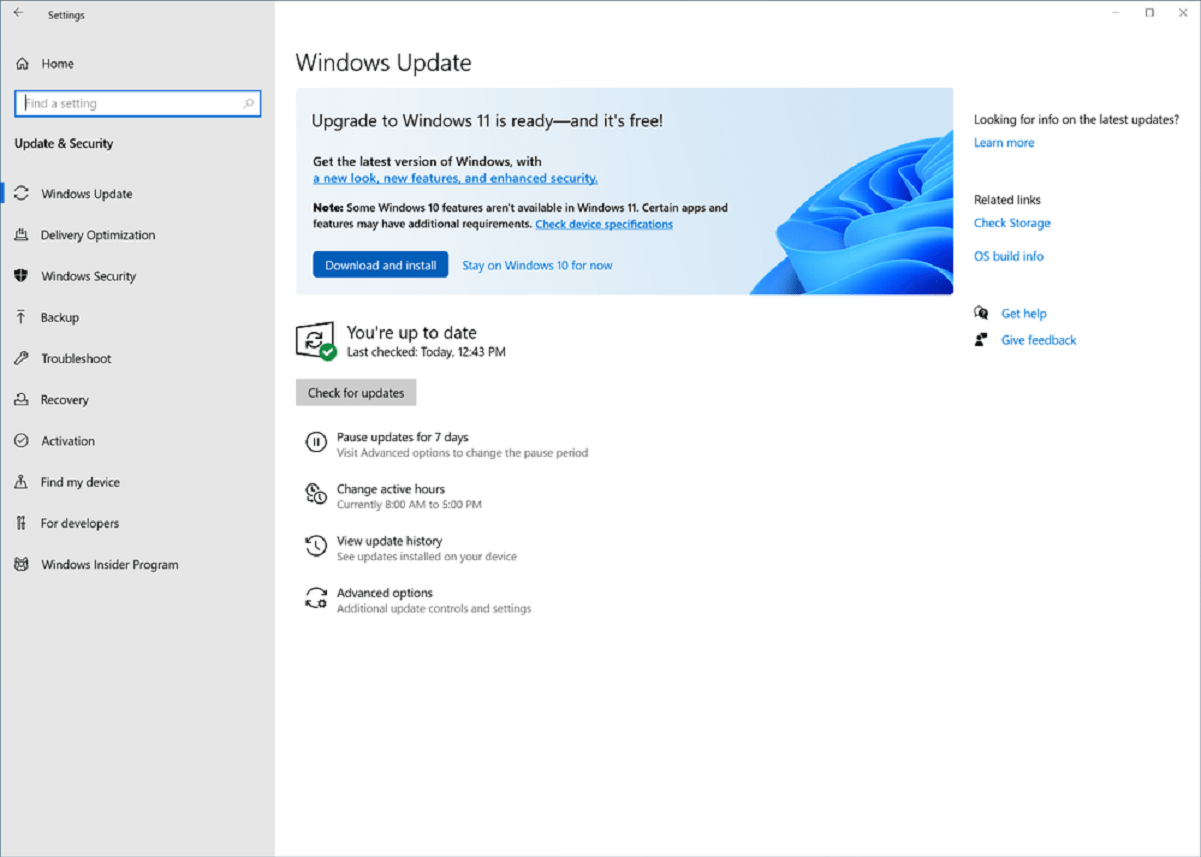 Upgrade to Windows 11
The decision between an in-place upgrade or a clean install often sparks debate. While a clean install might offer potential performance benefits, an upgrade is quicker and preserves existing programs and settings. With a reliable backup, testing an upgrade is recommended. If issues occur, a clean install can always be performed later.
In-Place Upgrade: Preserving Your Data
Two options exist for in-place upgrades. The simplest is using Windows Update, where the system handles the entire process. Alternatively, download a Windows 11 ISO file, double-click it in File Explorer, navigate to the mounted image, and run Setup.exe. This allows for choosing what to keep (files, programs, settings). While keeping only files is an option, a clean install is often preferred for better system hygiene in such cases.
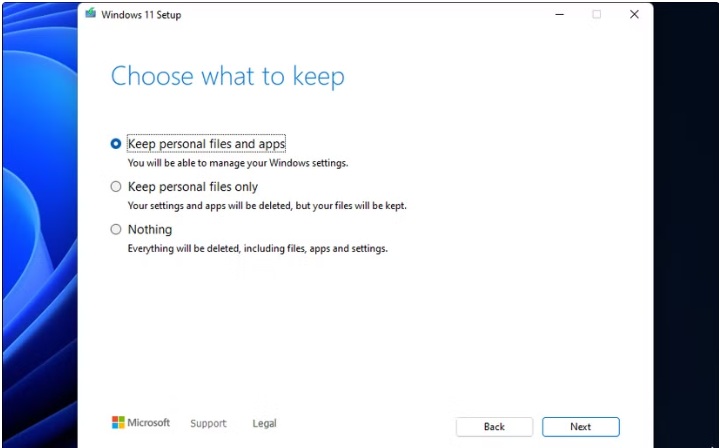 Windows 11 install
Clean Installation: Starting Fresh
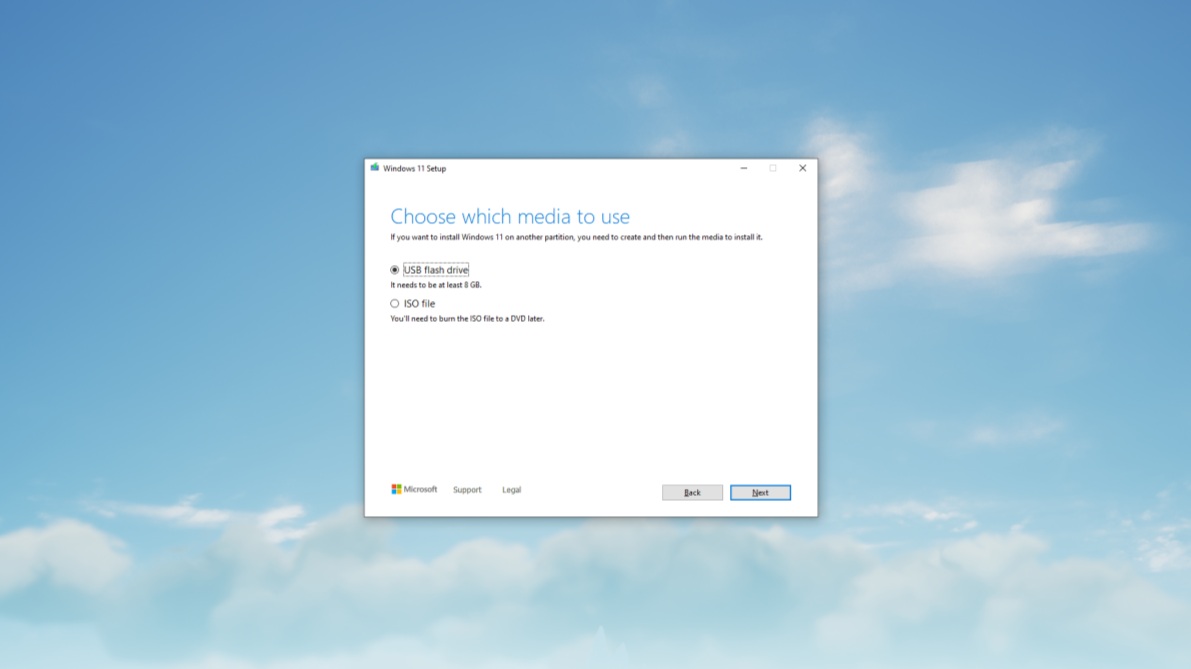 Windows 11 install
A clean install offers the opportunity to declutter your system, removing accumulated junk and optimizing performance. This involves reformatting the drive, so a verified backup is essential. Use the Windows 11 ISO and Microsoft’s media creation tool to create a bootable USB drive. During installation, select the correct drive for installation and reformat it. Carefully choose the target drive, especially with multiple drives, and disconnect unnecessary ones to avoid confusion.
Getting Acquainted with Windows 11
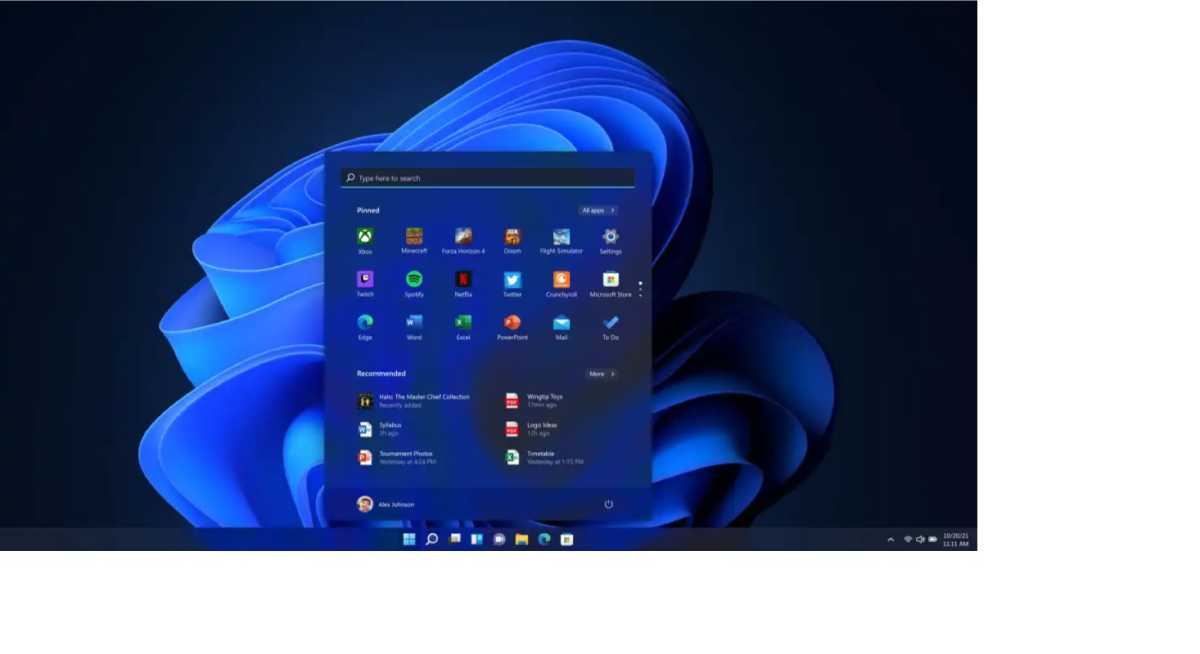 Windows 11 start menu
After logging in, you’ll encounter initial setup dialogs for location services, analytics data collection, and default app selections. Configure these to your preference. The redesigned Start menu and centered taskbar are noticeable changes. The “All apps” button in the Start menu provides a list view of installed programs.
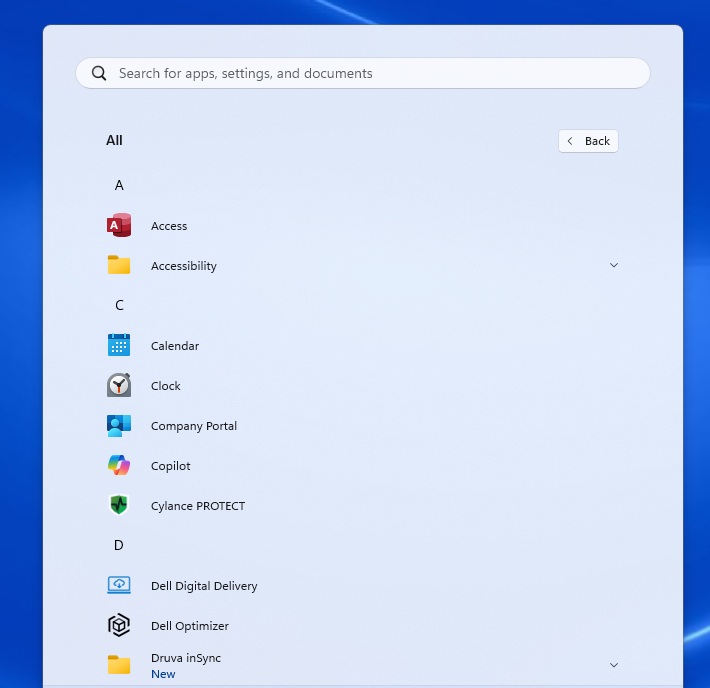 Windows 11 all apps
Notable Changes in Windows 11
Several key changes are worth highlighting:
- Copy and Paste: Explorer’s context menu has been updated with icon-based commands.
- Action Center: Replaced by a new notification view.
- Default Programs: Setting default apps is now managed through Settings > Apps > Default apps.
- Microsoft Store: Improved and now includes many standard desktop applications.
- Copilot: Replaces Cortana as the integrated AI assistant.
- Settings App: Redesigned with a permanent left-hand navigation pane.
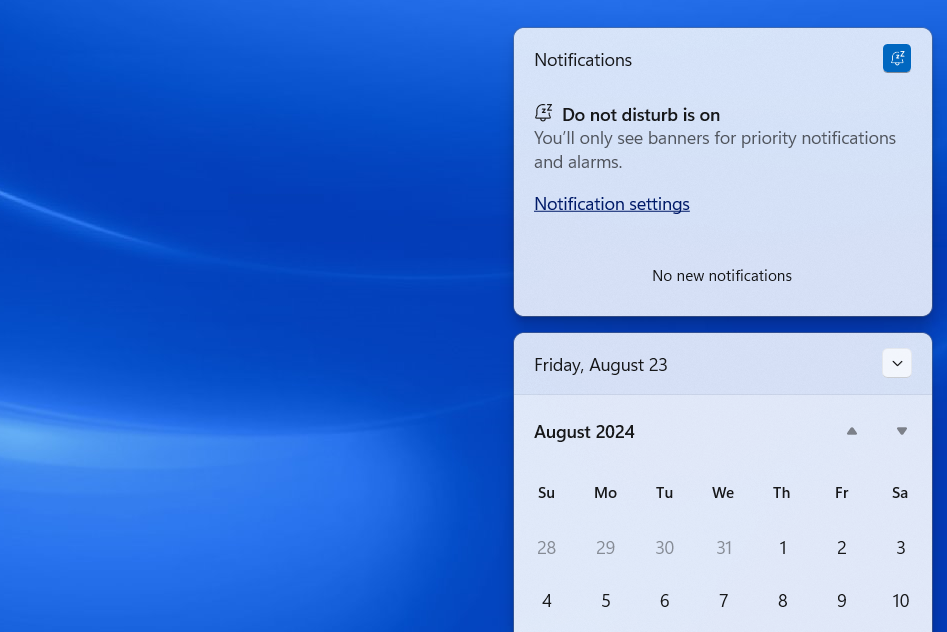 Windows 11 Notification Center with Do Not Disturb enabled screenshot
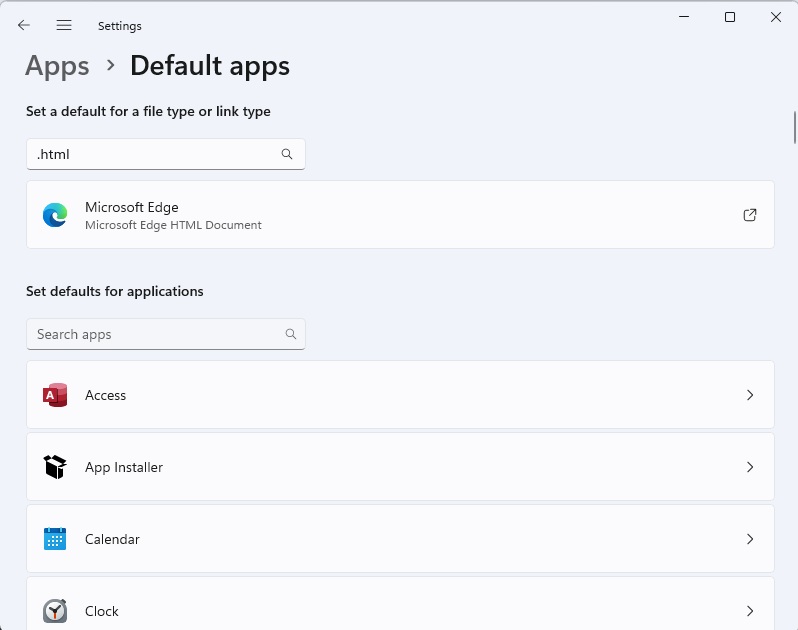 Windows 11 default apps
 Microsoft Store
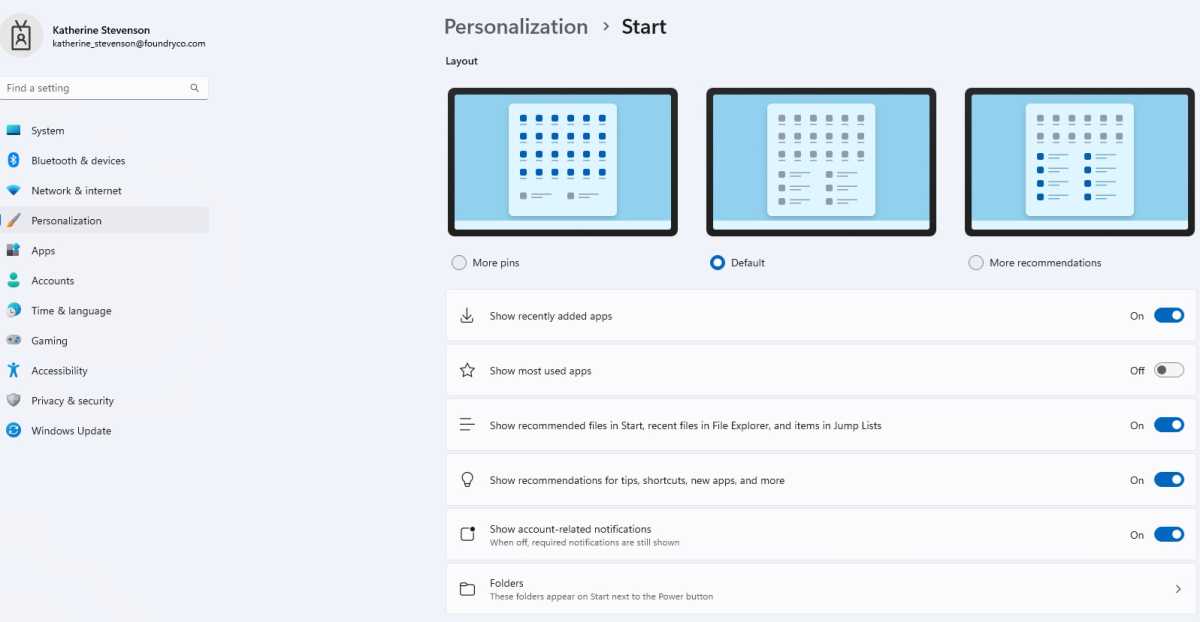 Windows 11 settings
Reverting to Windows 10
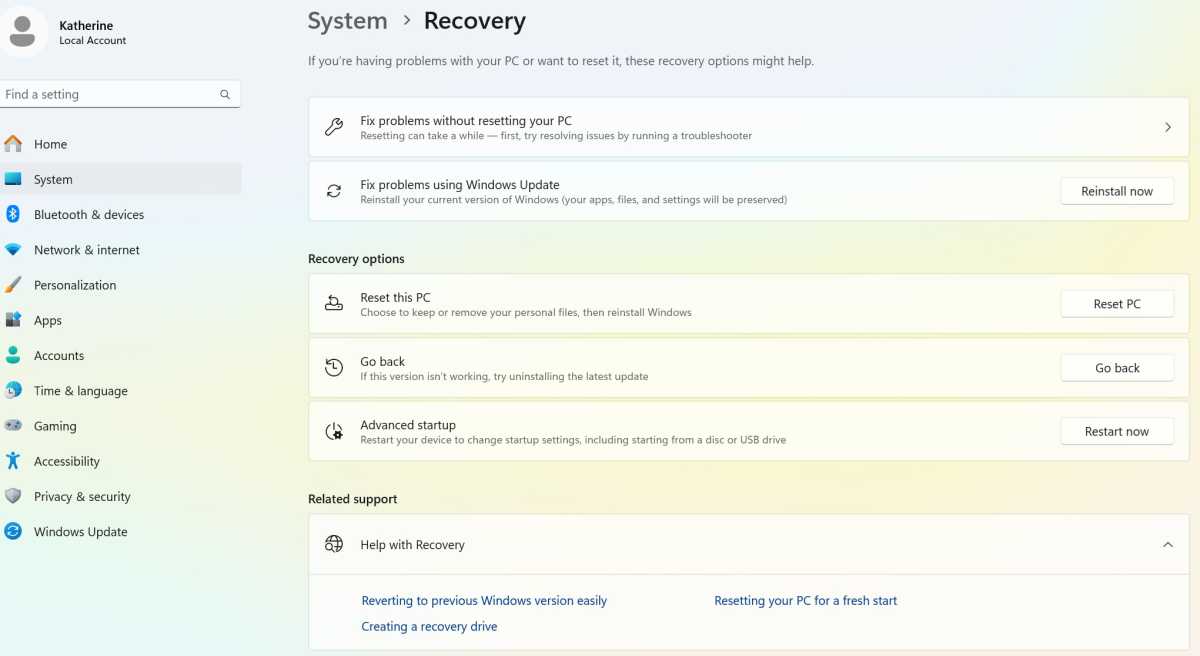 Windows 11 Go back
If you upgraded via Windows Update, reverting is possible through Settings > System > Recovery > Go back. If this option is unavailable, either a different upgrade method was used, system cleanup was performed, or too much time has passed. In such cases, restore your system from the clone backup. Remember to back up any new data created after the upgrade before restoring. The “Go back” feature simplifies the rollback process, making an in-place upgrade generally preferable.


