Windows 11’s latest 24H2 update has supercharged the Photos app with impressive AI-powered editing tools. Transforming your photos into stunning works of art, removing unwanted distractions, and applying artistic styles is now easier than ever. This guide will walk you through utilizing these exciting new features.
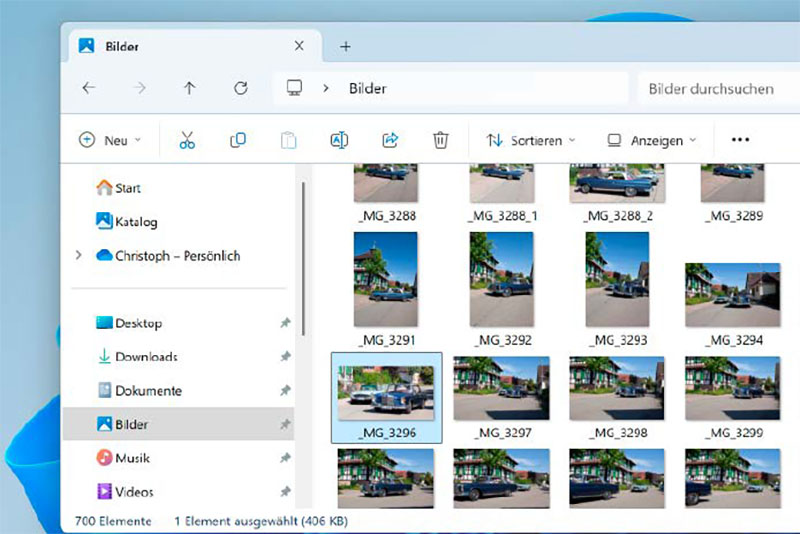 Opening the photo viewer
Accessing the Photos App and Your Images
To begin, launch the Windows Photos app. You can do this by searching for “Photos” in the Start menu, or by simply double-clicking any JPEG or PNG image file in File Explorer.
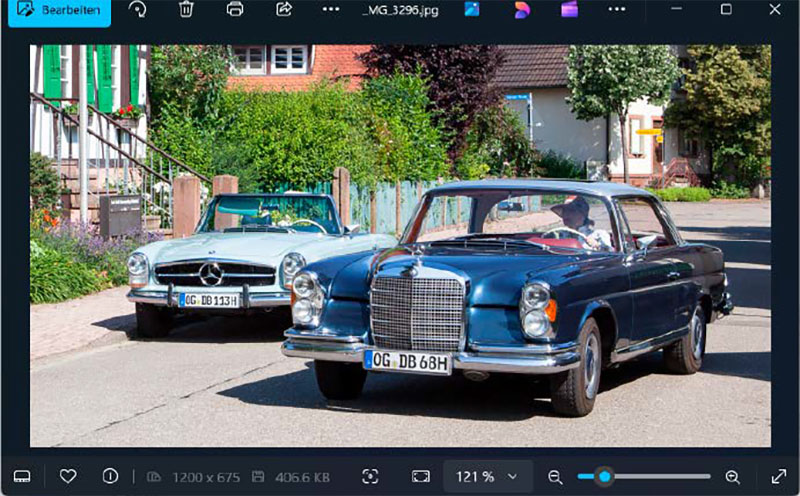 Foto öffnen
Once open, your chosen image will appear. Navigate through other images in the same folder using the left and right arrow keys on your keyboard. The zoom slider at the bottom of the window allows you to zoom in and out for a closer look at details.
Entering Edit Mode and Activating AI Features
Click the “Edit” button at the top of the Photos app to access the editing tools. If you’re using a Copilot+ PC, you’ll notice an “AI” button on the right side of the toolbar. This button unlocks the AI-powered editing magic, allowing you to restyle your photo or remove unwanted background elements.
 In den Bearbeitungsmodus wechseln
Upon your first click on the AI feature, you’ll be prompted to sign in with your Microsoft account. Don’t worry if you don’t have one yet; the prompt provides a convenient option to create a new account.
Exploring AI Style Transformations
Once in edit mode, a panel on the right side of the window unveils a range of design options. Select from preset styles like “Watercolor” or even describe your desired style using natural language. The creativity slider fine-tunes the intensity of the effect. Sliding it to the right creates more dramatic changes, while sliding it to the left results in subtler adjustments.
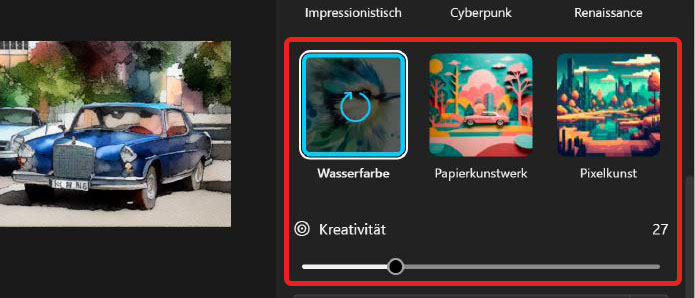 Stil ändern
For more granular control, explore the “Redesign All” option, which offers choices like “Background Only” and “Foreground Only.” This allows you to apply your chosen style to either the background or the main subject of your photo, adding a touch of artistic finesse.
Removing Distractions with Generative Erase
Windows 11 24H2 introduces “Generative Erase,” a powerful AI tool within the Photos app. This feature intelligently removes distracting elements and seamlessly fills in the background.
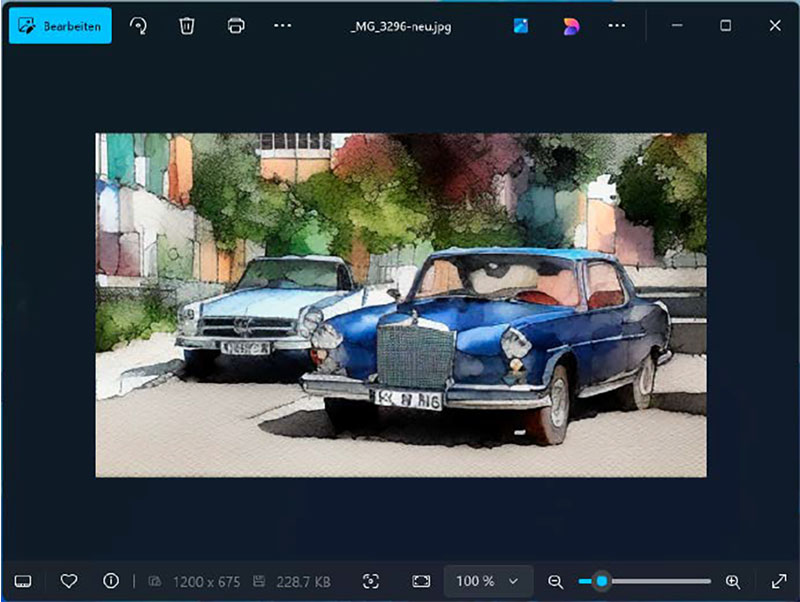 Mehr Optionen
To utilize Generative Erase, open your image and click the “Edit” button. Then, select the brush icon to activate the feature. A new window will appear with your image on the left and “Generative Erase” options on the right. Adjust the brush size and decide whether to apply changes automatically. Brush over the area you wish to remove, and the AI will seamlessly fill in the space, creating a clean and polished image.
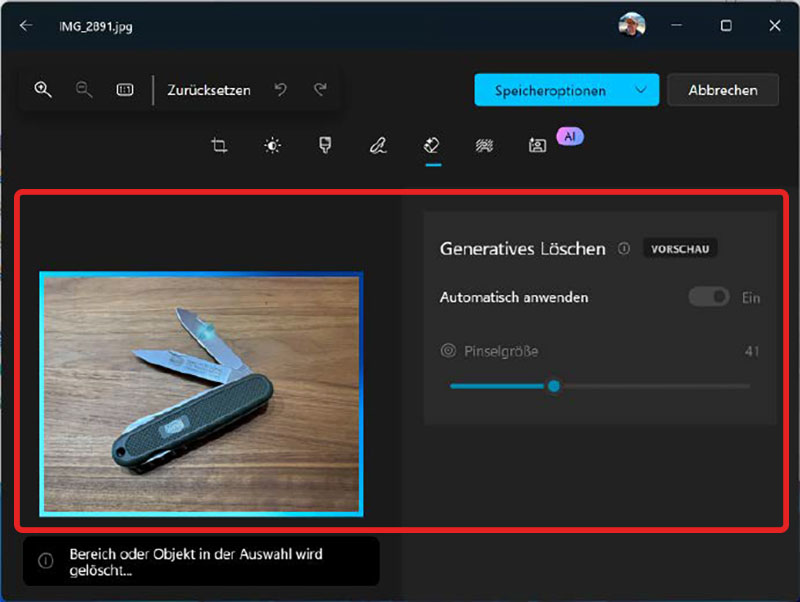 Störende Bereiche entfernen
For more precise control, disable the “Auto Apply” option to select multiple areas for erasure before applying the changes. Once you’re satisfied with your edits, click “Save” to preserve your masterpiece.
Conclusion
The enhanced Photos app in Windows 11 24H2 puts the power of AI at your fingertips. From artistic style transformations to removing unwanted distractions, these intuitive tools make photo editing accessible and enjoyable for everyone. Experiment with the various features and unleash your creative potential.


