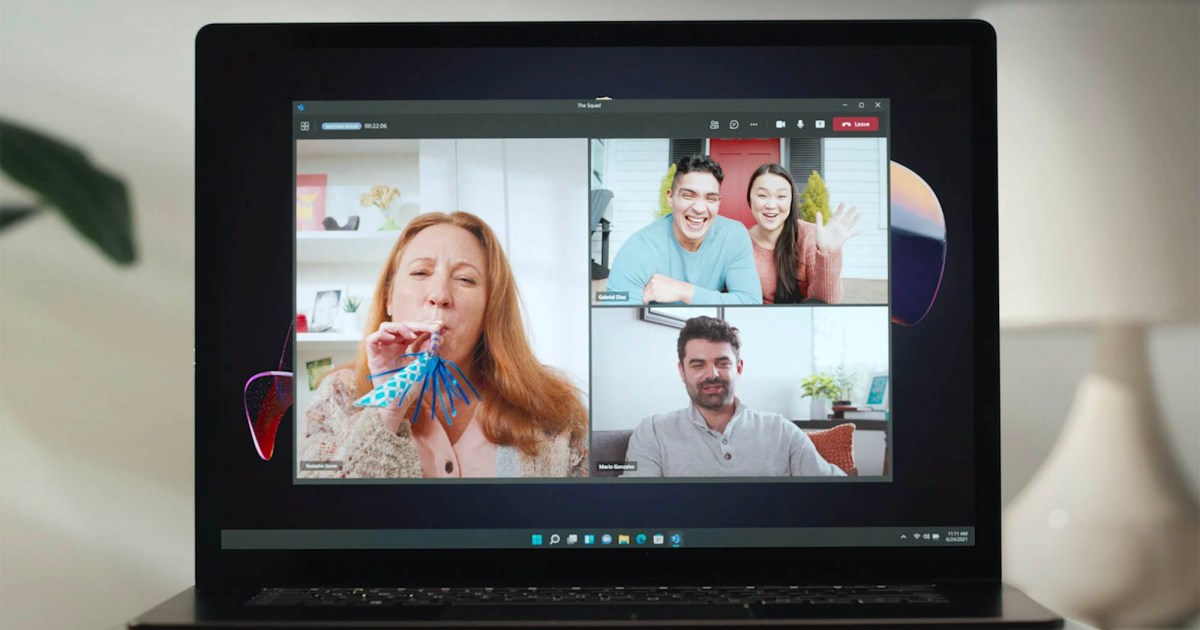
Knowing how to record a meeting in Microsoft Teams is a valuable skill. Recording meetings saves time by eliminating the need to repeat information or clarify decisions. It also allows organizations to analyze troubleshooting sessions, meet compliance requirements, and document important agreements. Microsoft Teams simplifies the recording process, provided it’s configured correctly. This guide covers everything you need to know, from permissions and recording steps to finding, downloading, and managing your recordings.
Setting Up for Recording
Before you start recording, ensure you have the necessary permissions and settings in place.
Permissions
Several permissions are required to record in Teams:
- Subscription: You’ll need a suitable Microsoft 365 subscription, such as Office 365 Enterprise, Business Premium, or Business Essentials.
- Organization Settings: Your IT administrator might need to enable recordings for your organization. Some organizations disable recording by default except in specific cases. If you’re working independently, recording should be enabled.
- User Roles: Meeting organizers and members of the organizing organization can record meetings. Guests and members of external organizations cannot.
Recording a Meeting Step-by-Step
Follow these steps to record your Teams meeting:
-
Join the Meeting: Log in to Microsoft Teams and join the meeting. Designate one person to manage the recording, as simultaneous recordings aren’t possible.
-
Access More Actions: Click the More actions icon (three dots) in the meeting’s top menu.
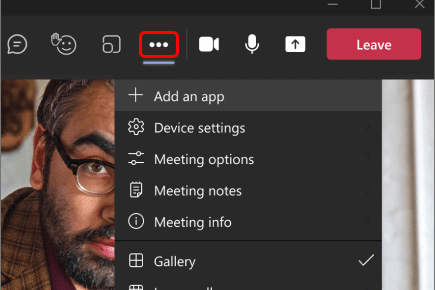 The More Actions button in Teams. Image used with permission by copyright holder
 -
Start Recording: Select Start recording from the dropdown menu. You might need to accept a recording policy depending on your organization’s settings. All participants will be notified when the recording begins.
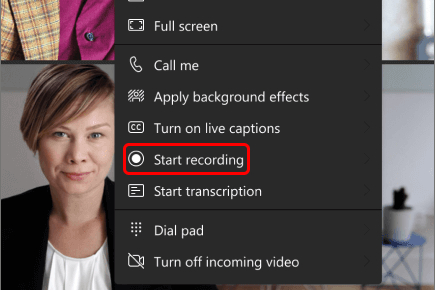 Start Recording in Teams. Image used with permission by copyright holder
 -
Live Transcriptions: Recording also enables live transcriptions unless specifically disabled by an administrator. Transcriptions are available in real-time and saved with the recording. They’re essential for compliance, legal purposes, and accessibility. You can stop live transcriptions anytime via the More actions menu.
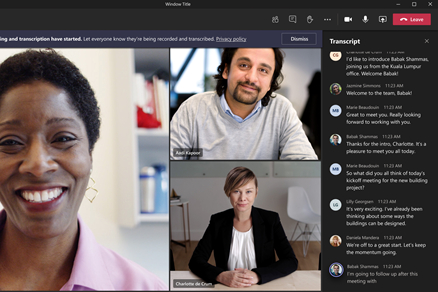 Live Transcript in Teams. Image used with permission by copyright holder
 -
Stop Recording: To end the recording, click More actions and select Stop recording. The recording will be processed and may not be immediately available.
Additional Recording Information
Keep these points in mind:
- Automatic Stop: Recordings automatically stop when all participants leave. However, if the person who started recording leaves, the recording continues. Another participant will need to stop it manually.
- Regional Regulations: Local regulations might require explicit consent from all participants before recording.
- Guest Access: Guests and external attendees can’t view the recording unless it’s shared directly with them.
- Video Streams: Recordings display up to four video streams simultaneously. Switching between streams during playback isn’t possible.
- Compliance: Compliance requirements may override some default settings.
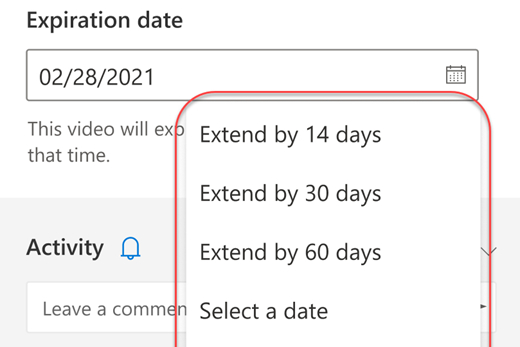 Expiration Dates on Teams Recordings. Image used with permission by copyright holder
Accessing and Sharing Recordings
Recordings are saved to SharePoint (for channel meetings) or OneDrive (for non-channel meetings). A link to the recording also appears in the meeting chat or channel and its Files tab. You can share the recording directly within Teams or copy the link for use on other platforms.
Expiration Dates: Teams recordings often have expiration dates. After this date (plus a grace period), the recording becomes unavailable. IT administrators can disable expiration dates. The expiration date is visible in Teams alongside the recording link and in the recording file’s Details section (accessible via Show actions). Meeting organizers can usually customize the expiration date. Ensure recordings are shared or downloaded before they expire, especially for compliance recordings.
Downloading Recordings
Follow these steps to download a recording:
- Locate the Recording: Open the Files tab where the recording is stored.
- Access Options: Select the recording and click More options.
- Download: Choose Download. Only the meeting organizer or the attendee who started the recording can download it.
Frequently Asked Questions
- Can I record a solo Teams call? Yes. Start a Meet Now session and initiate recording.
- Can I record audio only? No. Teams recordings capture video, audio, and screen sharing.
- Does Teams always record? No. Recording must be started manually or configured to start automatically by the meeting organizer. This automatic setting is not enabled by default.


