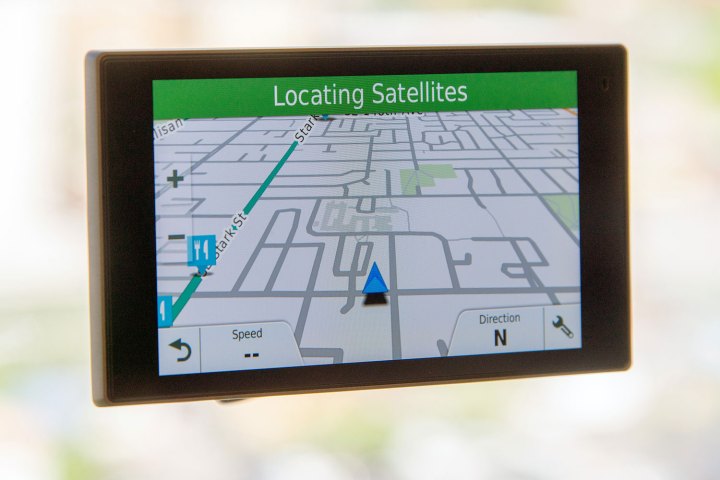
Tired of outdated maps leading you astray? A reliable GPS is essential for stress-free navigation, and ensuring your Garmin device is up-to-date is crucial for accurate directions. This guide provides a simple, step-by-step walkthrough on how to update your Garmin GPS using Garmin Express software, compatible with various models like Drive, DriveAssist, Zumo, and Nuvi.
Connecting Your Garmin GPS to Your Computer
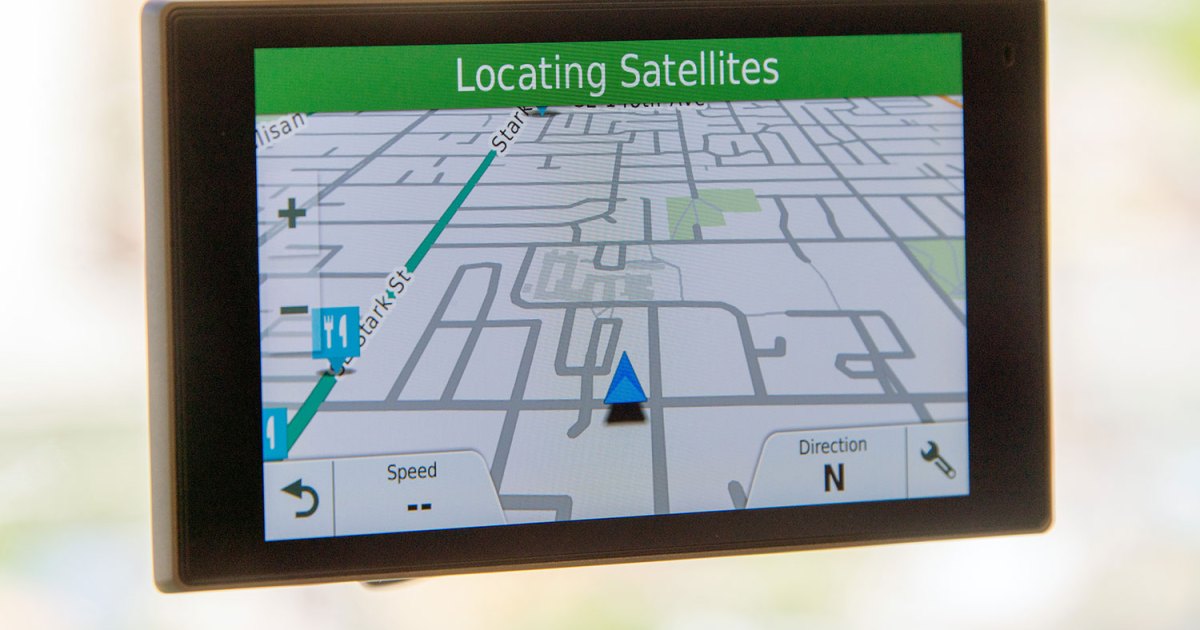
The first step is connecting your Garmin GPS to your computer. Power on your device, remove it from your vehicle, and connect it to your computer using a mini USB cable. The progress bar will indicate the connection status. If you’ve connected the device previously, the process should start automatically. For first-time connections, you may need to sign in to your Garmin account.
Installing Garmin Express
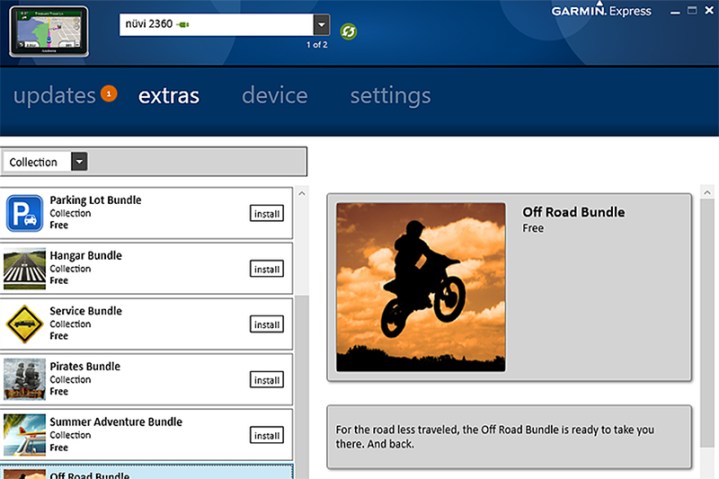
Ensure Garmin Express is installed on your computer. Visit the Garmin Express download page and select the appropriate download for Windows or Mac. After downloading, click the install button and follow the on-screen instructions. Garmin Express supports a wide range of GPS models, including Drive, DriveSafe, Nuvi, and Zumo.
Accessing and Installing Updates
With Garmin Express installed, connect your device and ensure a stable internet connection. Open Garmin Express, click “Add a Device,” and select your GPS. The application will scan for available updates and present a list. Click “Select All” to install all available updates, keeping your device connected throughout the process. This will install all free and pre-loaded updates. If you haven’t purchased lifetime map updates, you may need to purchase them at this stage.
Disconnecting Your Garmin GPS
After installing the necessary updates, click “Eject” in Garmin Express to safely disconnect your device. Unplug the USB cable and reinstall your GPS in your vehicle. You’re now ready to navigate with confidence, knowing your Garmin GPS has the latest map data.


