Regular oil changes are crucial for maintaining a healthy engine. While running out of oil can quickly ruin an engine, neglecting regular oil changes can have the same devastating effect over time. Dirty oil loses its lubricating properties, increasing friction and wear within the engine. This guide provides a comprehensive walkthrough of changing your car’s oil, empowering you to save money and gain a valuable life skill.
Modern vehicles typically require an oil change every 7,500 miles or every few years, while older models often require changes every 3,000 miles. Consult your owner’s manual, dealership, or online resources for your car’s specific oil change interval. Driving habits and oil type (conventional “dino” oil or synthetic oil) also influence the frequency. Synthetic oil generally lasts longer and is preferred in most situations.
While many opt for professional oil changes, doing it yourself offers significant cost savings and a sense of accomplishment. This guide simplifies the process, making it accessible even for beginners. Let’s get started!
Gathering Your Supplies
Before you begin, gather the necessary supplies:
- Car jacks or floor ramps
- Basic socket wrench set
- Oil filter wrench
- Washer for the drain plug
- Rags or paper towels
- Rubber or latex gloves
- Oil drain catch pan
- Clean funnel
- New oil (check your owner’s manual for the correct type and quantity)
- New oil filter (consult your owner’s manual or a parts store catalog for the correct part number)
Step 1: Prepare Your Workspace
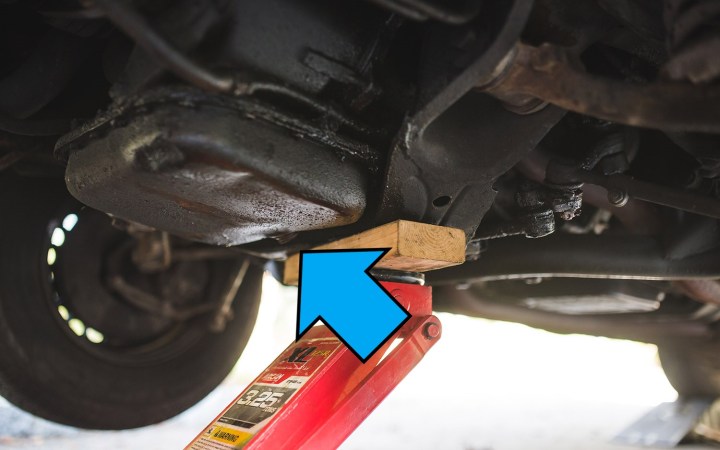
Park your car on a level surface with ample space to work. Ensure the engine has cooled down sufficiently to avoid burns. For vehicles with low ground clearance, raise the front end using ramps, a lift, or a jack. If using a jack, ensure the vehicle is secure and use wheel chocks for added safety.
Step 2: Elevate Your Vehicle
Most cars have the engine located in the front. Some sports cars have mid-mounted engines, while others, like the classic Volkswagen Beetle, have rear-mounted engines. Unless you drive a vehicle with high ground clearance, you’ll likely need to elevate the front end using ramps, a lift, or a jack. When using a jack, ensure the vehicle is securely positioned on a level surface and use wheel chocks.
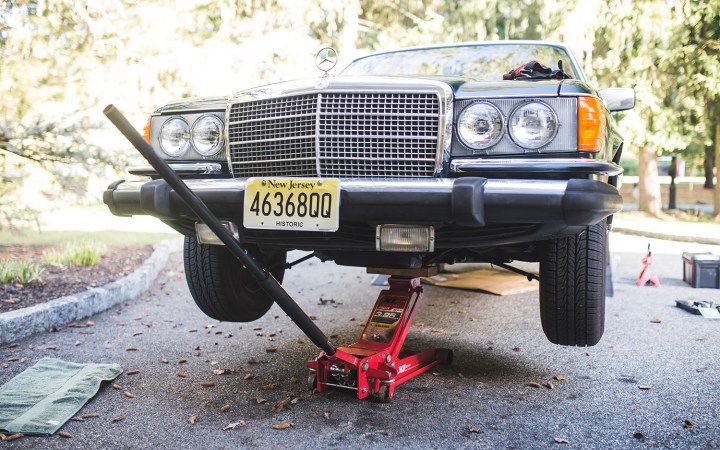 alt text: Raising a car with a jack for an oil change
Step 3: Locate the Oil Pan and Drain Plug
Under the car, locate the oil pan and its drain plug. The drain plug’s size varies depending on the car model. Position your oil drain pan directly under the drain plug to catch the draining oil. Remove the engine oil cap to facilitate smoother draining.
 alt text: Locating the oil drain plug on a car
Step 4: Drain the Old Oil
Using the appropriate socket or bit, turn the drain plug counterclockwise (“lefty-loosey”) to remove it. Allow the oil to drain completely, which may take several minutes. Once the flow reduces to a drip, replace the drain plug with a new washer and tighten it clockwise (“righty-tighty”).
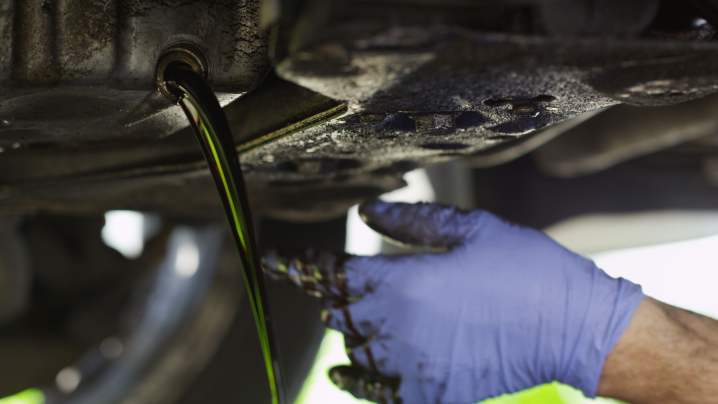 alt text: Draining old engine oil into a pan
Step 5: Replace the Oil Filter
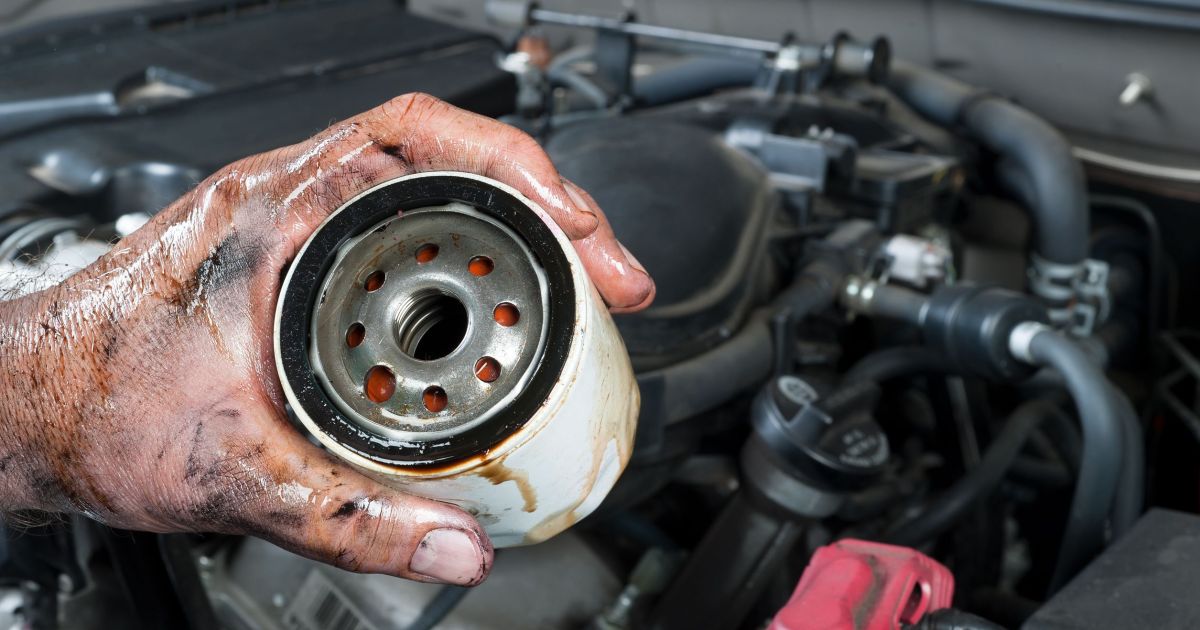
Locate the old oil filter, typically a cylindrical component on the side or bottom of the engine block. Some cars, like certain Subaru models, have top-mounted filters. Position the drain pan beneath the filter to catch any residual oil. Unscrew the old filter counterclockwise, using pliers or an oil filter wrench.
Lubricate the rubber gasket of the new filter with a bit of fresh oil and screw it in clockwise. Hand-tighten the filter; avoid over-tightening.
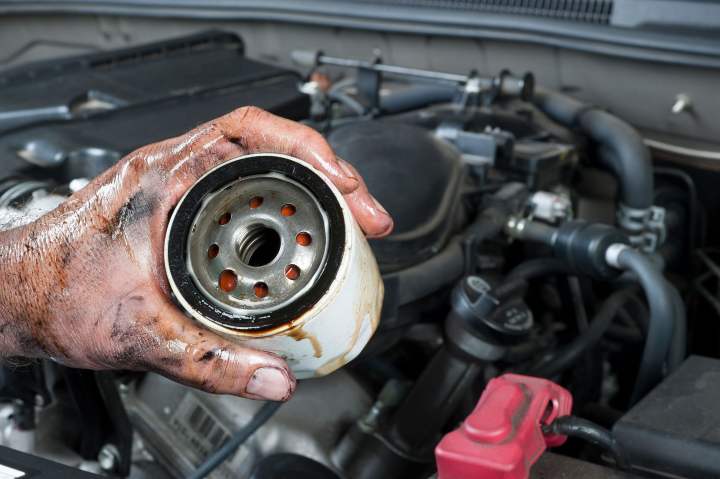 alt text: Removing an old oil filter from a car engine
Step 6: Add New Oil
Remove the oil cap and use a funnel to pour the correct amount of new oil into the engine. Consult your owner’s manual for the specific quantity. Using the markings on the oil containers, ensure you add the precise amount. Avoid overfilling or underfilling, as both can damage the engine.
 alt text: Pouring new oil into a car engine
Step 7: Check Oil Level and Start the Engine
After adding oil, let the car sit for a few minutes for the oil to settle. Check the oil level using the dipstick, ensuring it’s between the minimum and maximum markers. Add more oil if needed.
Tighten the oil cap and start the engine. Let it idle for a minute, then turn it off and let it sit for a few more minutes. Check the oil level again and monitor the oil pressure gauge for any warning signs.
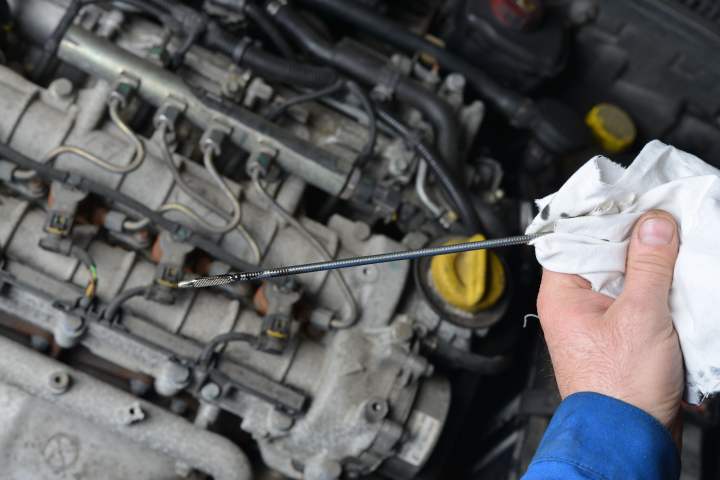 alt text: Checking the engine oil level with a dipstick
Remember to recycle your used oil by taking it to a designated collection point, such as an auto parts store or mechanic shop.
Conclusion
Changing your car’s oil is a manageable task that can save you money and provide a sense of accomplishment. By following these steps and adhering to the recommendations in your owner’s manual, you can ensure your engine stays properly lubricated and performs optimally for years to come.
Further Reading
- How to rotate your tires
- How to change a car battery
- How to fix a flat tire
- How to jump-start a car
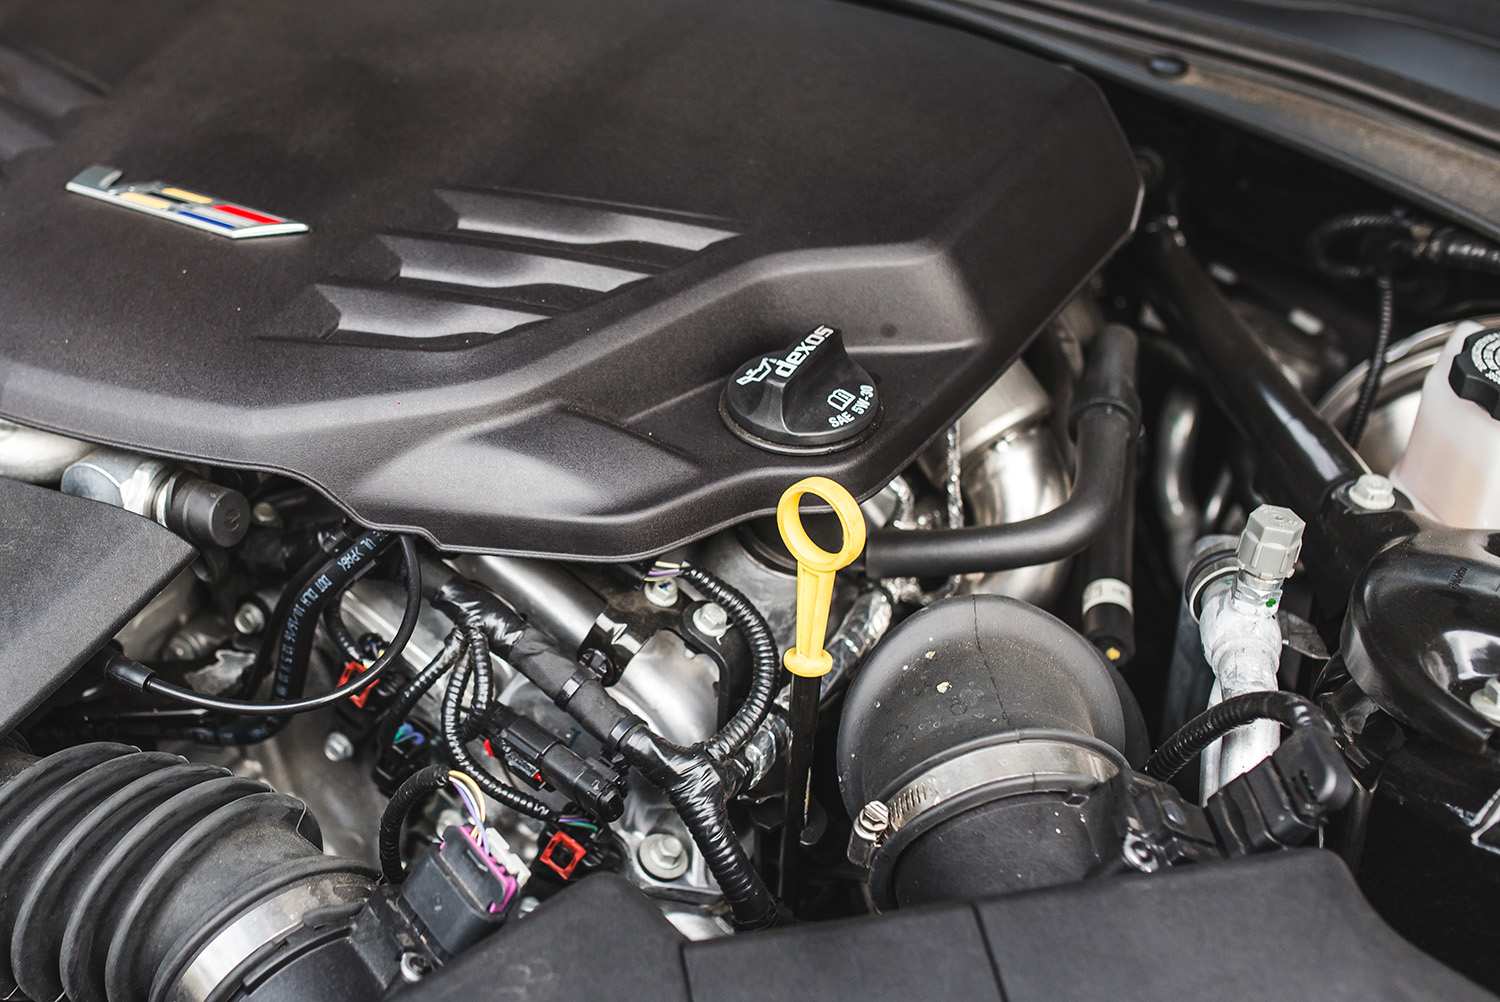 alt text: Example of engine oil cap showing oil type
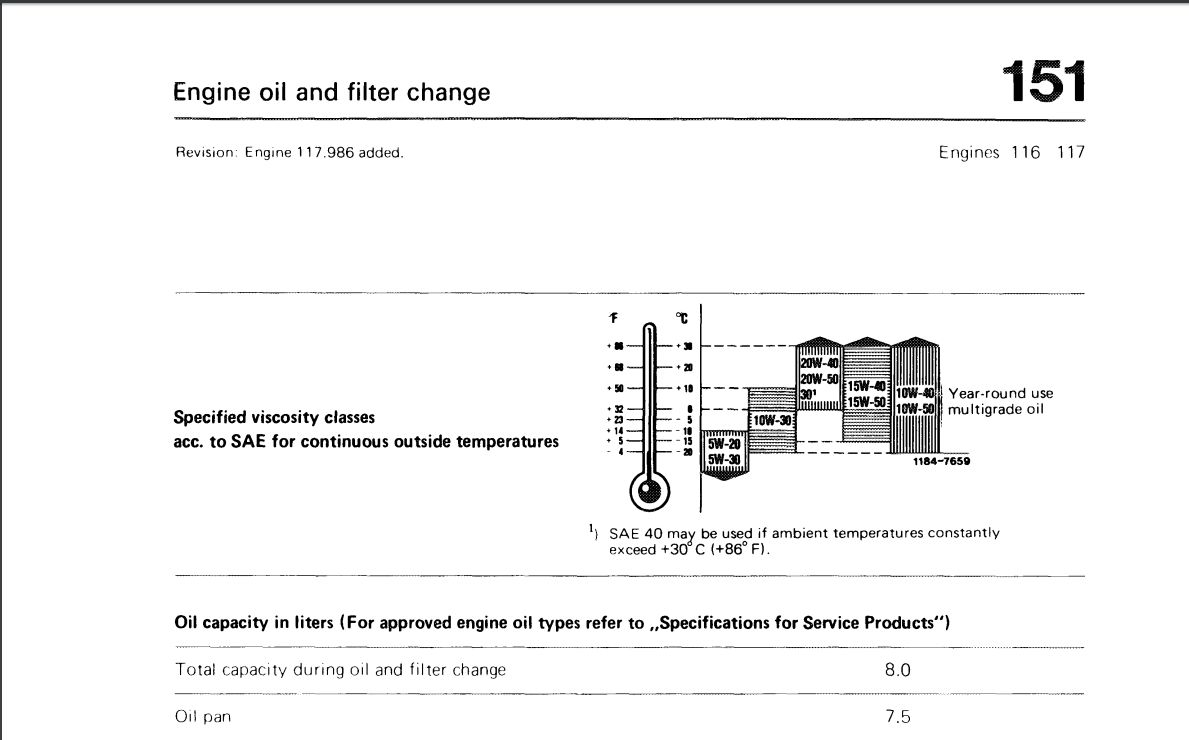 alt text: Oil viscosity recommendations for a vintage Mercedes-Benz engine
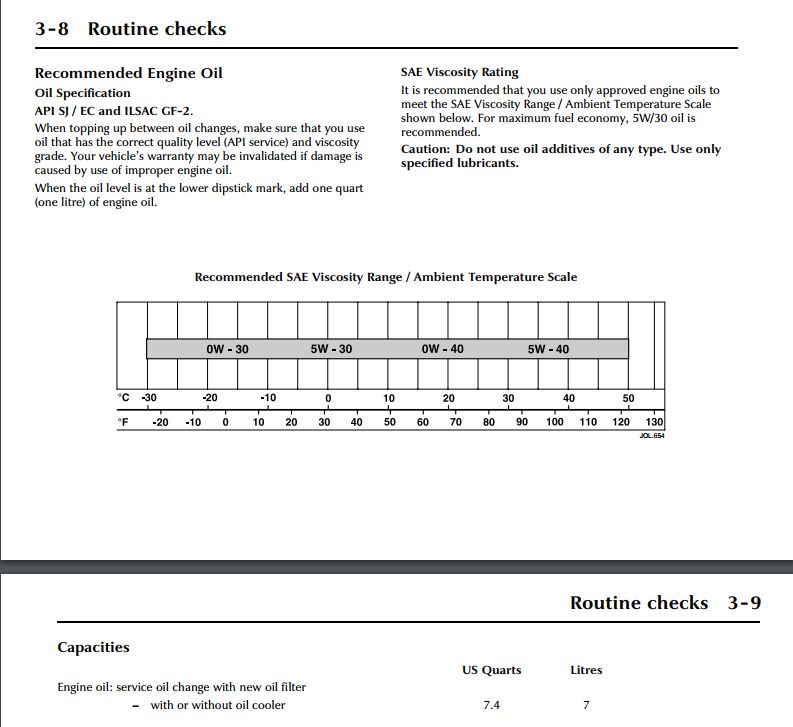 alt text: Oil viscosity recommendations for a Jaguar engine


