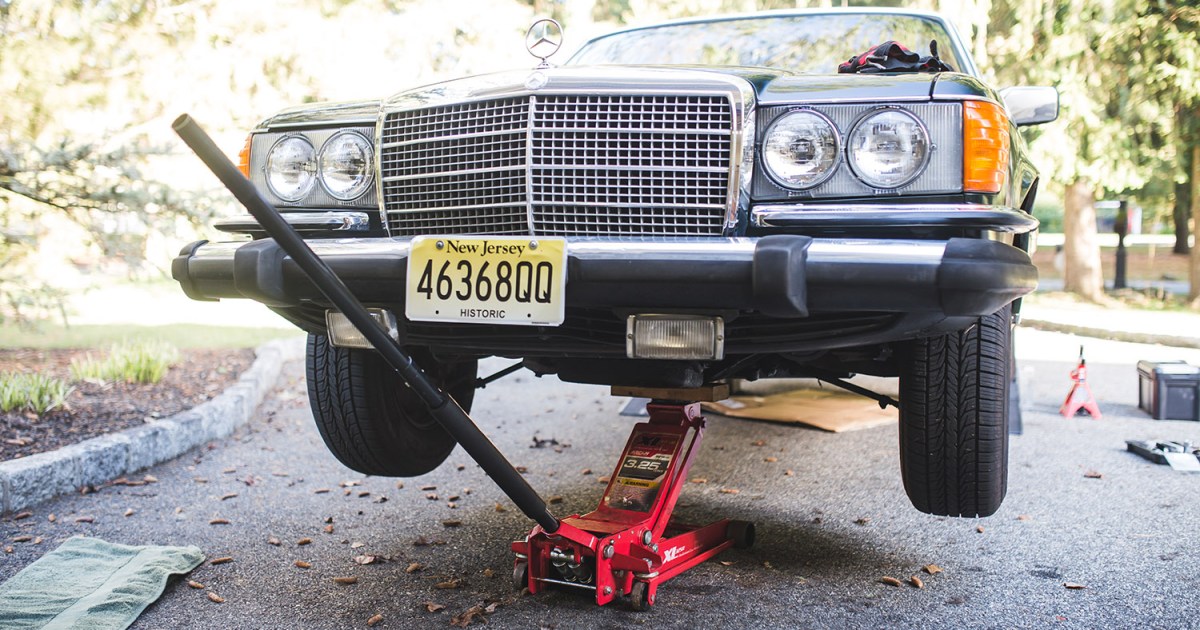
Summer road trips often mean it’s car maintenance time. Whether you’re changing your oil or rotating your tires, knowing how to safely jack up your car is essential. While having a lift is convenient, it’s not necessary. With a few precautions, jacking up your car is a straightforward and safe process. This guide provides a comprehensive walkthrough.
Essential Tools and Equipment
The primary tool you’ll need is a car jack. Most vehicles come with a factory-provided jack, typically located in the trunk. However, aftermarket jacks offer increased stability and ease of use. While the factory jack is sufficient for changing a flat tire, investing in a hydraulic jack is recommended for more frequent under-car maintenance.
Common types of car jacks include:
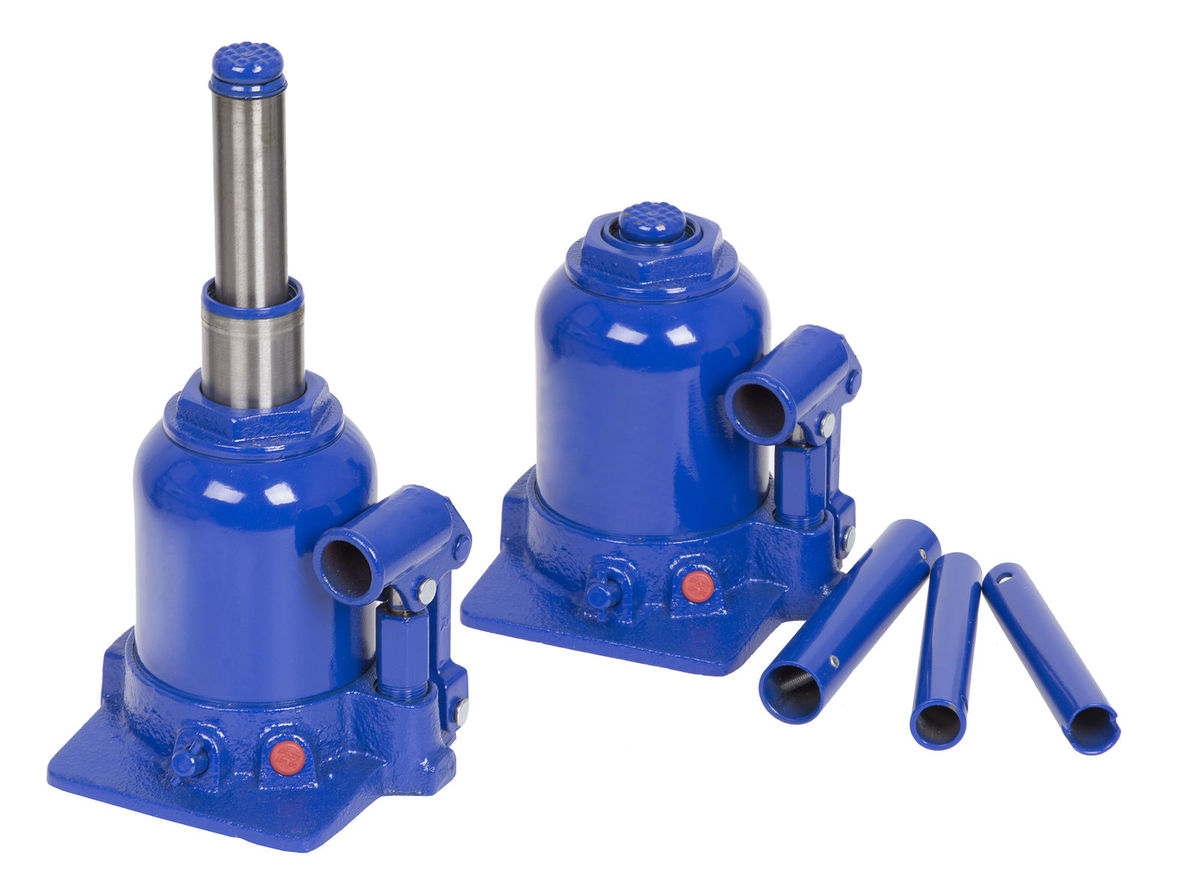 Hydraulic bottle jackHydraulic bottle jack
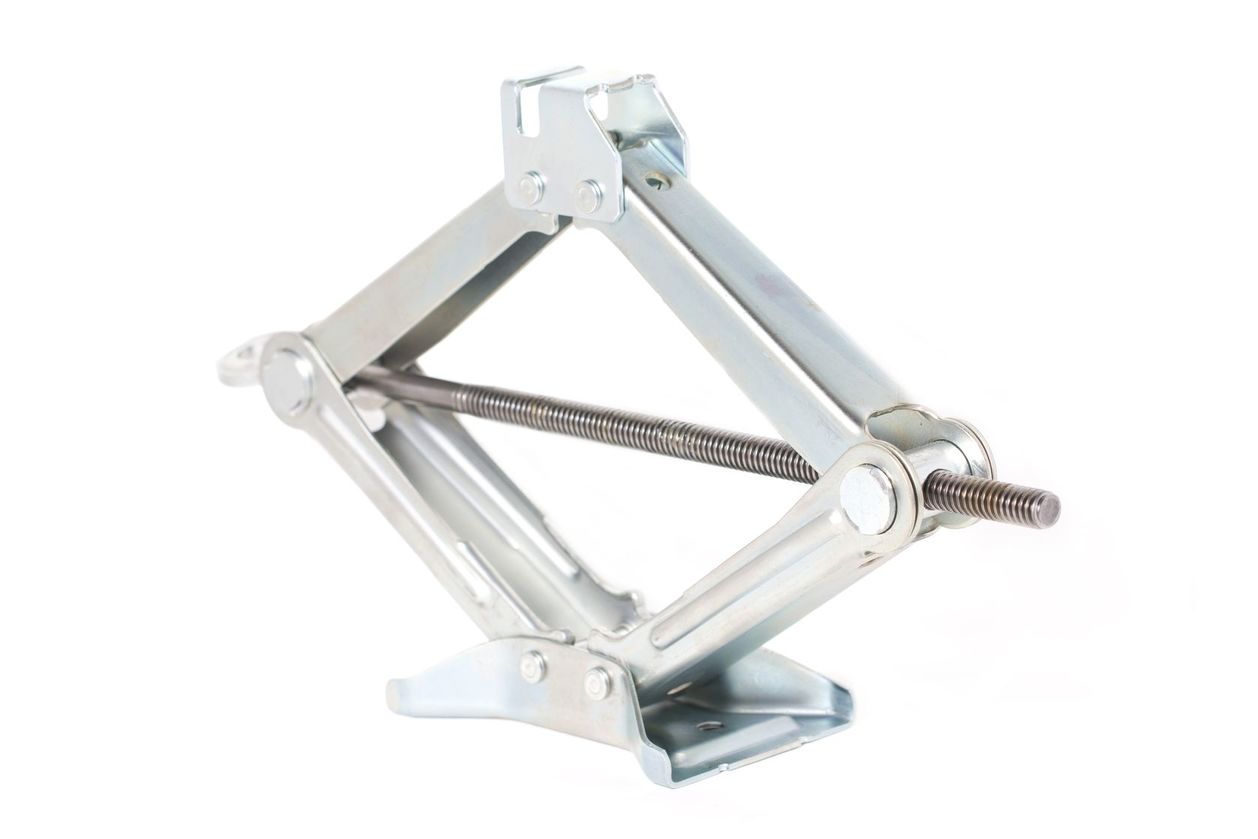 Scissor jackScissor jack
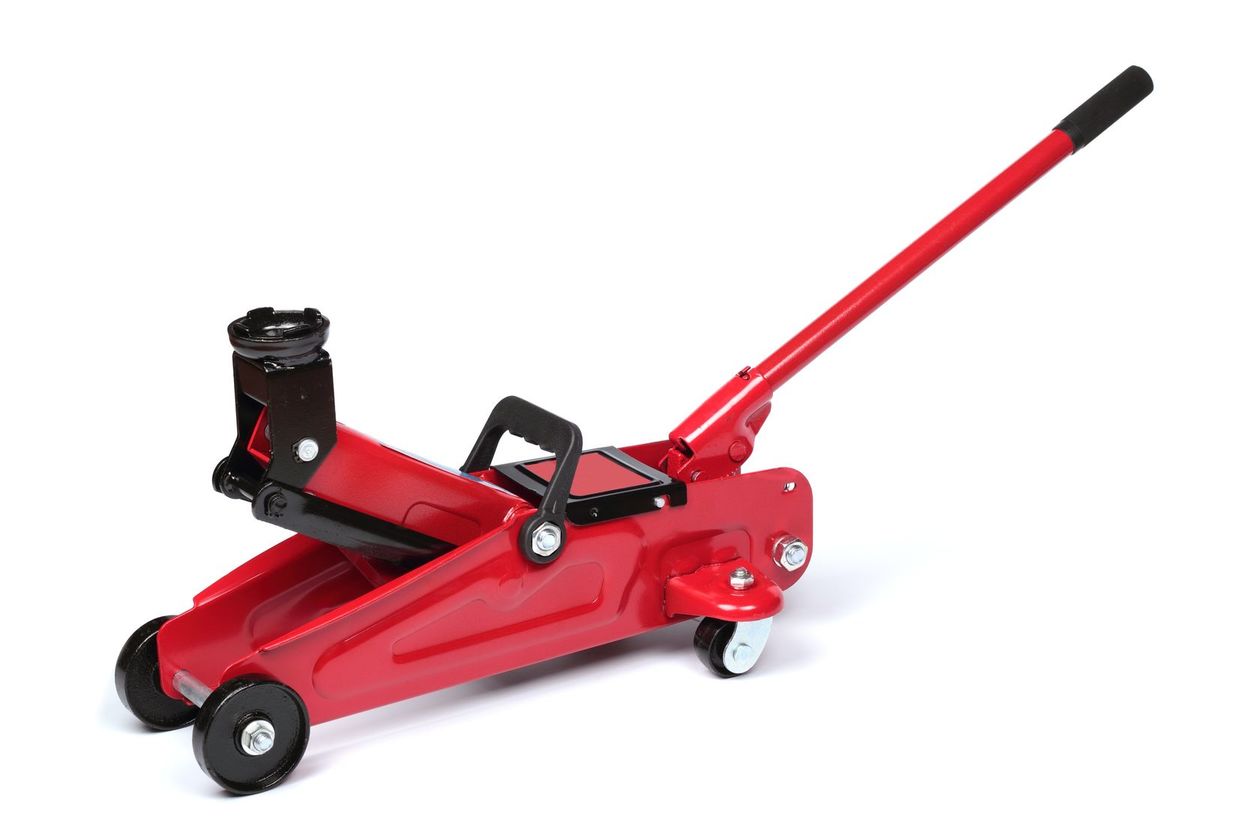 Floor jackFloor jack
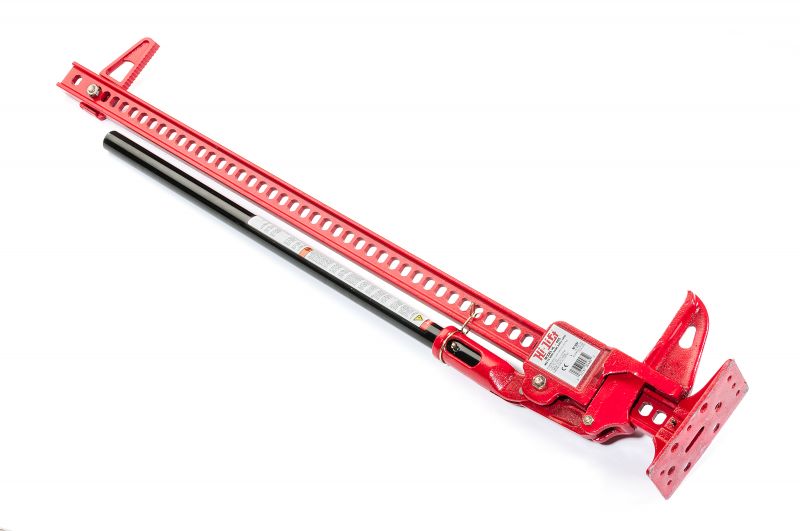 Hi-lift jackHi-lift jack
For tasks that don’t require wheel removal, car ramps are a convenient alternative. Both floor jacks and ramps are readily available at auto parts stores and online retailers. For instance, RhinoRamps offer an affordable ramp solution, while a 3-ton (6,000-pound) capacity floor jack is a worthwhile investment. While jack stands provide added safety, exercise caution with certain brands due to potential defects.
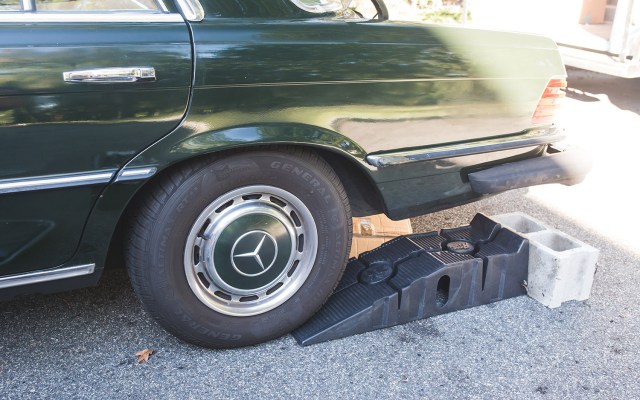 Jack stands and wood blocksJack stands and wood blocks
Additional tools that can enhance safety and efficiency:
- Owner’s manual (for oil type and torque specifications)
- Jack stands (for added stability during extended work)
- Wooden blocks (to protect the underbody)
- Wheel chocks (cinder blocks or similar)
- Additional lighting
- Heavy-duty gloves
Pre-Jacking Preparation
Before you begin, identify the area of the car needing to be raised. For oil changes, lift the end housing the engine (typically the front). For tire changes, lift the corner with the flat tire.
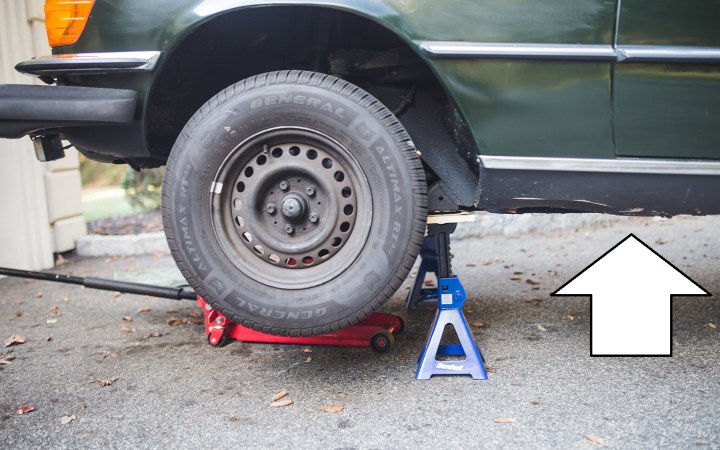 Jack point locationJack point location
Remember, a vehicle’s weight is distributed across four wheels. A 4,000-pound car exerts roughly 1,000 pounds per wheel, although vehicle design and weight distribution can influence this. Always check the weight capacity of your jack and stands before use.
Step-by-Step Jacking Procedure
-
Park on Level Ground: Ensure the car is parked on a level, hard surface like pavement, not grass or loose gravel.
-
Secure the Vehicle: Straighten the steering wheel, engage the parking brake, and shift into park (or first gear for manual transmissions—never neutral).
-
Locate Jack Points: Consult your owner’s manual or online resources to identify the designated jack points. These reinforced areas are typically located behind the front wheels and in front of the rear wheels.
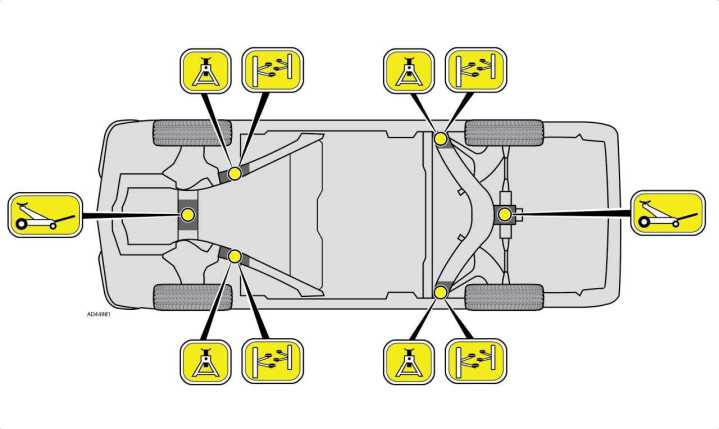 Jack point diagramJack point diagram
- Position the Jack: Place the jack under the correct jack point, using wooden blocks between the jack and the car’s underbody for protection.
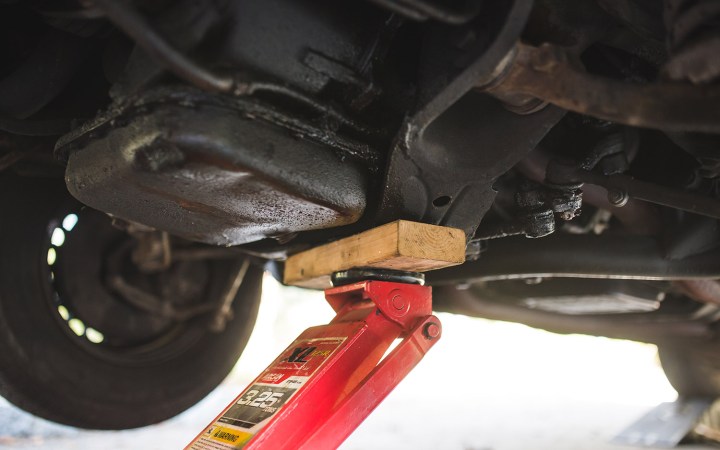 Positioning the floor jackPositioning the floor jack
- Initial Contact: Slowly raise the jack until it makes contact with the vehicle. Ensure proper alignment and stability before proceeding. If removing wheels, loosen the lug nuts before lifting. Never use suspension components as jack points.
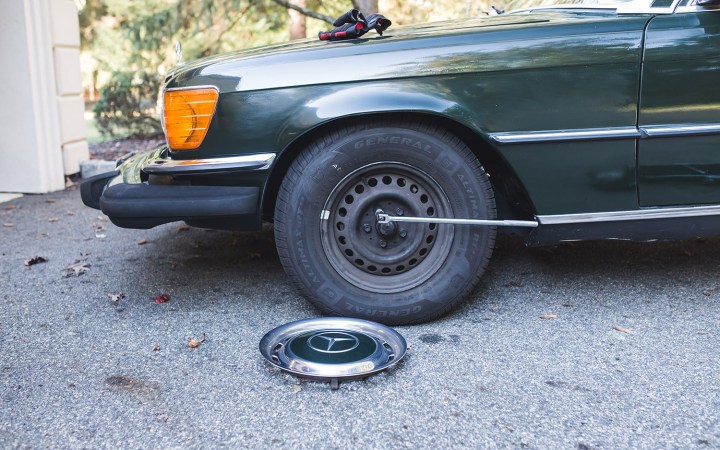 Jack making contactJack making contact
- Raise the Car: Continue raising the car to the desired height, monitoring for any tilting. Lift only high enough to perform the necessary task.
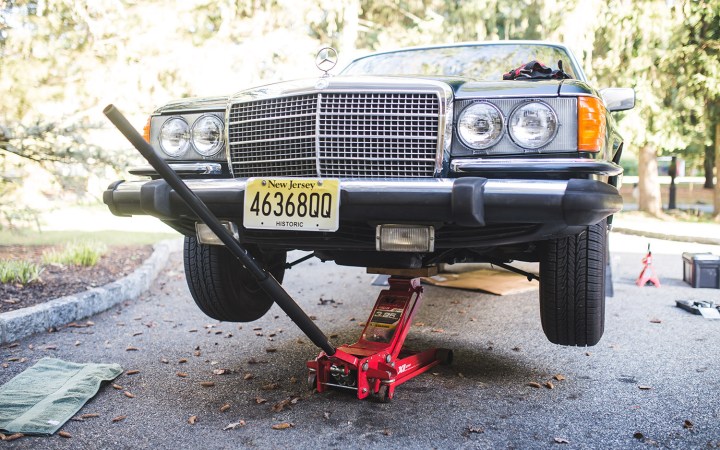 Raising the carRaising the car
-
Check Stability: Once raised, gently shake the car to confirm stability.
-
Use Jack Stands: For added safety, especially for extended work, secure the vehicle with jack stands placed at the correct supporting points.
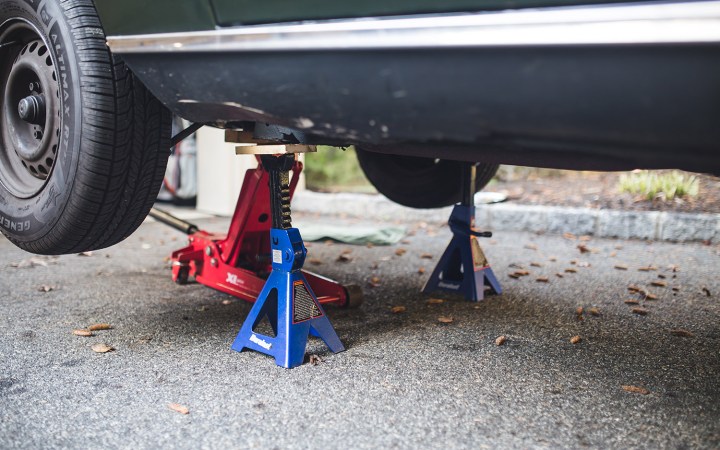 Using jack standsUsing jack stands
- Lowering the Car: Before lowering, remove the jack stands. If replacing a wheel, hand-tighten the lug nuts before lowering completely. Then, slowly lower the car using the jack’s release mechanism. Remove the jack only after the car is firmly on the ground.
Conclusion
By following these steps and prioritizing safety, you can confidently jack up your car for routine maintenance or roadside emergencies. Remember to consult your owner’s manual for vehicle-specific instructions.


