Upgrading to the Nintendo Switch 2? A key step is to transfer your Switch data to the Switch 2. This guide simplifies migrating your profiles, games, and saves, ensuring a smooth start with your new console.
What You’ll Need for the Data Transfer
To begin the Nintendo Switch data transfer, ensure you have both your original Switch and the new Switch 2. Both consoles must be plugged into their AC adapters during the process to avoid power loss. A stable internet connection is also crucial. For extensive game libraries, consider a microSD card for your Switch 2 to accommodate all your data.
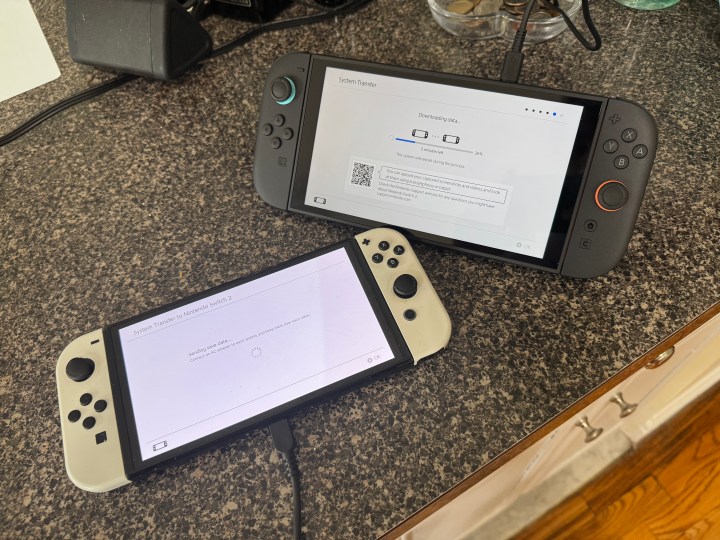
 A Nintendo Switch console ready to transfer data to a new Nintendo Switch 2, highlighting the system migration process
How to Transfer Data From Switch to Switch 2
Follow these steps for a successful system transfer:
Step 1: On your source Switch, go to System Settings.
Step 2: Navigate to System, then choose System Transfer to Nintendo Switch 2.
Step 3: On your new Switch 2 (plugged in), complete its day-one system update and sign into your Nintendo Account.
Step 4: On the source Switch, select Done to confirm readiness.
Step 5: Review the list of all software that will be moved (not copied) to your Switch 2.
Step 6: The transfer process duration depends on data quantity and internet stability. Transferring an account without games typically takes about 10 minutes.
What Data Is Transferred to Your Switch 2?
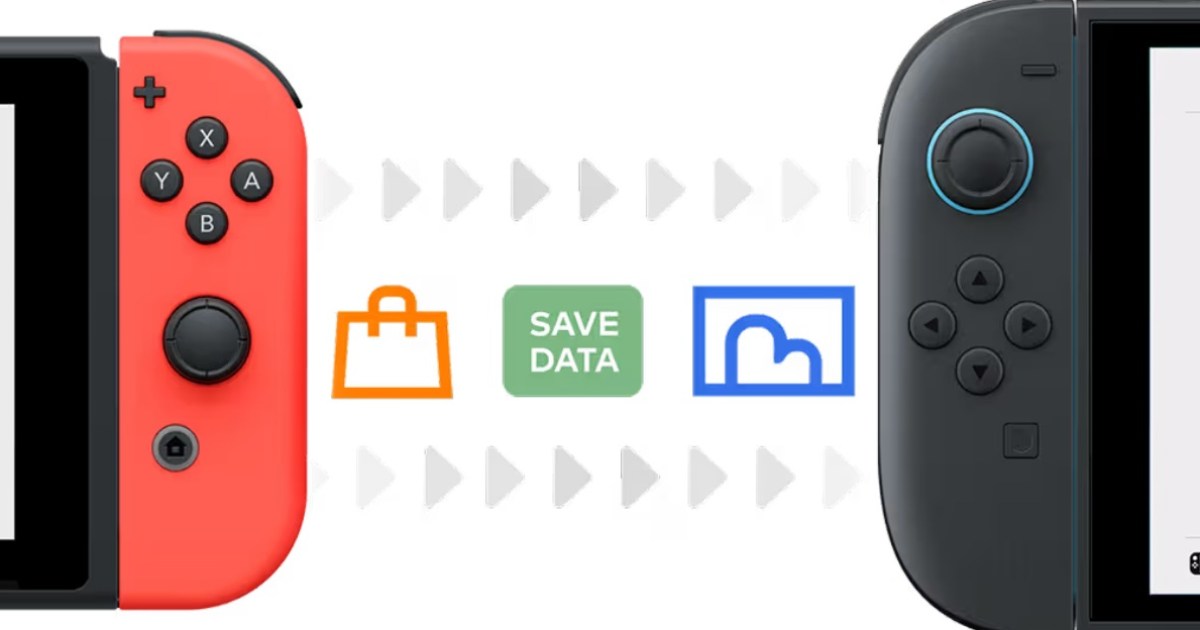
The Switch 2 data migration includes your user profiles, digital game licenses, save game data, and captured media like screenshots and videos. Your parental control settings will also carry over, ensuring a consistent experience.
Conclusion
Transferring your Nintendo Switch data is straightforward. Following these steps ensures all your progress and digital purchases are ready on your Switch 2, letting you dive into new adventures without delay.


