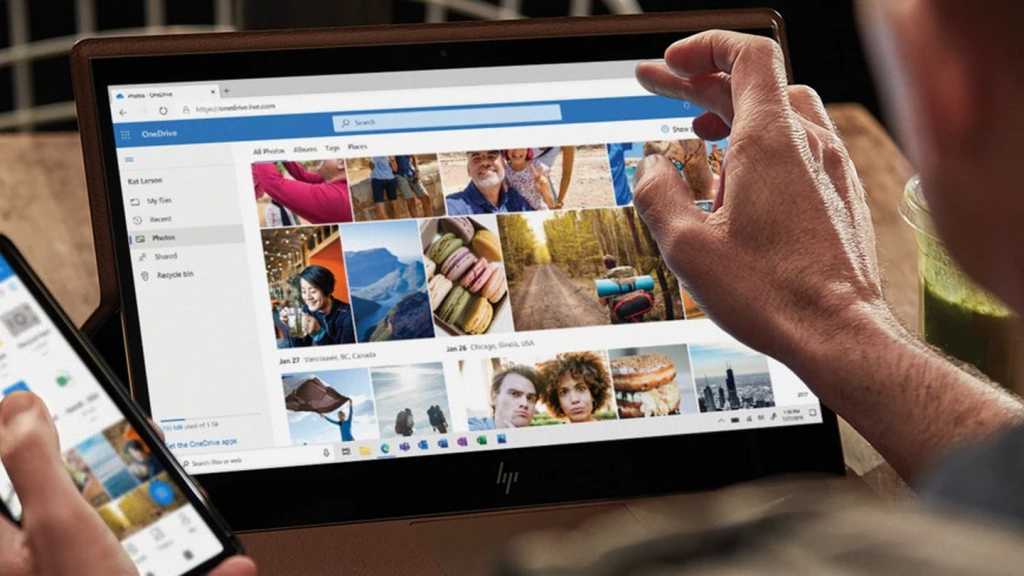
Microsoft OneDrive, deeply integrated with Windows, offers 5GB of free cloud storage to every user with a Microsoft account. This storage can be leveraged to automatically back up your screenshots, ensuring they are safely stored and readily accessible. This guide outlines the simple steps to enable automatic screenshot saving to OneDrive.
To activate this feature, locate the OneDrive icon in the Windows taskbar. Click on it, and then select the cogwheel icon in the top-right corner to access the settings menu. Choose “Settings” and navigate to the “Synchronize and backup” tab. Here, you’ll find the “Save screenshots I capture to OneDrive” option. Toggle the switch to the “On” position.
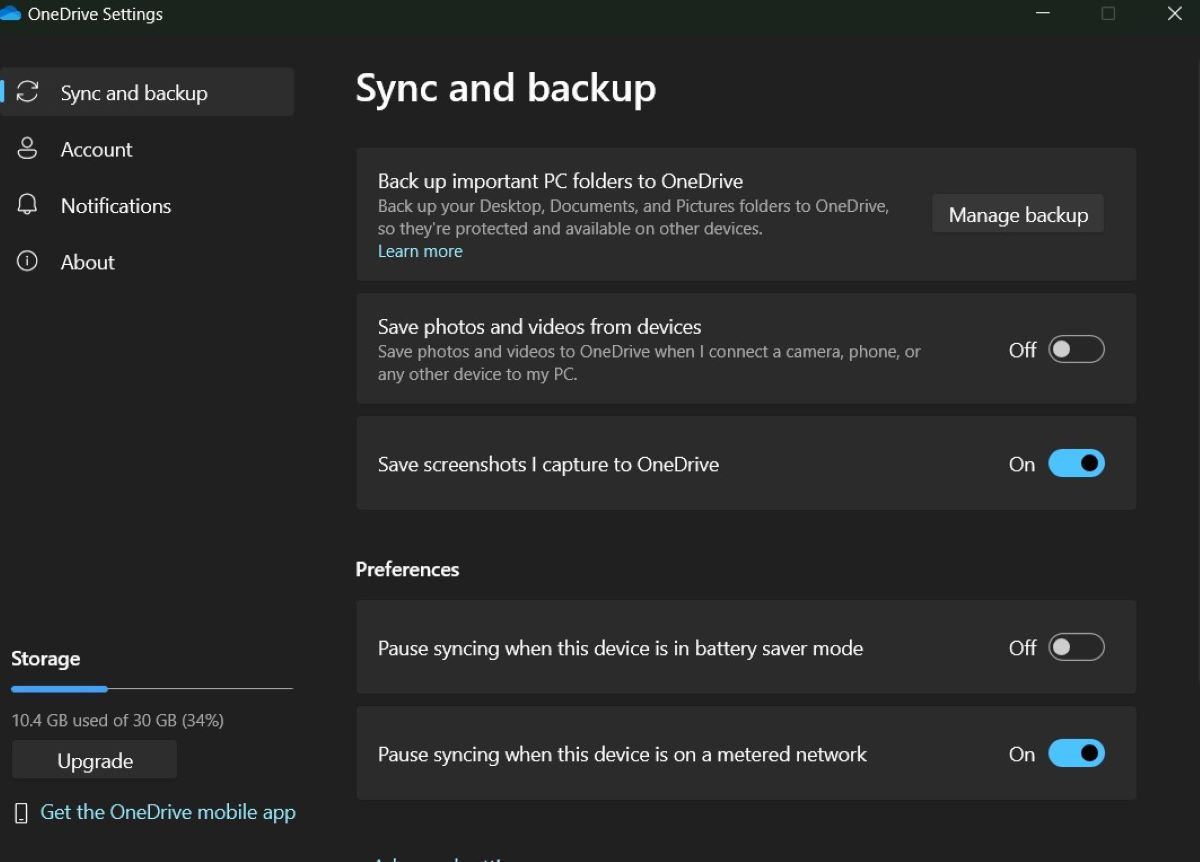 OneDrive automatic screenshot syncEnabling automatic screenshot saving in OneDrive settings.
After enabling this setting, screenshots taken with the Alt-Print Screen or Windows-Print Screen key combinations will be automatically saved to your OneDrive. A notification will confirm the upload. Windows copies the screenshot to the clipboard and saves it as a PNG file in the OneDrive folder “PicturesScreenshots”. The file name includes the current date, and sequentially numbered if multiple screenshots are captured on the same day.
It’s important to note that this automatic saving feature only works with the specified keyboard shortcuts. Screenshots captured using the Print Screen key alone will be copied to the clipboard but won’t be automatically saved to OneDrive.
 Windows 11 ProWindows 11 Pro, the operating system discussed in this guide.
By enabling this convenient OneDrive feature, you can ensure your screenshots are backed up effortlessly and accessible across your devices. This eliminates the need for manual saving and provides a secure and organized storage solution. Consider upgrading to a premium OneDrive subscription for increased storage capacity if your needs exceed the free 5GB allowance.


