Do you enjoy tinkering with computers and want a challenging project? Building your own router and firewall with OPNsense could be the perfect fit. This guide provides a step-by-step approach to setting up your own secure and customizable network. While there’s a learning curve, the rewards are significant, offering greater control and security than standard consumer routers.
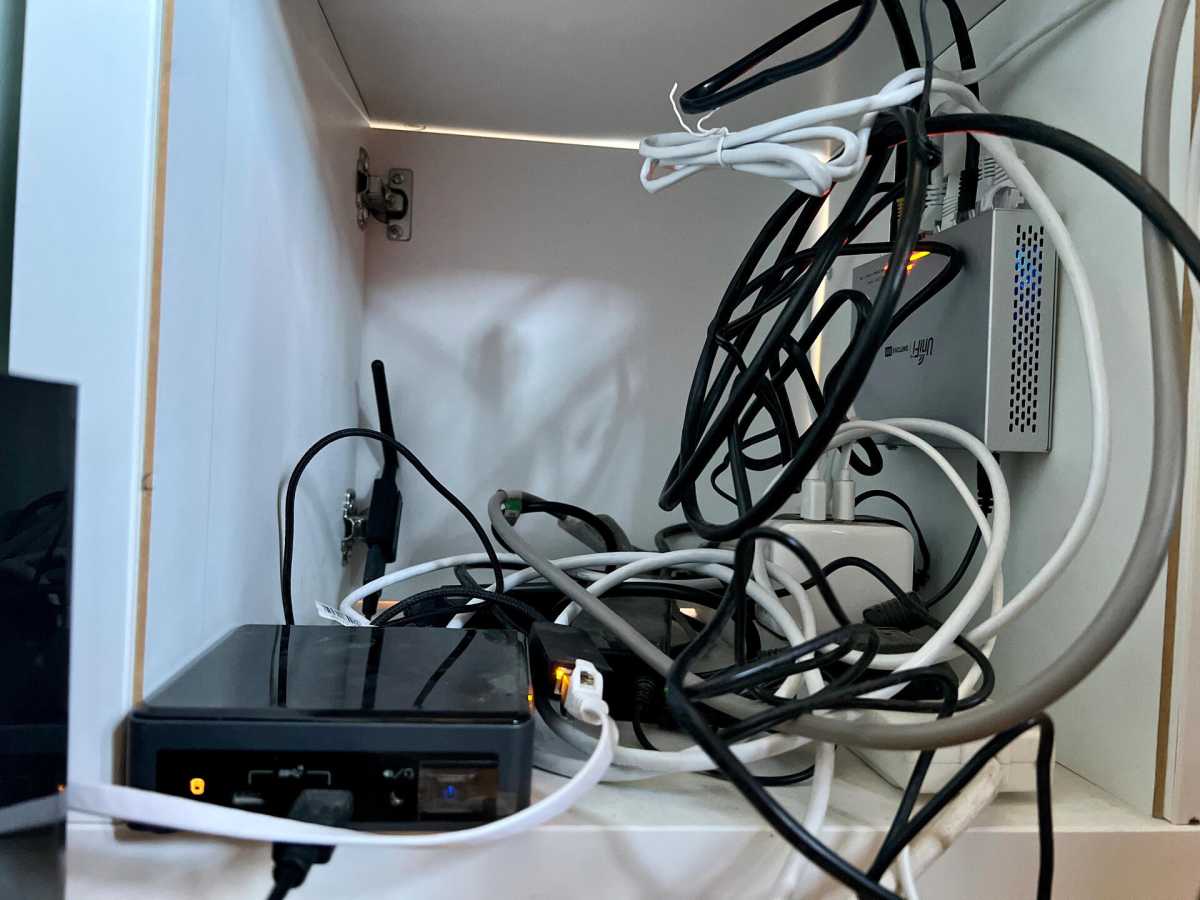 Home lab setup
Advantages of a Custom Router
Building your own router offers several advantages. It’s a rewarding learning experience, but also provides practical benefits. Custom routers allow for complex configurations, like setting up multiple VLANs with distinct firewall rules (e.g., isolating smart home devices), using dynamic DNS, running a recursive DNS server, and displaying custom welcome messages for guest Wi-Fi.
The most significant advantage is enhanced security. Instead of relying on manufacturer updates, you control the update cycle, ensuring your system has the latest security patches, often released weekly. OPNsense also supports add-ons for advanced network protection beyond typical consumer products.
Choosing the Right Hardware
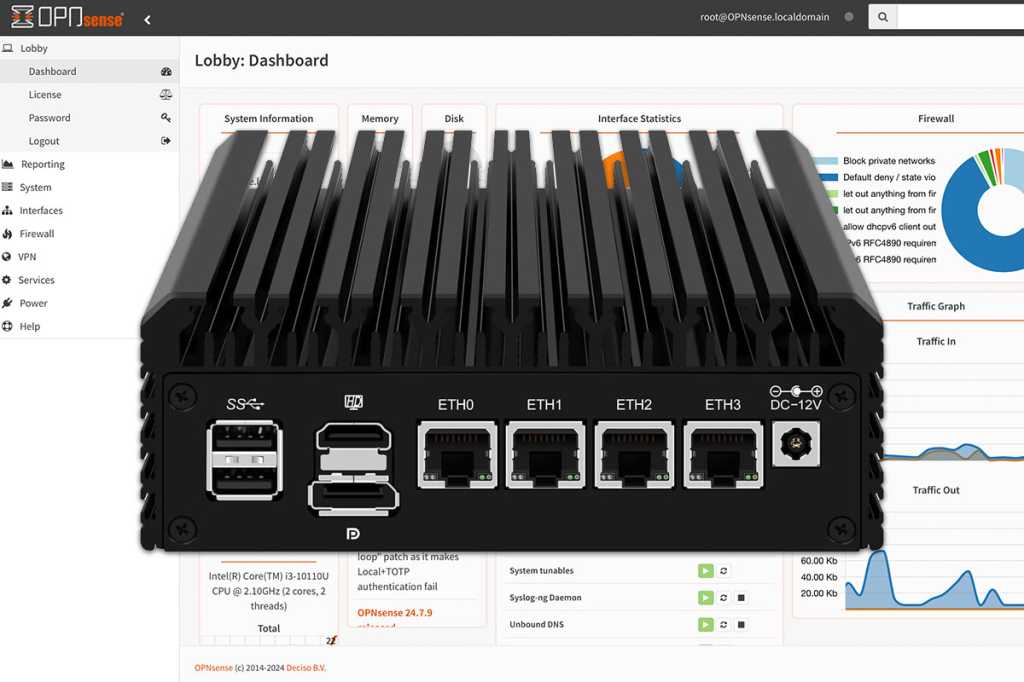
While you can repurpose an old computer, a mini PC with two Ethernet ports is often a better choice. Some mini PCs are designed specifically for OPNsense or pfSense. OPNsense, based on FreeBSD, can be particular about hardware, especially network cards. Intel-based network cards are generally preferred for optimal compatibility.
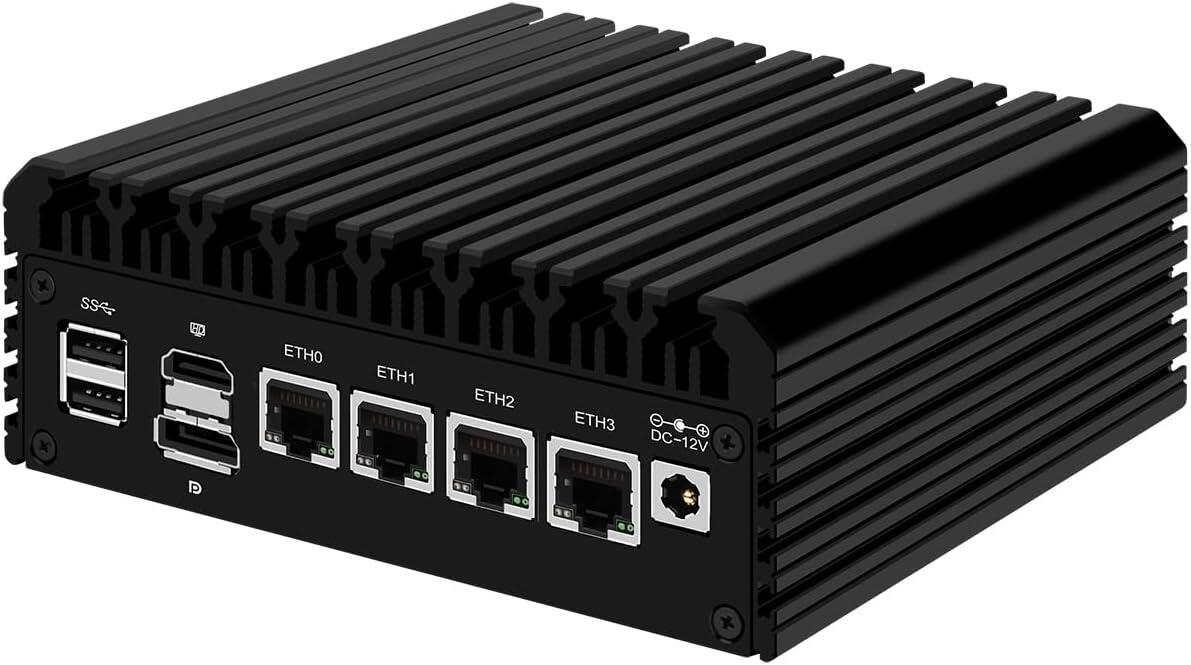 Mini PC for router
A recommended configuration includes 16GB of RAM and a 128GB SSD. A managed switch is also highly recommended for connecting devices and configuring VLANs. This allows you to repurpose your existing router as an access point, dedicated solely to Wi-Fi.
Installing OPNsense
- Download OPNsense: Download the latest version from the official website.
- Download Balena Etcher: This tool simplifies writing image files to USB drives.
- Prepare the USB Drive: Unzip the downloaded OPNsense
.bz2file to get the.imgfile. Use Balena Etcher to write the.imgfile to your USB drive. - Boot from USB: Connect the USB drive, monitor, and keyboard to your router computer. Boot from the USB drive using the boot menu or BIOS.
- Login: Once booted, log in with username
installerand passwordopnsense. - Installation: Follow the on-screen prompts, selecting the desired language and installation options. Choose “Install (ZFS),” “Stripe,” and select your target SSD. Complete the installation.
Basic Configuration
- Initial Boot: After rebooting, remove the USB drive and boot from the SSD.
- Change LAN IP: Log in as
rootwith passwordopnsense. Change the LAN interface IP address to avoid conflicts with your existing router. A suggested address is10.1.1.1/24. - Connect and Access Web Interface: Connect your computer to the OPNsense router via Ethernet. Configure your computer’s network settings with the OPNsense IP as the gateway. Access the OPNsense web interface by navigating to
10.1.1.1in your browser. Bypass any certificate warnings. - Guided Setup: Configure DNS settings. Leave DNS servers blank, uncheck “Override DNS,” and check the three boxes under “Unbound DNS.” Proceed through the remaining steps, changing the root password to a secure one.
Connecting to the Internet
Connect the WAN port of your OPNsense router to your modem or existing router. If using DHCP, OPNsense should automatically obtain an IP address. Verify this under Interfaces > Overview.
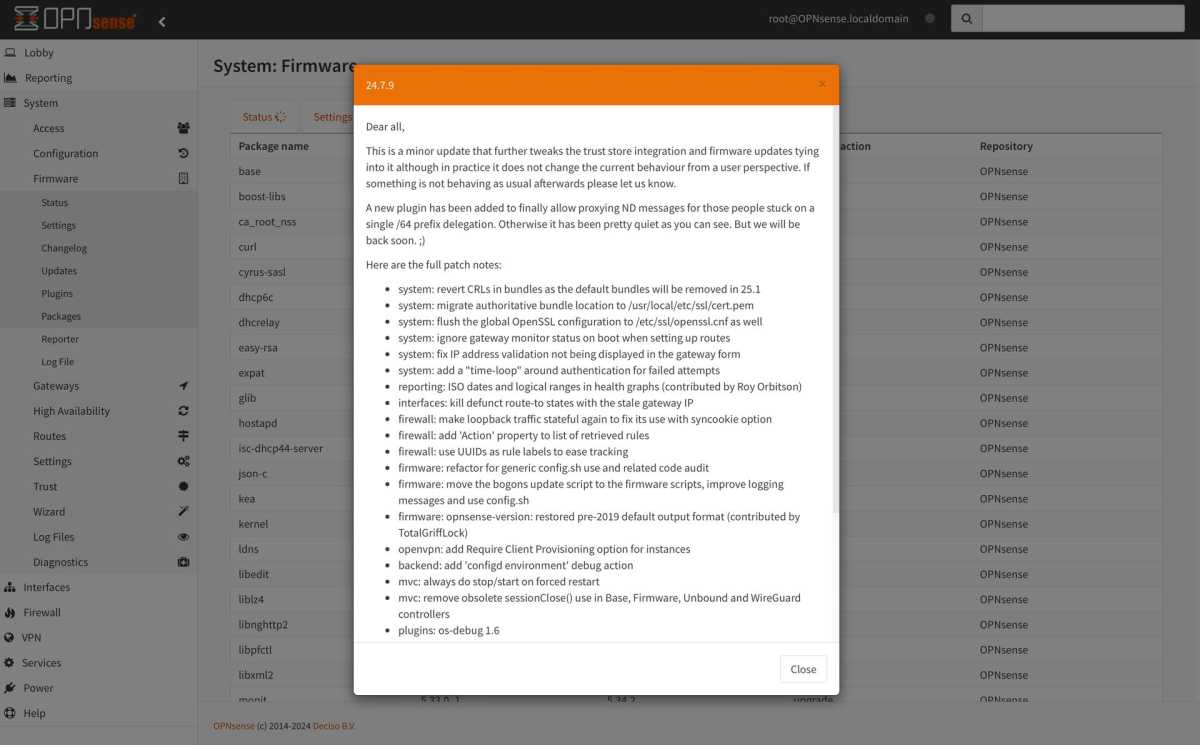 Checking for updates
Check for updates under System > Firmware > Status. Install any available updates. Test internet connectivity by browsing a website.
Understanding the OPNsense Interface
The OPNsense interface is organized with a hierarchical menu on the left and a search bar at the top right. Key sections include:
- System: OPNsense settings, updates, and plugins.
- Interfaces: Network interface configuration (LAN, WAN, VLAN, VPN).
- Firewall: Firewall rules, port forwarding, and aliases.
- VPN: VPN server and client configuration.
- Services: DHCP, DNS, and other services.
Creating a VLAN for Smart Home Devices
- Create VLAN: Navigate to Interfaces > Other Types > VLAN. Create a new VLAN, assigning a tag (e.g., 10) and a short name (e.g., SMART).
- Assign Interface: Go to Interfaces > Assignments and assign the newly created VLAN to an interface.
- Configure VLAN Interface: Under Interfaces > [SMART], enable the interface and configure a static IP address (e.g.,
10.1.10.1/24). - Configure DHCP: Under Services > DHCPv4 > [SMART], enable the DHCP server and set an address range (e.g.,
10.1.10.100-10.1.10.254). - Configure Firewall Rules: Configure firewall rules under Firewall > Rules > SMART to control traffic flow.
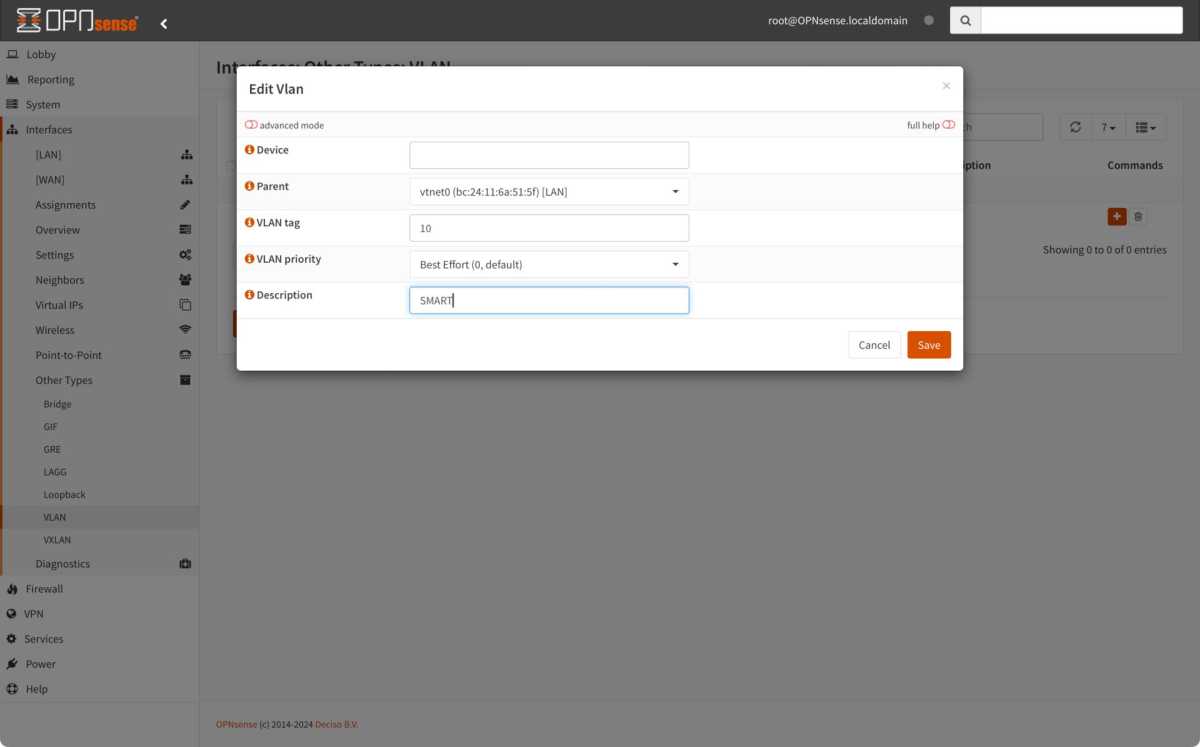 Creating a VLAN
A managed switch is required to connect devices to the VLAN. Configure the switch to tag the appropriate ports with the VLAN tag.
Getting Help
Resources for assistance include:
- The Home Network Guy: Blog and YouTube channel with OPNsense tutorials.
- Reddit: Subreddits like r/opnsense and r/homelab.
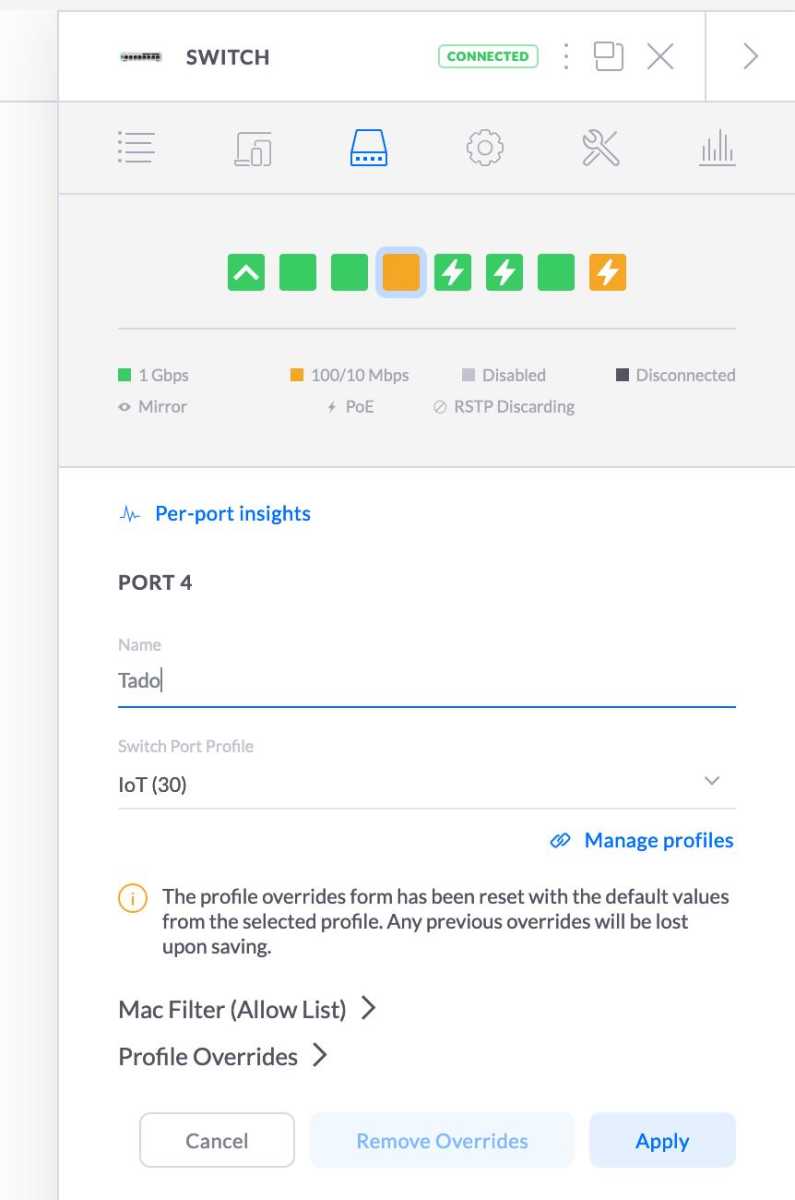 VLAN on a switch
Virtualizing OPNsense
You can test OPNsense in a virtual machine using VirtualBox or on a server running Proxmox. This allows you to explore the interface and configuration before deploying it on physical hardware.


