Connecting your laptop to a TV offers a larger display for work, entertainment, and presentations. This guide explores both wired (HDMI) and wireless connections, providing step-by-step instructions and troubleshooting tips.
Wired Connection: HDMI
The simplest way to connect your laptop to a TV is using an HDMI cable. This cable transmits both audio and video signals, providing a seamless viewing experience.
Steps to Connect via HDMI:
- Locate the HDMI Ports: Find the HDMI port on your laptop (usually on the side or back). If your laptop lacks a full-sized HDMI port, it might have a mini or micro-HDMI, requiring an adapter. Modern laptops often utilize USB-C, Thunderbolt, DisplayPort, or Mini DisplayPort, all adaptable to HDMI. If your laptop only has a VGA port, you’ll need a VGA cable for video and a separate audio cable.
- Connect the Cable: Plug one end of the HDMI cable into your laptop’s HDMI port and the other end into an available HDMI port on your TV.
- Switch Input Source: Your TV might automatically detect the laptop. If not, use your TV remote to switch the input source to the corresponding HDMI port.
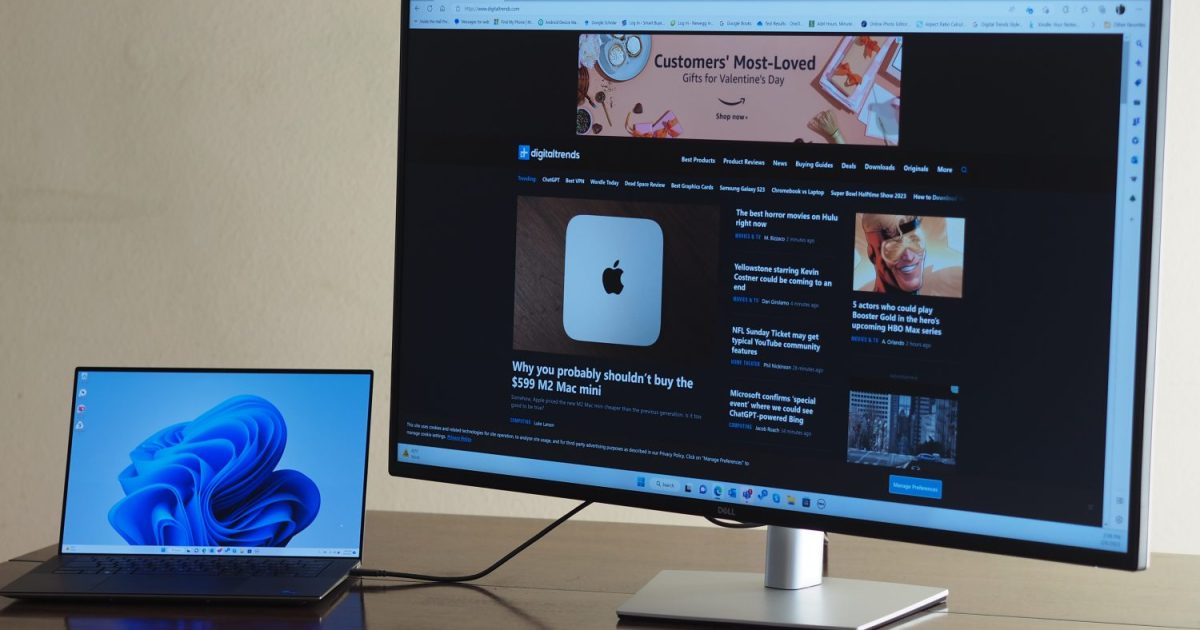
- Configure Laptop Output: On a Windows PC, press Windows key + P to access display settings. On a Mac, go to System Settings > Displays. Choose the desired display mode (duplicate, extend, etc.).
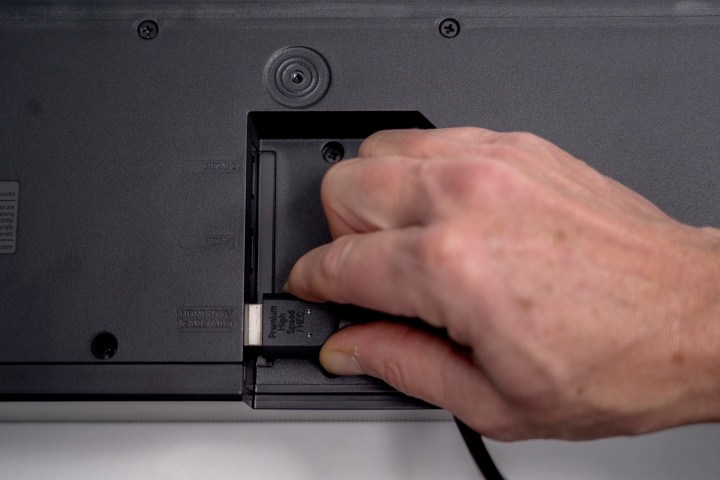 Inserting an HDMI cable underneath the Samsung Q990B soundbarConnecting an HDMI cable to a TV setup.
Wireless Connection
Wireless connections offer a clutter-free setup. The process differs depending on your operating system (macOS, Windows, or ChromeOS).
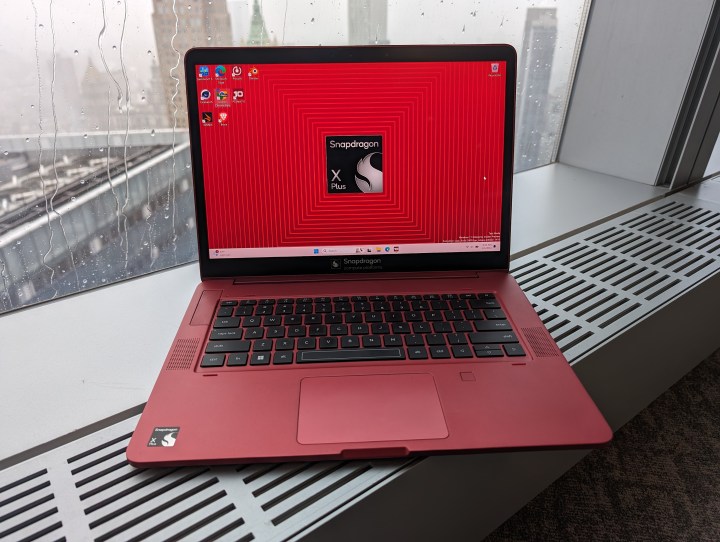 A photo of a laptop with the Snapdragon X Plus CPU.Modern laptops often support wireless display technologies.
Wireless Connection: AirPlay (macOS)
AirPlay allows seamless mirroring or extending your Mac’s display to an Apple TV or compatible smart TV.
- Network Connectivity: Ensure both your Mac and Apple TV/smart TV are on the same Wi-Fi network.
- Access Display Settings: On your Mac, navigate to System Settings > Displays. Locate the “AirPlay Display” option.
- Select Target Display: Choose your Apple TV or compatible smart TV from the list of available devices.
- Adjust Display Mode: Select mirroring or extending your display as needed.
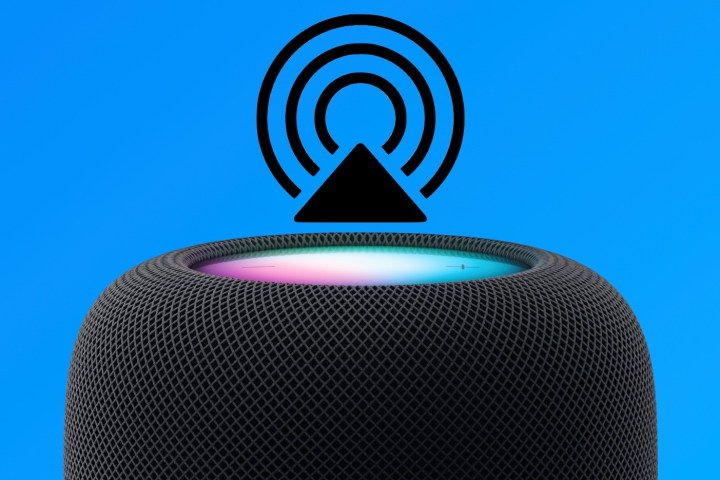 An Apple AirPlay icon hovering above an Apple HomePod speaker.AirPlay facilitates wireless screen mirroring from Apple devices.
Wireless Connection: Windows
Windows 10 and 11 support wireless display mirroring to compatible smart TVs.
- Shared Wi-Fi Network: Ensure your laptop and smart TV are on the same Wi-Fi network.
- Enable Screen Mirroring: Activate screen mirroring on your smart TV using the remote control.
- Add Device (Windows): On your laptop, go to Settings > Connected Devices > Add Device. Select your TV from the list.
Connecting to Soundbars and AV Receivers
Soundbars and AV receivers enhance audio output. HDMI is the recommended connection for both audio and video. USB ports are generally for storage devices, while Bluetooth offers audio-only streaming. Some soundbars/AV receivers support wireless mirroring protocols like AirPlay. For AirPlay compatibility with non-native devices, consider a streaming device like Apple TV 4K or Roku Ultra.
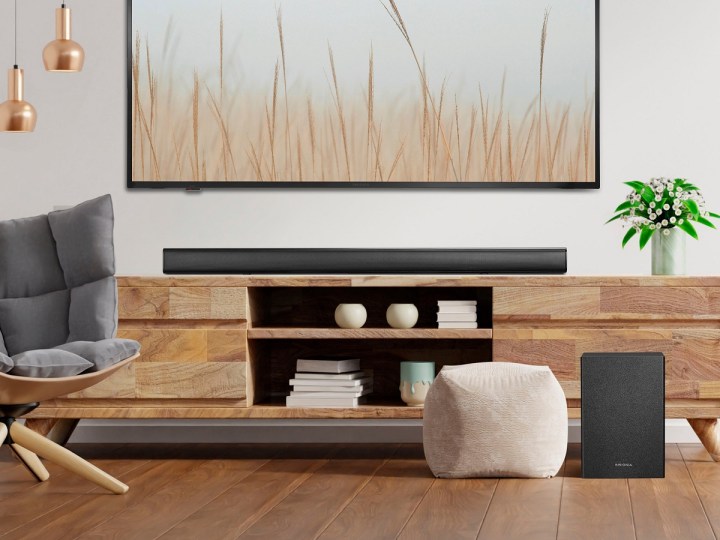 The Insignia 2.1-channel soundbar with wireless subwoofer in a living room.Connecting a laptop to a soundbar or AV receiver can significantly improve audio quality.
Troubleshooting
If encountering issues, try these steps:
- Update Operating System: Ensure your laptop’s OS (Windows or macOS) is updated.
- Disable HDMI-CEC: Disabling HDMI-CEC on your TV can resolve handshake issues.
- Check Adapter Compatibility: Verify compatibility and drivers for any adapters or dongles used.
- Compatibility Issues: In rare cases, the laptop and TV might be incompatible.
Conclusion
Connecting your laptop to a TV expands your viewing experience. Whether you choose a wired or wireless approach, this guide provides the necessary steps and troubleshooting tips for a seamless connection. Enjoy the benefits of a larger screen!


