Connecting your Meta Quest 2 (formerly Oculus Quest 2) to a PC unlocks a world of enhanced VR experiences. Whether you prefer a wired connection with Oculus Link or the wireless freedom of Air Link, this guide will walk you through the setup process, highlighting the benefits of PC VR and addressing common questions.
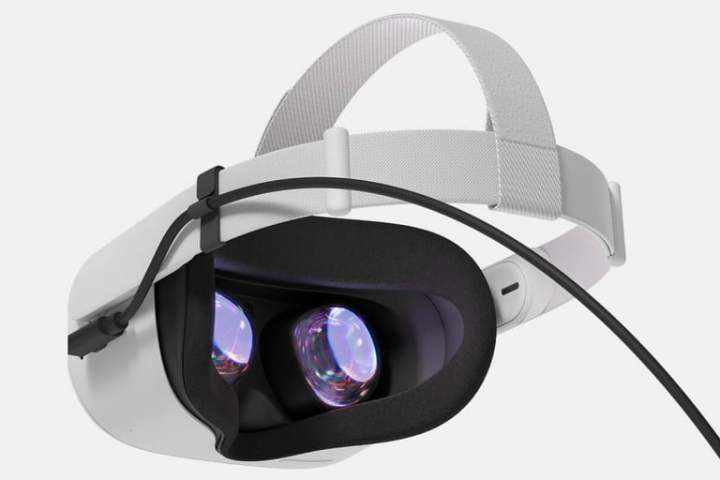 alt text: Oculus Quest 2 headset connected with an Oculus Link cable.
Connecting Your Quest 2 via Oculus Link (Wired)
Oculus Link offers a stable, high-performance connection for both Quest and Quest 2 headsets. A high-quality USB-C 3.0 cable is required; while the official Oculus Link cable is recommended, compatible third-party options exist. Be sure to check reviews for third-party cables to ensure VR compatibility.
- Verify Compatibility: Confirm your PC and headset meet the minimum requirements on the official Oculus support page.
- Launch Oculus App: Open the Oculus app on your PC and power on your headset.
- Connect the Cable: Plug one end of the USB-C cable into your PC’s USB 3.0 port and the other into your headset.
- Data Access Prompt: In VR, you’ll see a prompt asking for data access. Select “Deny”.
- Enable Oculus Link: When prompted, choose “Enable Oculus Link”.
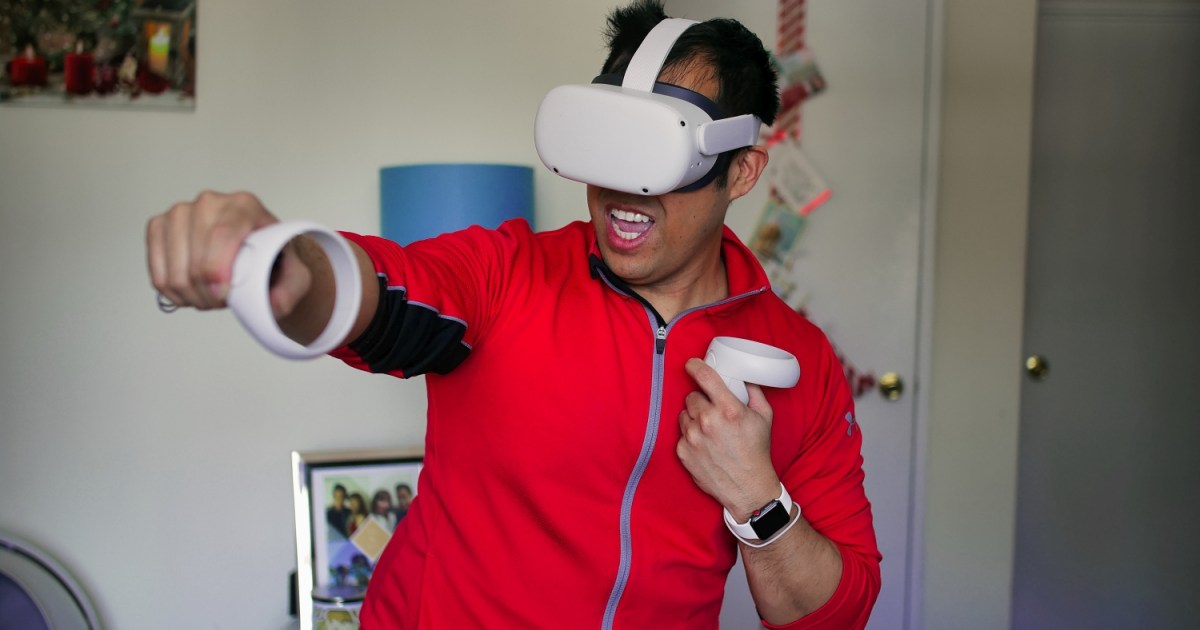
 A person wearing and using an Oculus Quest 2 VR headset in front of a gray background.
Connecting Your Quest 2 via Air Link (Wireless)
Air Link provides a cable-free VR experience exclusively for Quest 2 users. Ensure both your headset and the Oculus PC app are updated to v28 or later.
- Network Connection: Connect your PC and Quest 2 to the same Wi-Fi network. Launch the Oculus app on your PC and power on your headset.
- Access Universal Menu: Put on your headset and press the Oculus button on the right Touch controller.
- Navigate to Settings: Open the Quick Settings panel and select the Settings icon.
- Select Quest Link: Choose “Quest Link” from the left-hand menu.
- Launch Quest Link: Select “Launch Quest Link”. If necessary, toggle it to “On” first.
- Enable Air Link: Toggle “Use Air Link” to “On”.
- Pair Devices: Choose your PC from the “Available PCs” list and select “Pair”.
- Confirm Pairing Code: A code will appear in your headset. Remove your headset, verify the code matches the one on your PC screen, and select “Confirm” in the desktop app.
- Future Launches: Subsequently, launch Air Link directly from the Quick Settings menu in VR.
Quest 2 PC Connection FAQ
Wired vs. Wireless: Which is Better?
Oculus Link (wired) provides superior performance with lower latency and higher bitrate, resulting in better visuals and responsiveness. Air Link offers unparalleled freedom of movement. Choose the connection method that best suits your preferences.
Why Connect My Quest 2 to a PC?
Connecting to a PC empowers your Quest 2 with significantly greater processing power, unlocking higher fidelity visuals and more demanding VR experiences. It also grants access to PC-exclusive VR apps and games, expanding your content library.
Exploring Dedicated PC VR Headsets
Experiencing the enhanced performance of PC VR with your Quest 2 might spark interest in dedicated PC VR headsets. Research the latest options to discover the full potential of virtual reality.


