Creating a group in Gmail simplifies sending emails to multiple recipients. Instead of manually adding individual addresses, you can select a single group, saving time and effort. This guide provides a comprehensive walkthrough on creating, using, and managing email groups in Gmail.
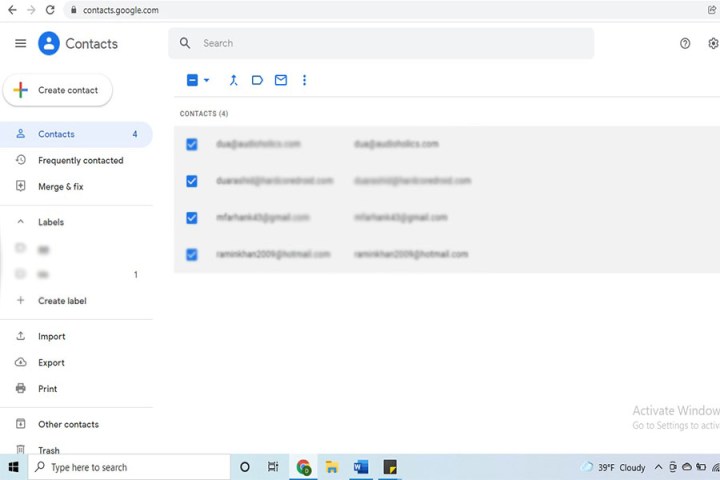 Selecting contacts on Google Contacts using the checkbox next to the contact name.
Creating an Email Group in Gmail
Creating an email group in Gmail involves using the Labels feature in Google Contacts. This allows you to categorize contacts and easily include them in group emails.
-
Access Google Contacts: Open Google Contacts in your web browser and log in if necessary.
-
Select Contacts: Check the boxes next to the names of the contacts you want to add to the group.
-
Manage Labels: Click the “Manage Labels” button (shaped like a label) located next to the “Send Email” button.
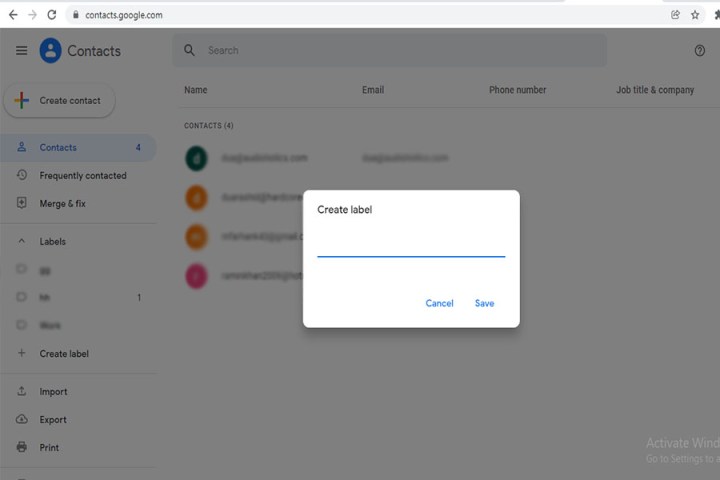 The Create Label button in Google Contacts.
-
Create Label: In the dropdown menu, select “Create Label.”
-
Name Your Group: Enter a descriptive name for your email group and click “Save.”
Sending Emails to a Group without Revealing Recipients
To send an email to a group while hiding individual recipient addresses, use the Blind Carbon Copy (Bcc) feature.
- Compose Email: Click “Compose” in Gmail.
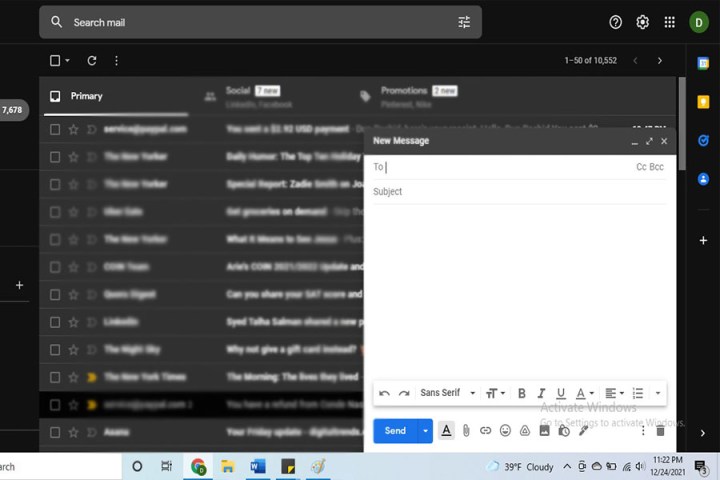 The Compose Email option in Gmail.
- Add Placeholder Recipient: In the “To” field, enter “Undisclosed Recipients” followed by your own email address in angle brackets (e.g., Undisclosed recipients youremail@domain.com).
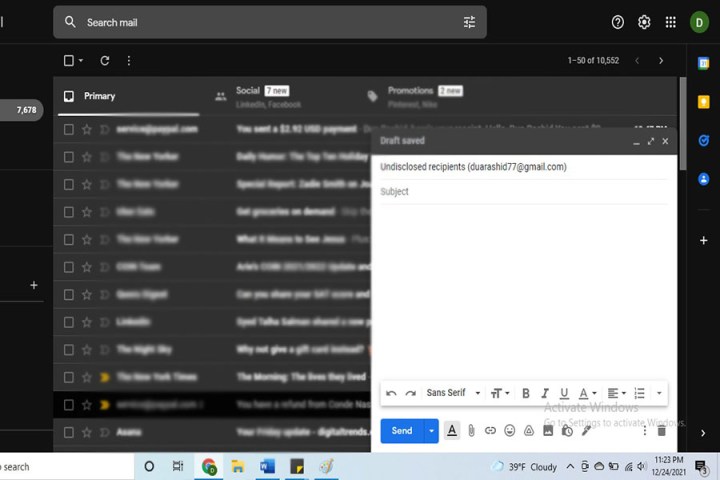 The To field of a Gmail email with the undisclosed recipients placeholder.
-
Activate Bcc: Click “Bcc” at the top right of the email window. Alternatively, use the keyboard shortcut: Ctrl+Shift+B (Windows) or Command+Shift+B (Mac).
-
Add Group to Bcc: Enter the name of your email group in the “Bcc” field.
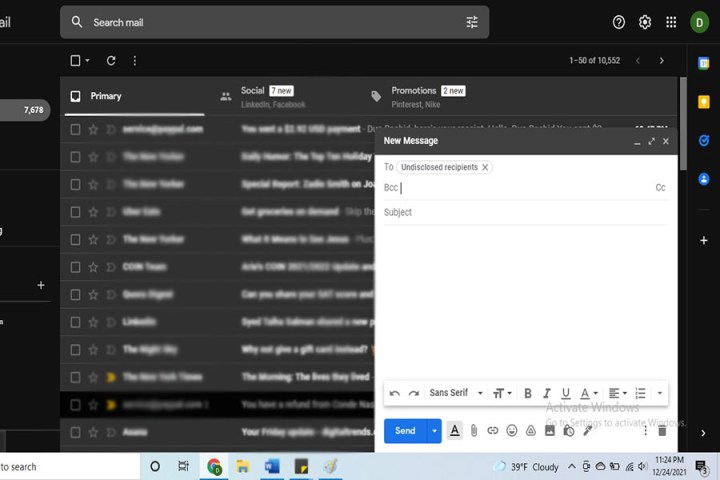 The Bcc field in a Gmail email with the group name added.
- Compose and Send: Type your message, add a subject line, and click “Send.”
Cost of Google Contacts
Google Contacts is a free service, integrated with other Google applications like Google Calendar.
Sharing Gmail Contacts
While direct sharing of Gmail groups isn’t possible, you can share your Gmail contacts with other accounts. One effective method is using the “Shared Contacts for Gmail” plugin. Organizing contacts into labels beforehand streamlines the sharing process. To share, click the “Share” icon in Gmail, select the recipient, and assign appropriate permissions (e.g., Can Write, Can Share, Read Only).
Conclusion
Managing email communications is significantly easier with Gmail’s grouping features. By using labels and the Bcc function, you can efficiently send emails to groups while maintaining recipient privacy. Leveraging these tools allows for better organization and streamlined communication within Gmail.


