Microsoft Word, renowned for its comprehensive features and formatting options, extends beyond typical word processing. It empowers users to integrate shapes, diagrams, and other visual elements, including freehand drawing and sketching capabilities. This guide delves into the various drawing methods within Microsoft Word, allowing you to enhance your documents with visual flair and targeted emphasis.
Creating Shapes in Word
Word simplifies the creation of precise shapes, eliminating the need for manual drawing. Follow these steps to insert pre-defined shapes:
-
Position the Cursor: Place your cursor where you want the shape to appear in your document.
-
Access Shapes: Navigate to the Insert tab and click the Shapes drop-down arrow.
-
Choose a Shape: Browse the extensive library of shapes, including lines, arrows, rectangles, stars, and more. Select the desired shape.
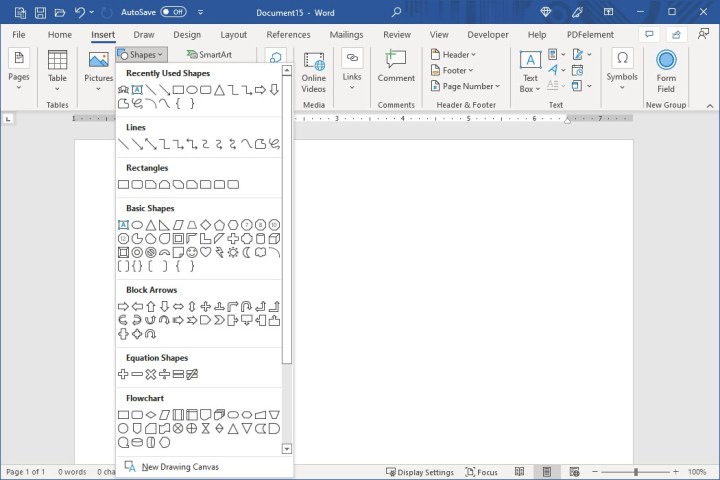 The Shapes drop-down menu in Microsoft Word, showcasing a variety of available shapes. screenshot / MaagX
 -
Draw the Shape: Your cursor will transform into a crosshair. Click and drag on the document to create the shape, releasing the mouse button when finished.
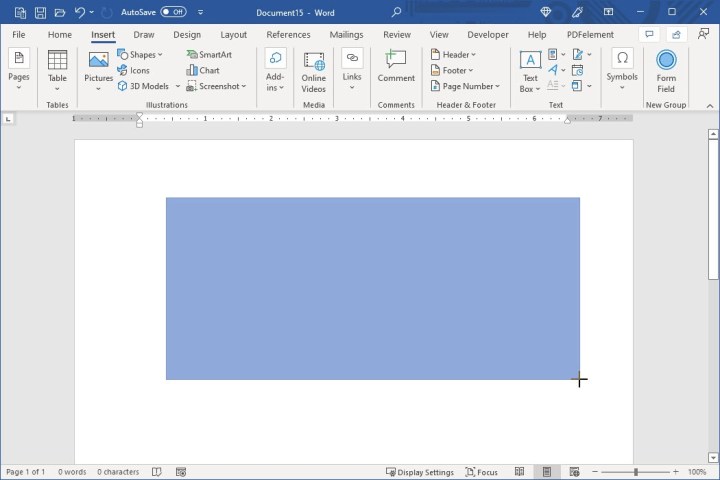 Drawing a rectangle in Microsoft Word using the Shapes feature. screenshot / MaagX
 -
Modify and Customize: Move the shape by clicking and dragging. Resize it by dragging from a corner or edge. For further customization (fill color, effects like shadow or bevel), select the shape and access the Shape Format tab.
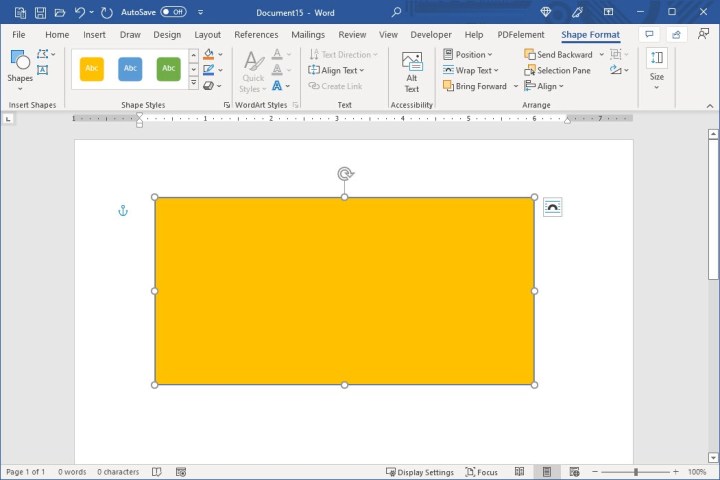 The Shape Format tab in Microsoft Word, providing options for customizing the appearance of shapes. screenshot / MaagX
Freehand Drawing in Word
Word offers freeform drawing tools for creating custom shapes and sketches.
-
Position the Cursor: Place your cursor where you wish to draw.
-
Select Freeform Tool: Go to the Insert tab, click the Shapes drop-down, and choose either Freeform: Shape (creates closed shapes) or Freeform: Scribble (for freehand sketching).
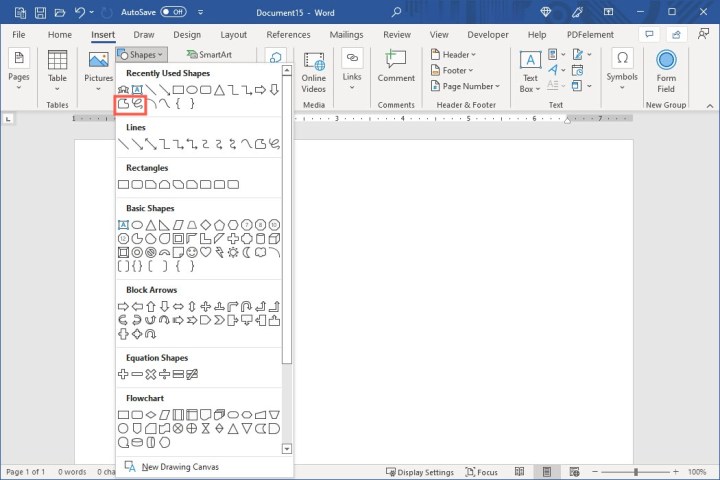 Freeform Shape and Freeform Scribble options within the Shapes drop-down menu in Microsoft Word. screenshot / MaagX
 -
Draw: With Freeform: Shape, draw your shape and return the cursor to the starting point to close it. Freeform: Scribble allows unrestricted drawing.
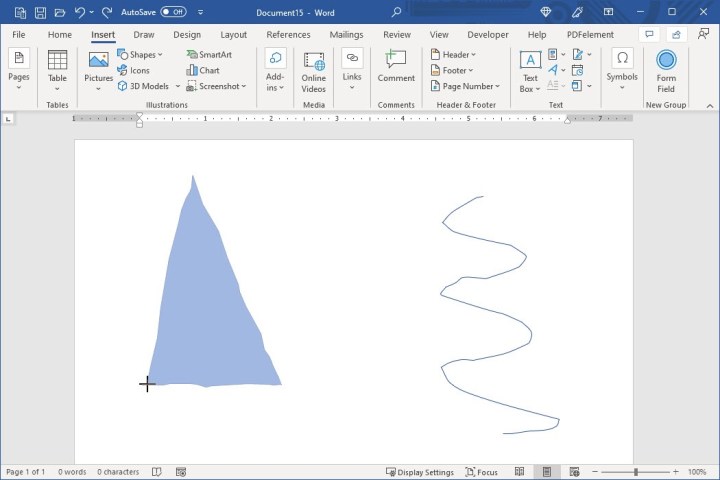 Examples of Freeform Shape and Freeform Scribble drawings in Microsoft Word. screenshot / MaagX
 -
Adjust and Format: Move and resize the drawing like any other shape. Use the Shape Format tab for customization.
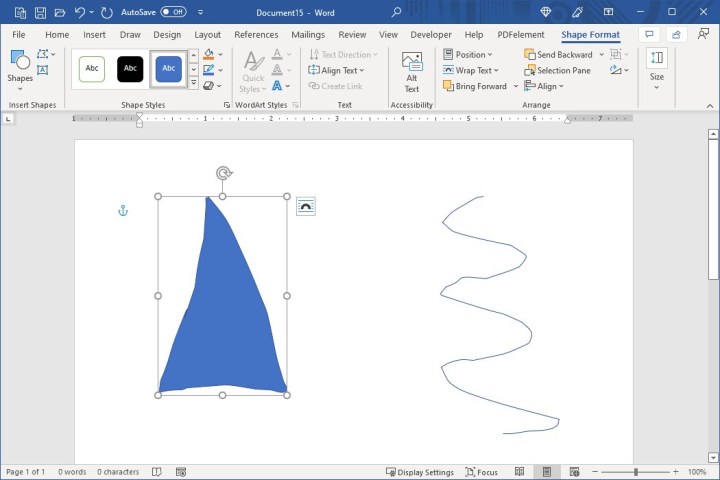 The Shape Format tab in Microsoft Word, allowing customization of freeform drawings. screenshot / MaagX
Utilizing the Draw Tab in Word
The dedicated Draw tab provides further drawing tools.
-
Select a Tool: Navigate to the Draw tab and choose a pen, pencil, highlighter, or the Action Pen. An eraser is also available.
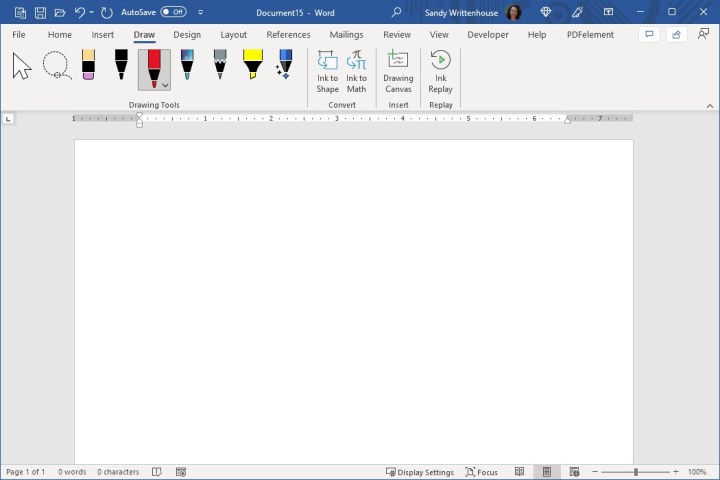 The Draw tab in Microsoft Word, displaying various drawing tools and options. screenshot / MaagX
 -
Customize Tool Properties: Select the tool and click the arrow in the lower-right corner to choose color and line thickness.
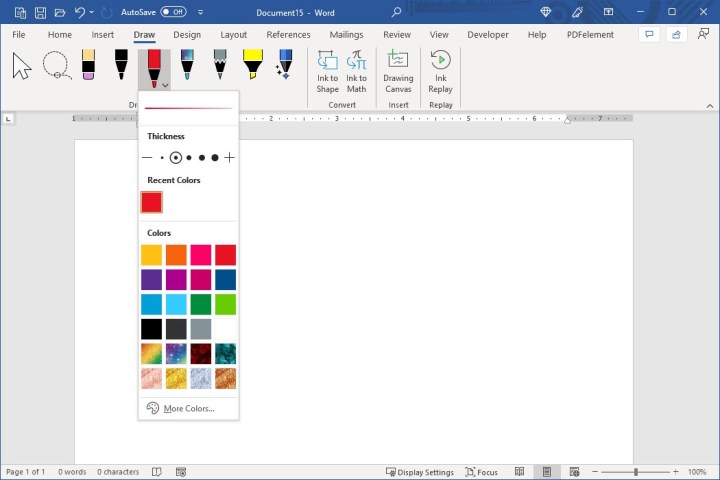 Color and thickness options for drawing tools in Microsoft Word. screenshot / MaagX
 -
Custom Colors: For precise color matching, select More Colors to access a wider palette or enter RGB/HEX codes.
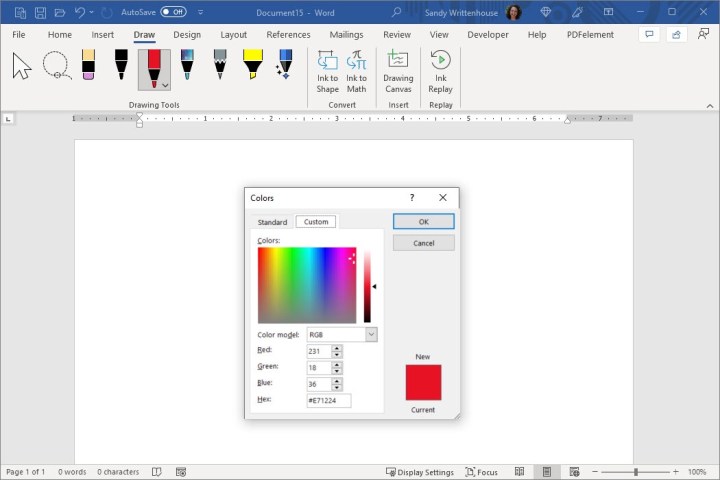 The More Colors dialog box in Microsoft Word, allowing for custom color selection using various methods. screenshot / MaagX
 -
Drawing Canvas: Use the Drawing Canvas option on the Draw tab to create a designated drawing area.
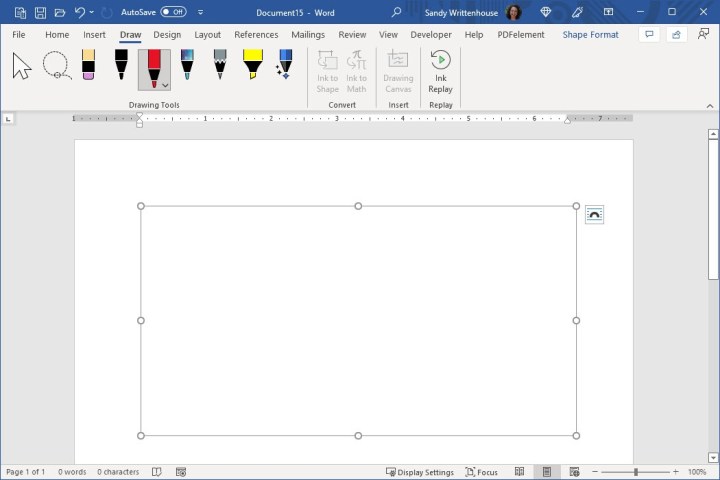 A Drawing Canvas in Microsoft Word, providing a dedicated area for creating drawings. screenshot / MaagX
 -
Move and Resize: Select the large Arrow icon on the left side of the Draw tab to manipulate the drawing.
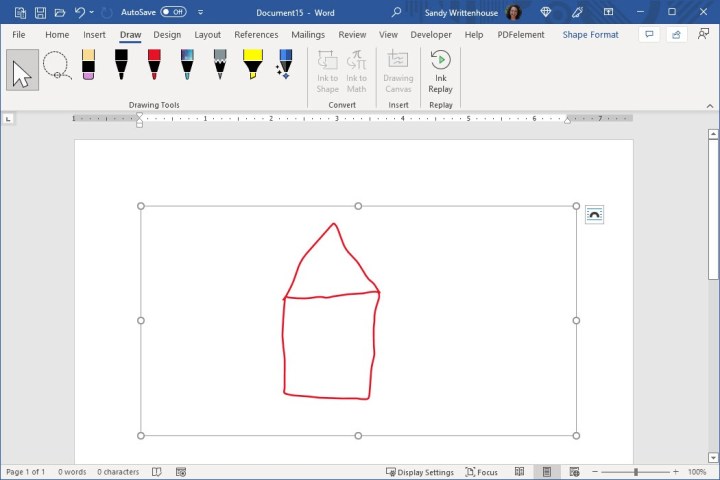 The Arrow icon on the Draw tab in Microsoft Word, used for selecting and manipulating drawings. screenshot / MaagX
Conclusion
Microsoft Word provides a versatile set of tools for incorporating drawings and sketches into your documents. Whether you need precise shapes, freehand sketches, or detailed drawings, Word offers the functionality to enhance your content visually. From simple annotations to complex illustrations, these drawing features empower you to communicate effectively and creatively within your Word documents.


