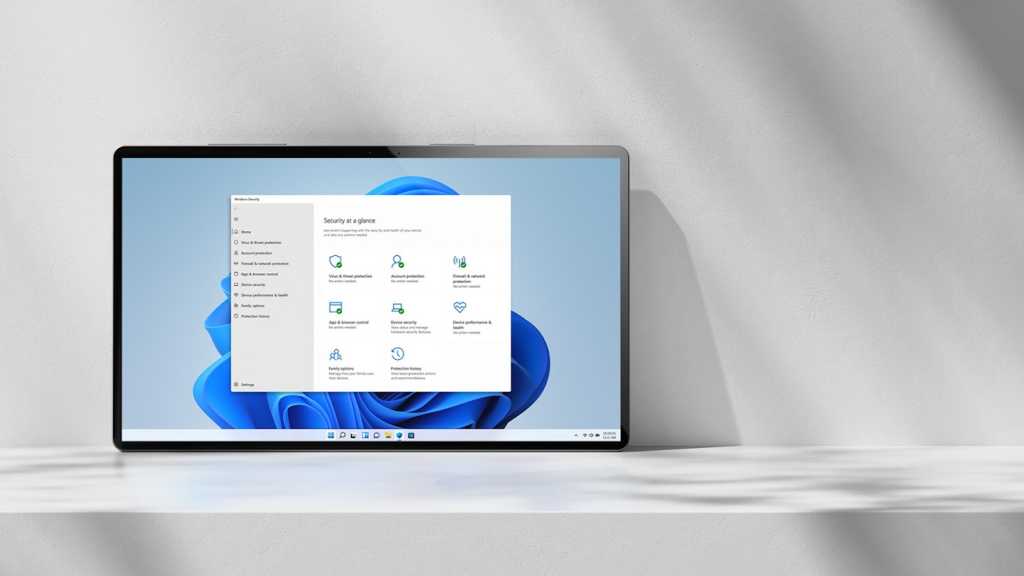
Windows boasts decent security features, but navigating the internet’s malware-ridden landscape requires extra vigilance. While SmartScreen offers some protection by scrutinizing websites and downloads, its Edge integration limits its scope. Network Protection, a powerful system-level feature in Windows, provides a more comprehensive defense. This article will guide you through enabling and configuring Network Protection to bolster your online security.
Understanding Network Protection
Network Protection acts as a vigilant gatekeeper, monitoring network traffic across all applications and processes. It continuously compares internet data against Microsoft’s extensive reputation database, identifying suspicious and malicious websites and files. Think of it as an enhanced SmartScreen, operating at a deeper system level.
Checking for Network Protection Availability
Network Protection isn’t universally available on all Windows versions. Before proceeding, ensure your system meets the following criteria:
- Windows Edition: You need Windows 10 or 11 Pro or Enterprise editions. Home editions lack this feature.
- Microsoft Defender: Microsoft Defender must be active on your system.
- Microsoft Account: You must be logged in with a Microsoft account.
- Internet Access: Active internet connection is required.
Enabling Network Protection via PowerShell
If your system meets the requirements, you can enable Network Protection through PowerShell with administrator privileges.
- Open PowerShell (Admin): Right-click the Start menu and select “Terminal (Admin).”
- Check Status: Enter the following command to check the current status:
Get-MpPreference | Select-Object EnableNetworkProtection. The response will be 0 (Disabled), 1 (Enabled), or 2 (Audit Mode).
- Enable Network Protection: If the status is 0 (Disabled), enter this command:
Set-MpPreference -EnableNetworkProtection Enabled. You won’t receive a confirmation message, but re-running the status check command should now show 1 (Enabled).
Disabling Network Protection
To disable Network Protection, use the following command in PowerShell (Admin): Set-MpPreference -EnableNetworkProtection Disabled.
Managing Data Transmission
Network Protection sends anonymized performance data to Microsoft. To disable this, use the command: Set-Mp Preference -DisableNetworkProtectionPerfTelemetry $true.
Advanced Configuration with Group Policy Editor
For more granular control, use the Group Policy Editor.
-
Open Group Policy Editor: Type “gpedit” in the Start menu and select “Edit group policy.”
-
Navigate to Network Protection Settings: Go to Local Group Policy > Computer Configuration > Administrative Templates > Windows Components > Microsoft Defender Antivirus > Microsoft Defender Exploit Guard > Network Protection.
-
Configure “Prevent users and apps from accessing dangerous websites”: Double-click this setting, switch to “Enabled,” and choose between “Disable” (default), “Block,” and “Audit Mode.” “Block” actively prevents access to dangerous websites, while “Audit Mode” logs suspicious activity without blocking access.
- Apply Changes: Click “Apply,” then “OK,” and close the editor.
Important Considerations
Network Protection might interfere with certain applications. Start with “Audit Mode” to monitor potential conflicts via the Windows Event Log. If all seems well, switch to “Block” for full protection.
Conclusion
Network Protection significantly strengthens your Windows security posture, providing a broader defense against online threats. By following these steps, you can enable and configure this valuable feature, enhancing your online safety and protecting your system from malicious actors.


