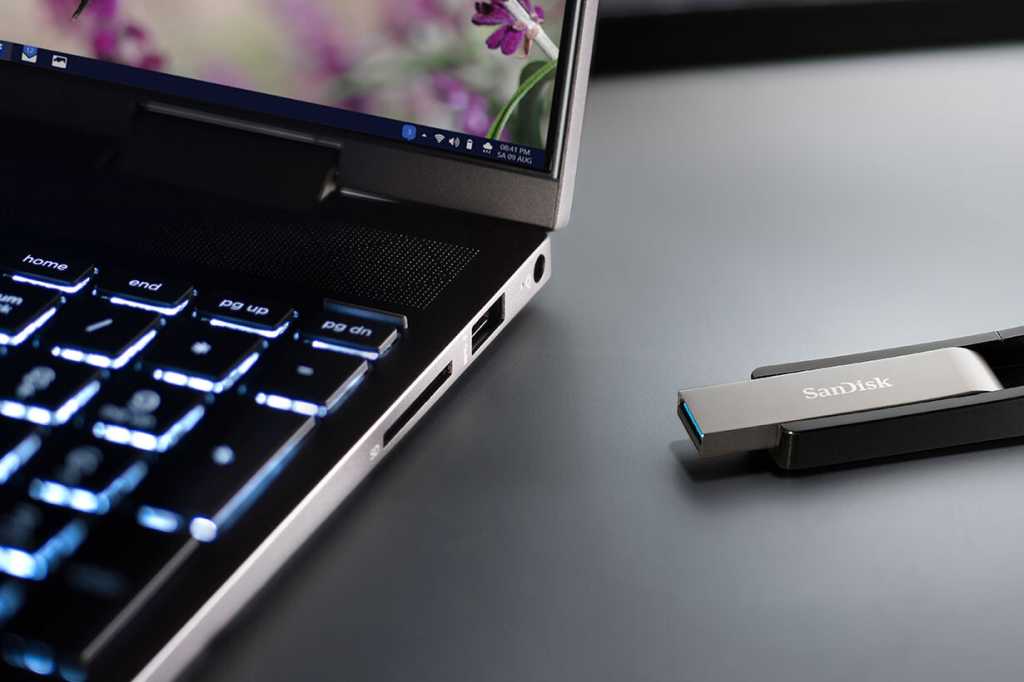
Ever had that heart-stopping moment when you’re about to copy crucial files to your USB drive, only to find it’s stuck in read-only mode? Don’t panic. This guide provides several effective methods to disable read-only mode and restore your flash drive’s functionality.
Copying files to a USB drive is usually straightforward, but sometimes, the process can stall due to the drive being in read-only mode. This prevents any new data from being written to the drive, which can be incredibly frustrating, especially when you’re in a hurry. Fortunately, there are several ways to fix this issue.
Method 1: Check the Physical Write-Protect Switch
Before diving into software solutions, check your flash drive for a physical write-protect switch. Many older drives have a small slider that enables read-only mode. If you find one, slide it to the unlocked position and try copying files again. This simple fix might be all you need.
Method 2: Using DiskPart
If the physical switch isn’t the culprit, DiskPart, a command-line disk partitioning utility, can help. Here’s how:
- Open the Run dialog box by pressing Windows + R.
- Type
diskpartand press Enter. - Type
list diskand press Enter to display a list of connected drives. Your USB drive is usually the last one listed. - Identify your USB drive’s disk number and type
select disk #(replace#with the actual disk number), followed by Enter. - Type
attributes diskand press Enter to check the read-only status. “On” indicates read-only mode is active. - Type
attributes disk clear readonlyand press Enter to disable read-only mode. - Verify the change by typing
attributes diskagain. “Off” confirms the fix.
Method 3: Modifying the Registry
If DiskPart doesn’t resolve the issue, you can try editing the Windows Registry:
- Connect your USB drive to your PC.
- Open the Run dialog box (Windows + R), type
regedit, and press Enter. - Navigate to
HKEY_LOCAL_MACHINESYSTEMCurrentControlSetControlStorageDevicePolicies. - Locate the
WriteProtectvalue. Double-click it and set the “Value data” to 0. Click OK. - Check if your flash drive can now write data.
Creating the StorageDevicePolicies Key: If the StorageDevicePolicies key doesn’t exist, you can create it:
- Right-click on the
Controlkey, selectNew, thenKey. Name itStorageDevicePolicies. - Right-click in the right pane of the new key, select
New, thenDWORD (32-bit) Value. Name itWriteProtect. - Double-click
WriteProtectand set the “Value data” to 0.
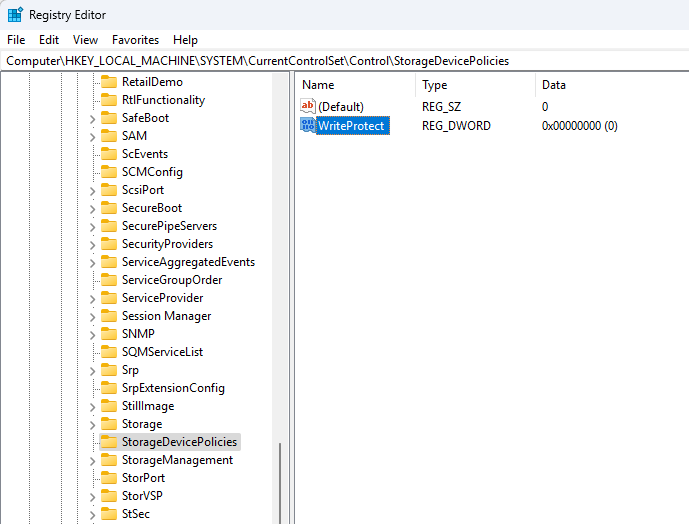 Registry Editor showing WriteProtect value
Method 4: Using the Command Prompt
Alternatively, you can use the Command Prompt to disable read-only mode:
- Search for
cmdin the Windows search bar. Right-click on “Command Prompt” and select “Run as administrator.” - Type
diskpartand press Enter, followed bylist diskand Enter. - Identify your USB drive’s disk number. Type
select disk #(replace#with the correct number) and press Enter. - Type
attributes disk clear readonlyand press Enter.
One of these methods should resolve your read-only issue and restore your USB drive’s functionality.
The Purpose of Read-Only Mode
While frustrating when unintended, read-only mode serves important functions:
- Data Protection: Prevents accidental data deletion or corruption by computer processes or malware.
- Data Security: Safeguards sensitive information from unauthorized copying when sharing the drive.
- Data Preservation: Ensures data integrity when sharing the drive, preventing unwanted modifications.
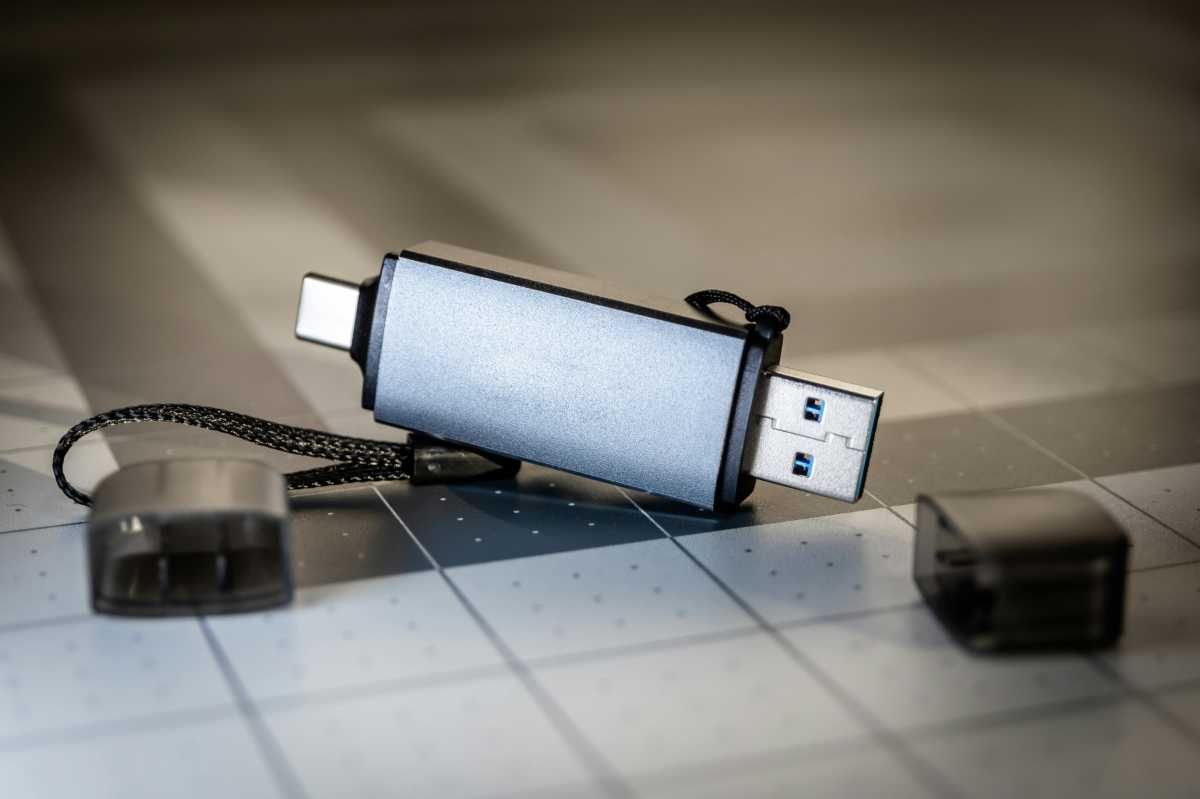 USB Flash Drive
By understanding how to manage read-only mode, you can leverage its benefits while quickly resolving any inconveniences it may cause.


